4 • Important: Always read and follow operating instructions.
Set Up Instructions
Proper unit installation is necessary for safe
use and ecient operation. Proper instal-
lation also helps protect the unit from dam-
age and makes service easier. Always place
safety poster and instructions near the unit.
Location
Select a location using the drawings below. The area
should provide the operator with enough space to use
the equipment in a safe manner. The area selected
should be well lit, easy to clean and should be away
from oil, grease, brake lathe chips, etc. Avoid areas
where bystanders and customers may be present.
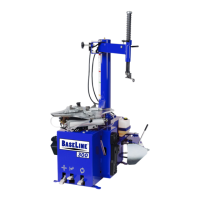
Workspace Requirements
Figure 1 –Work Space Requirements
Tower Installation
STAY CLEAR OF MOVING PARTS when recon-
necting the unit to the air supply. The position
of control valves may have changed during
the servicing of the machine.
Be careful of pinch point at swing arm spring.
Tools Required:
Screw Driver
14 mm Open-ended Wrench
19 mm Open-ended Wrench
24 mm Open-ended Wrench
1. Carefully remove carton and packaging from unit.
2. Using a 14 mm wrench, remove shipping bolts
holding tower, swing arm and chassis to the pallet.
3. Using a 19 mm wrench, remove the four bolts and
washers from the chassis; reserving the bolts and
washers.
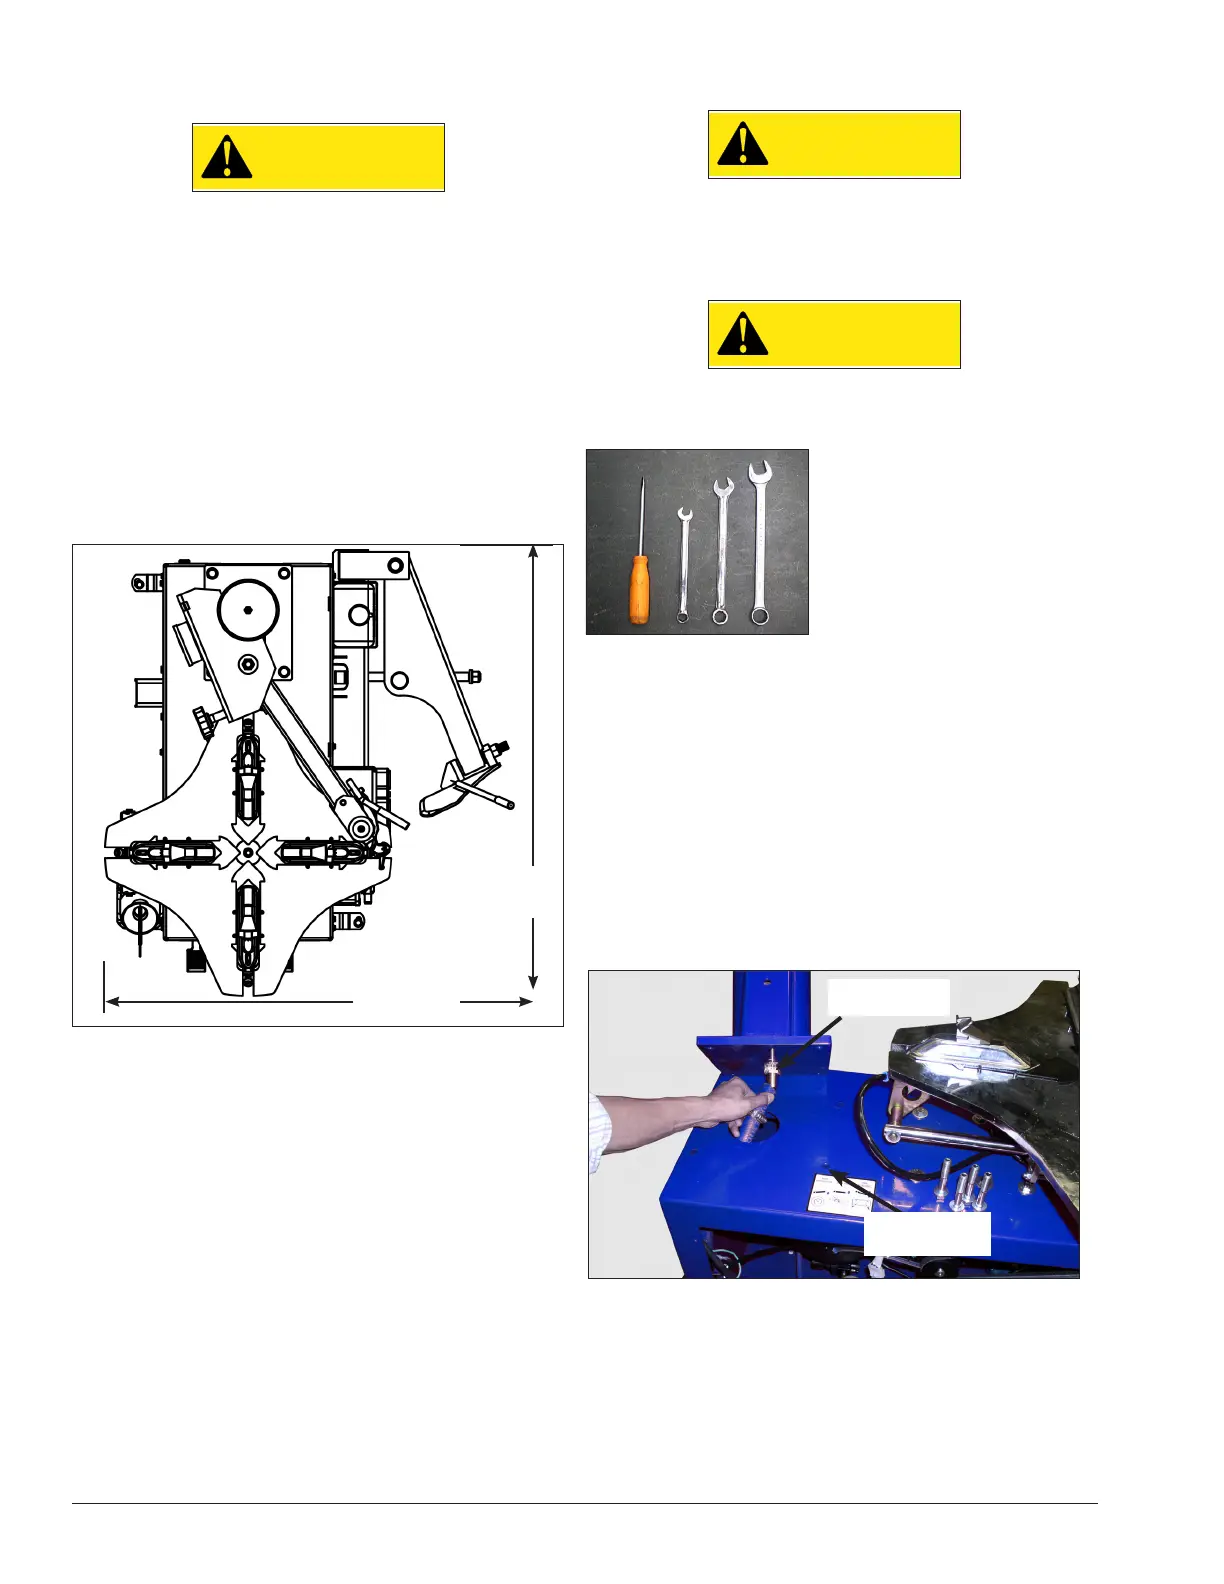
4. With the aid of a helper holding the tower, connect
hose from chassis to tower barb fitting (figure 2). Posi-
tion and tighten hose clamp.
5. Use reserved bolts and washers to attach tower to
chassis (figure 2). Torque to 15 - 20 ft. lbs.
Figure 2 - Assemble tower onto chassis.
50"
(1270 mm)
41.5"
(1054 mm)
Use Reserved
Bolts & Washers
Connect Hose To
Tower Fitting