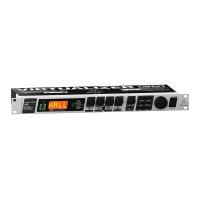
18 VIRTUALIZER 3D FX2000 User Manual
Connect both inputs of the VIRTUALIZER 3D to the aux send outputs of your
mixer. The FX2000’s output socket is connected to the aux return inputs of
your mixer. Ifyou want to operate the BEHRINGER VIRTUALIZER 3D in mono,
connect one of its channels (left or right) to an aux bus. As a matter of principle,
eectsprocessors should always be connected to post fader aux busses.
◊ If your mixing console has aux busses that feature one jack for the aux
send, use audio channel 1 on the FX2000. In this case, you must choose
the mono mode (see chapter 3.6.2).
◊ To avoid damage to your equipment, turn down the volume level on
your amplifier when making connections. Switch off the devices that
you want to connect to one another until plug connections have been
completed as described.
Let’s assume you want to operate the FX2000 in a live situation in connection
with a mixing console, and use a chorus to enhance the guitar sound.
Connect the VIRTUALIZER 3D to the aux busses of your mixing console (g. 4.1).
Make the mains connection and set the operating level if necessary. Switch on
the unit. In SETUP mode (output), select “EXTN” to ensure that the Mix External
mode is activated. Press the eect key and use the Jog Wheel to select the stereo
chorus eect (no. 16). Turn up the aux busses slowly till you have mixed the
desired eect with the guitar signal. After this, you can start ne tuning. Youwill
probably want to specify the chorus’ modulation. Turn the 1st EDIT CONTROL to
determine the speed of the modulation. To adjust the modulation depth, turnthe
2nd EDIT CONTROL. Proceed further following this principle. Ifyou want the
1stEDIT CONTROL to change EDIT E, you must rst press the EDIT key. After all the
parameters have been changed as you wish, you can store the modications in
the original (or a dierent) preset.
4.3 Using the VIRTUALIZER 3D in the
insertpath
Generally, you can use the FX2000 on channel or subgroup inserts, using a
standard insert cable. Connection to a channel insert makes sense when you
want to process very specic signals (e.g. vocals) with the VIRTUALIZER3D,
orwhen all other options for connecting the FX2000 are already used by
other units. For compressors, expanders and gates, the channel insert is the
bestchoice.
Channel
Insert
Subgroup
Insert
Fig. 4.2: Wiring the VIRTUALIZER 3D in the insert path
4.4 Using the VIRTUALIZER 3D as an eects
device for instruments
Due to its MIDI implementation, the VIRTUALIZER 3D can also be used as
multi-eects unit in a guitar rack. Naturally, the VIRTUALIZER 3D can be cabled
both as mono and as stereo unit. The following examples show how to use the
FX2000 with a guitar setup.
In
Send
Effects Loop
Return
Out
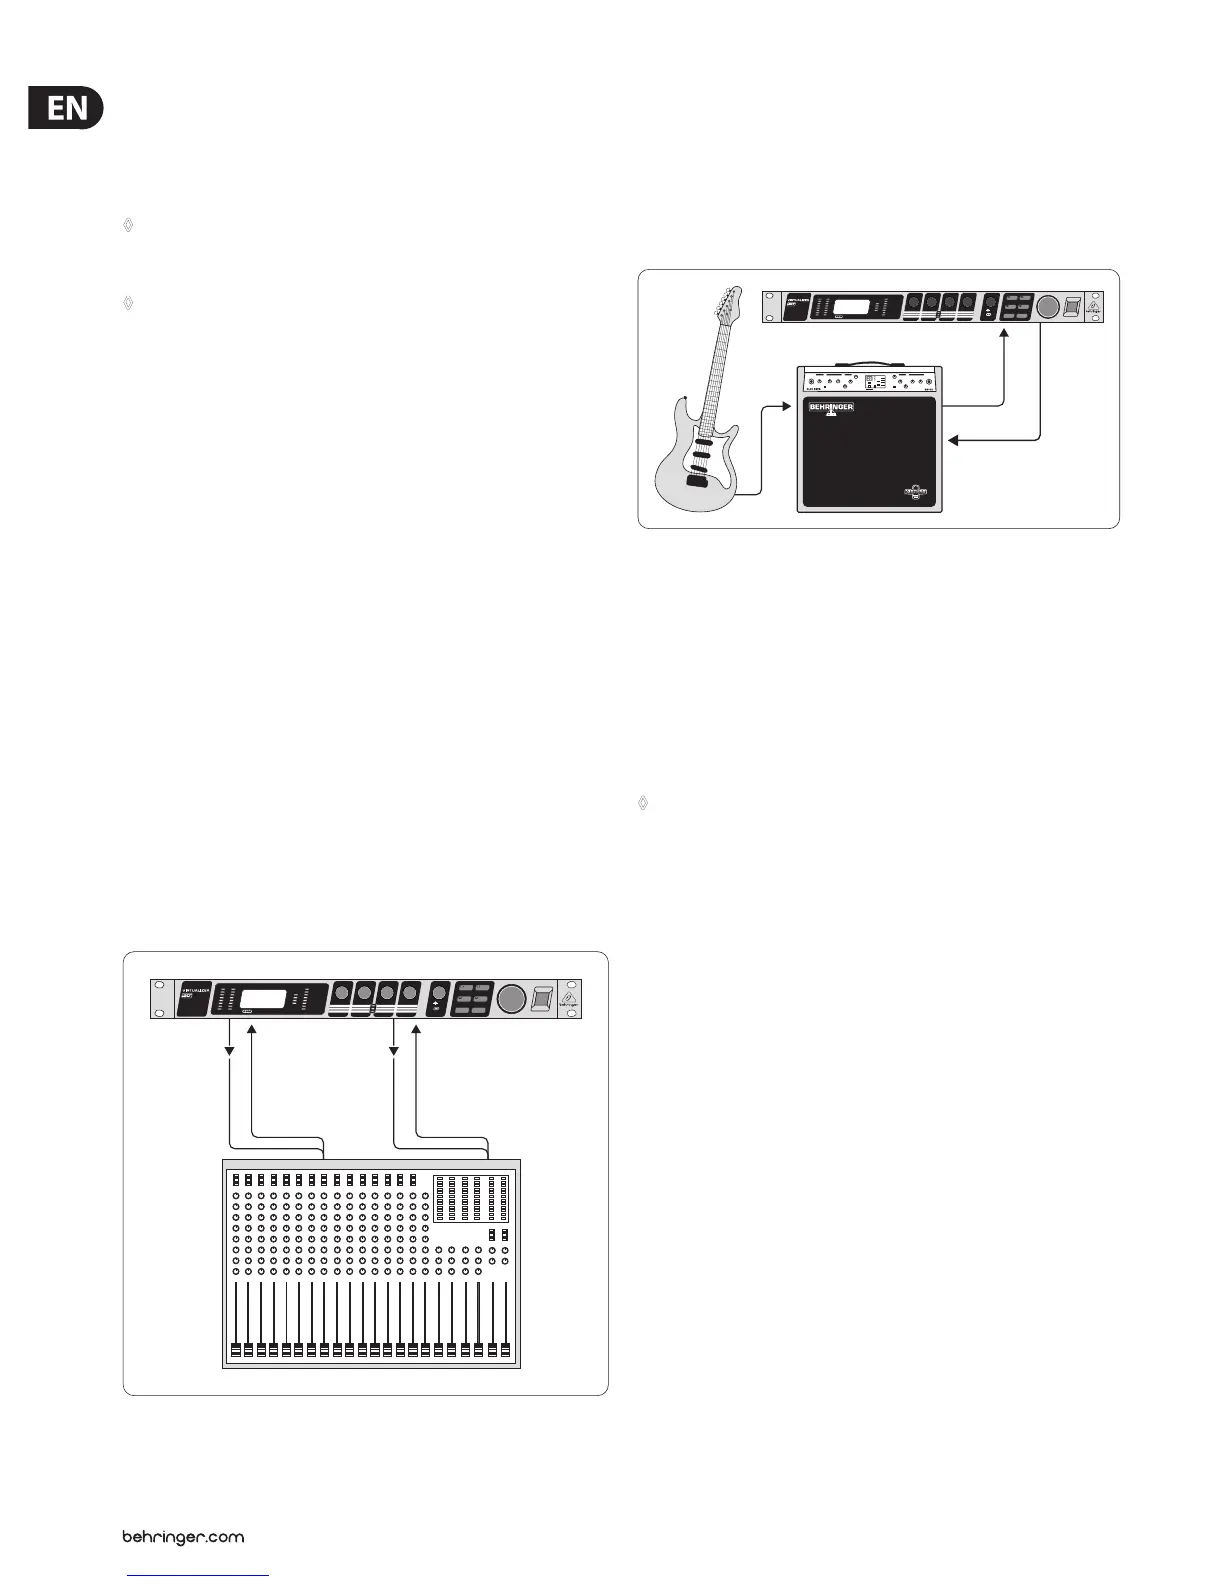
Fig. 4.3: Connecting the VIRTUALIZER 3D to a guitar amp (send/return mono)
Fundamentally, the following applies: The VIRTUALIZER 3D should be connected
between preamp and output stage of your amplier. For this purpose, most of
the guitar ampliers oer an eects loop, which allows the preamp signal of
your amplier to pass on to the audio input stage of the FX2000. Then, in the
VIRTUALIZER 3D, the preamp signal is processed and sent back to its amplier
through the amplier’s return jack (Power Amp In). If you use a stereo rack
system for amplication, you can also set up the VIRTUALIZER 3D in stereo mode.
Connect the preamp to the audio inputs of the FX2000. Each of its audio outputs
(left/right) is connected to a channel (left/right) of your amplier.
◊ Since most guitar amps only feature a serial effects loop, you should
make sure that the VIRTUALIZER 3D is set to Mix Internal mode. In Mix
Internal mode, you can control the effects intensity that is applied to
the guitar signal. If, however, your amp is equipped with a parallel
effects loop, which allows for adding the effects signal portion
(similar to an aux bus in a mixing console), then you should set the
VIRTUALIZER 3D to Mix External mode. In this case, the effects intensity
present at the outputs of the VIRTUALIZER 3D is 100%.
Instrumentalists can benet from a variety of advantages oered by the
VIRTUALIZER 3D‘s MIDI implementation. With a MIDI foot controller, e.g. the
BEHRINGER MIDI FOOT CONTROLLER FCB1010, you can transfer program changes
via MIDI. Connect the MIDI out port of your foot controller to the MIDI IN port
of the VIRTUALIZER 3D. If the FX2000 does not respond to your foot controller’s
program changes, check your MIDI channel settings. Determine which MIDI
channel your foot controller uses to send program changes (in most of the cases:
omni mode). Set the VIRTUALIZER 3D’s MIDI channel to the same number and
switch program change receive mode on (see chapter 3.6.1).
If your MIDI foot controller can send MIDI controller data, you can change
parameters while playing. For example, you can change the eect from 0% to
100% with the controller while playing. Set controller No. 116 to the Mix Internal
function (value 1) and increase the eect (value 0 - 100) with controller No. 111.
In this way, you can provide a guitar solo with chorus and delay, before removing
the eects for a dry rhythm sound. You can even control the bypass function
with your controller (contr. 113, value 0 = OUT, value 1 = IN). Bypassing the
VIRTUALIZER 3D can be activated this way if you need an unprocessed signal.
These procedures are generally possible with all MIDI devices which are capable
of transmitting controller commands (like keyboards, sequencers, etc.).
The FX2000 can also be used between the outputs of your keyboard and
the inputs of your mixer. If necessary, adjust the operating level with the
corresponding switch on the rear panel of the unit.