9
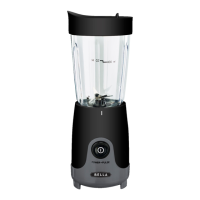
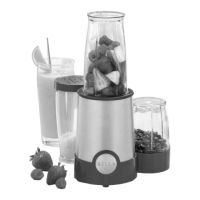
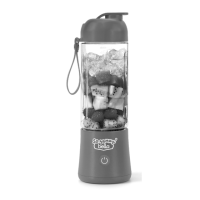
Figure 3
White seal
ring
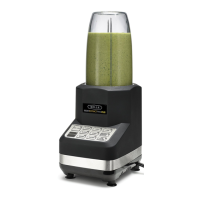
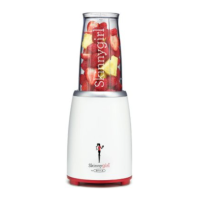
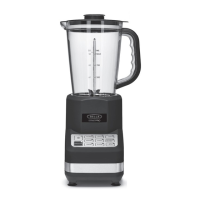
Figure 4
Never ll blender
jar more than the
Max Line!
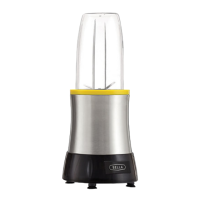
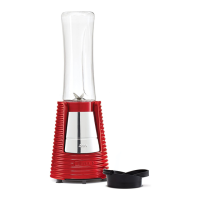
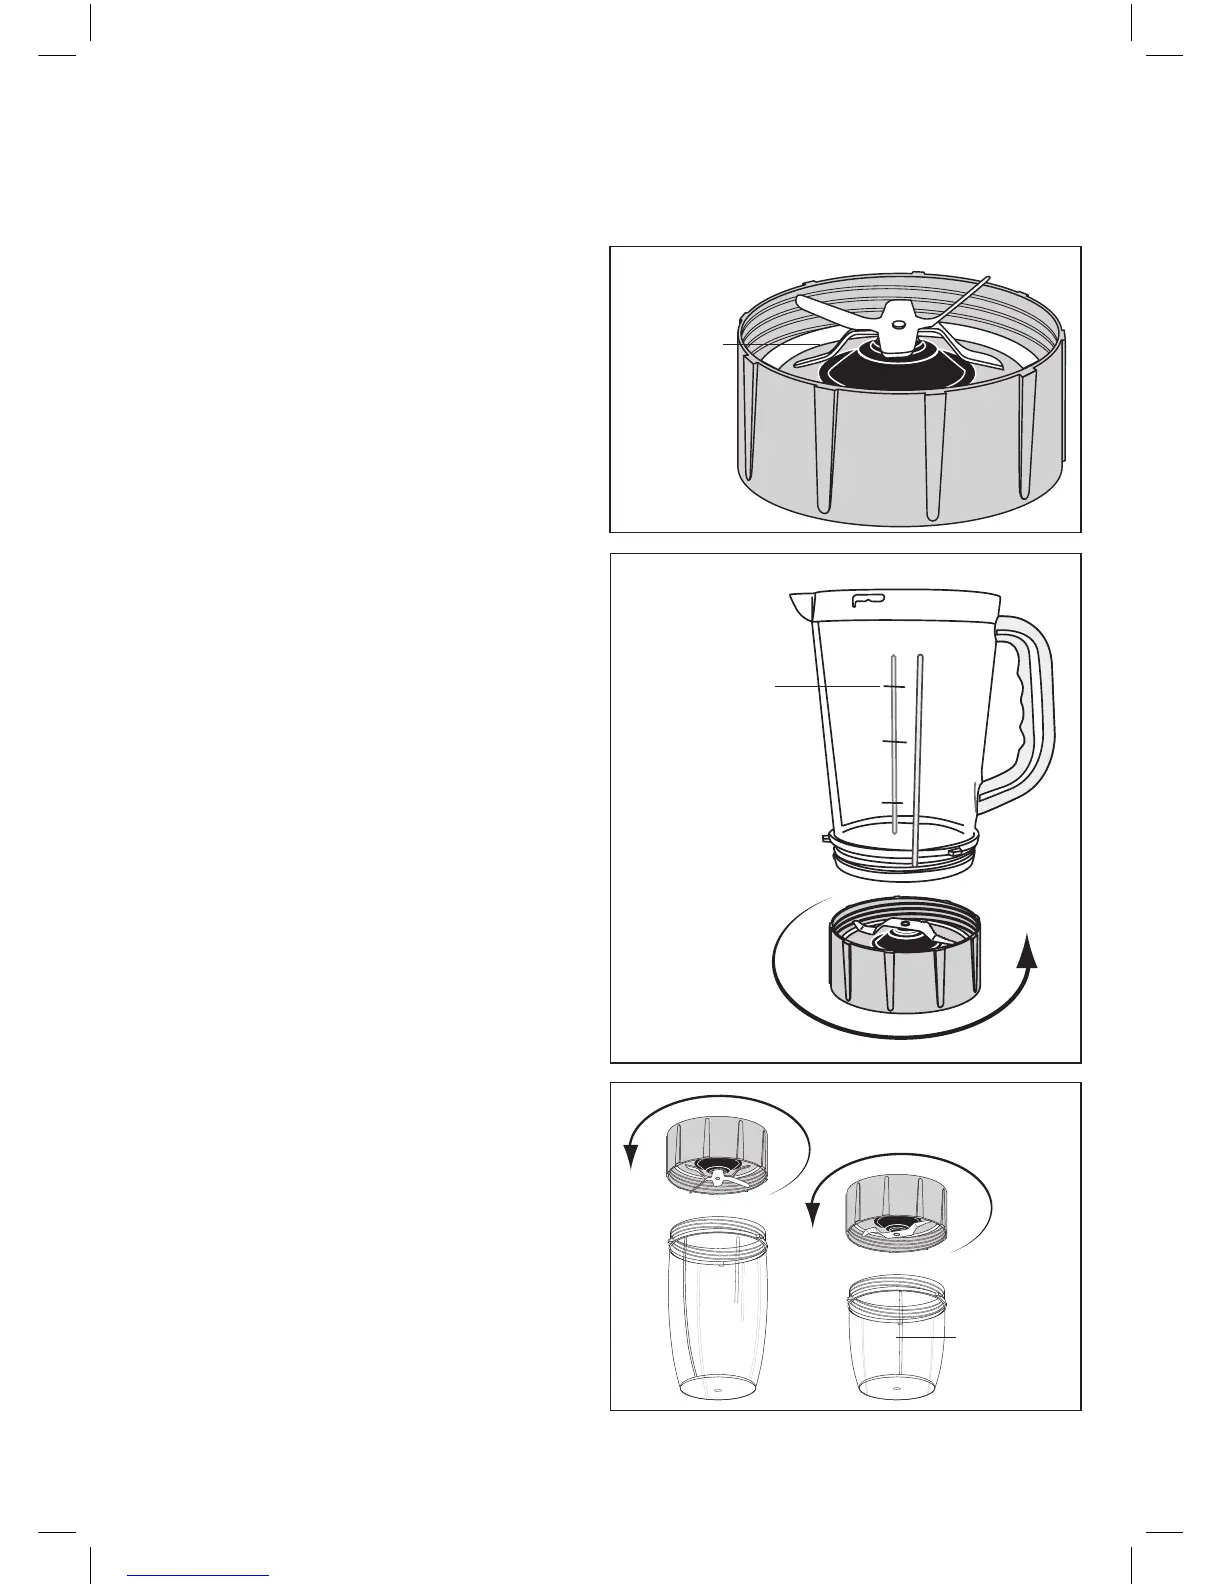
Figure 5
Never ll any
tumbler more
than the Max
Line!
9
For Your Information
The blender has pre-set programs, some and these may operate at different speeds or stop and start during use,
this is normal and not a cause for concern.
BLENDER OPERATION
Assembly
It is important to note that both the blending and
chopping blade both have a white plastic sealing ring
on the inside of the collar, this creates and airtight seal
during processing . Always check to ensure that the
sealing ring is correctly tted before use to prevent
leakage (see Fig 3).
1. Place the motor base on a at, dry and clean
counter or table.
2. With the control panel facing you, plug the unit
into the mains socket.
3. Depending on the amount of food to be processed
use the Blending Jug, Tall Tumbler or Short
Tumbler (see table for suggestions).
4. You can use the Blending Jug, Tall Tumbler or
Short Tumbler with either blade.
5. To use the Blending Jug ensure either of the
blades are tted to the base of the jug and turn
clockwise to tighten the blade until snug before
adding any ingredients. Check the white sealing
ring is in place before tting the blade (See Fig 4).
6. Add ingredients to the Blending Jug, taking care
not to overll beyond the MAX line. Ingredients
rise and expand during processing which is why
there is space above the MAX line and the lid to
prevent the jug from leaking.
7. To use the Tall or Short tumbler, add the
ingredients that require blending before adding
the blade, again taking care not to exceed
maximum line.
8. Hold the tumbler rmly in one hand and screw
either of the blades onto the top of the tumbler,
ensure the blade collar has a snug t (see Fig 5).
9. Invert the tumbler before placing on the
motor base.