I. How often to adjust mowing height
When using the robot for the first time or after being switched off for several days, the grass
may be too dense or too high. At this point you are advised to increase the mowing height
for a few days before gradually reducing it again (one notch every 2 days).
If the grass height is irregular, the Belrobotics robot will mow the higher patches of grass
more slowly (leading to a better result). If the cutting resistance is too high, the robot will
mow one square at a time.
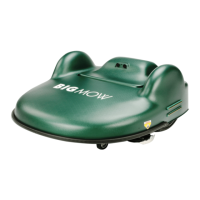
6. INITIAL SETUP
A. BATTERIES
The batteries of the Belrobotics robot should be sufficiently charged to allow your
authorised Belrobotics dealer to carry out the initial setup tests.
Once these tests have been completed, it is recommended that you send your robot back to
the station to fully charge before it starts to maintain your land.
B. SETTINGS & OPTIONS
When the robot leaves the factory it is set to default settings and options. Some of the
settings and options must be adjusted before you switch on your robot for the first time,
such as user language, the number of metres of boundary wire, the direction of return to the
station, rest ranges etc. By adjusting these options and settings correctly, your robot will be
able to provide optimum performance in accordance with the characteristics of the area you
wish to maintain.
Please ask your authorised Belrobotics dealer to help you configure your robot. You can also
consult the “Instructions for use” chapter.
C. SWITCHING THE ROBOT ON/OFF
I. Switching the robot on
Use the following procedure to switch on the robot:
a. Lift the access hood of the robot.
b. Move the main switch to "I".
c. Press the "I" key on the control panel. The screen will light up.
d. Press the "I" key on the control panel a second time. The screen will flash.
e. Close the access hood in the next 8 seconds. The robot will start.
II. Switching the robot off
To switch the robot off, simply raise its hood.
It will start working again only when you implement the procedure described above.