SP-7XE/F Full-Rise Scissor Lift 31 P/N 5900010 — Rev. B3 — September 2023
To assemble the Console and attach the Power Unit:
1. Select a site for the Console that permits operators to have a full, unobstructed view of the Lift.
If you are going to use the included Hydraulic Hoses, the Console can go on either side of the Lift,
up to 40 inches away from the closest Frame.
2. Arrange all the Console components near where you are going to assemble them.
3. Install the Grommets into place near the bottom of the Left and Right Weldments.
4. Put the Left Side on the left and the Right Side on the right, then attach both to the Rear
Weldment, making sure to orient the Rear Weldment so that the Power Unit Mounting
Bracket is on the inside.
The Rear Weldment attaches on the outside of the two sides.
NOTICE Do not attach the Nuts at the top of the sides or the Rear Weldment at this point; these
will be attached later when you are ready to attach the Console Top.
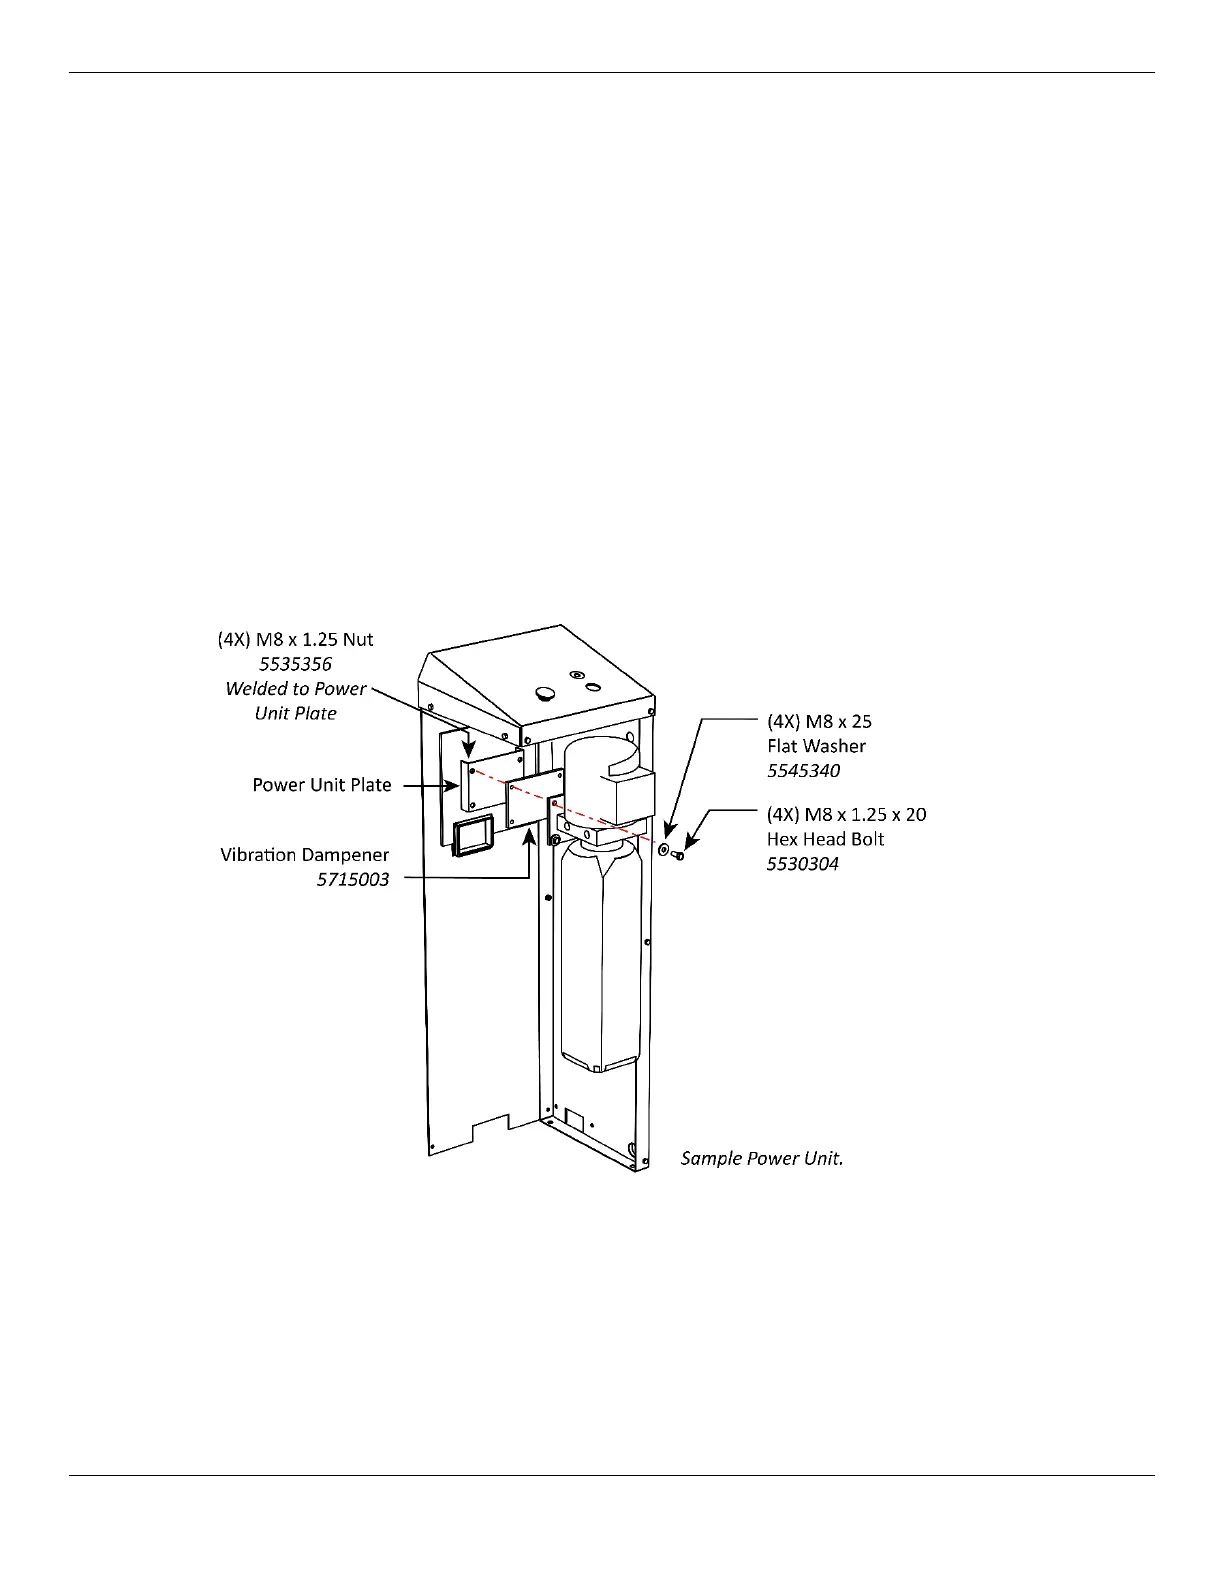
5. Remove the Power Unit from the shipping material.
6. Attach the Power Unit to the Power Unit Plate on the inside back of the Console using the supplied
Nuts and Bolts.
⚠ CAUTION The Power Unit is heavy. BendPak recommends having one person hold the Power
Unit in place while another person bolts it into place.
Important: Do not connect the Power Unit to the power source at this point.