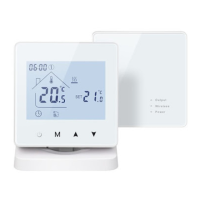
4. Setting the clock
Press the key to select week, hour,
and minute. Press the and keys
to set the correct time.
Wed
22:55
Auto
Set Te mp.
35
5
20
0
.
Period 6
17
.
0
Period 4:
:
30
15.0
o
C
Period 5:
:
17
00
22.0
o
C
Period 6:
:
22
30
15.0
o
C
Time Period Weekend
12
Period 5:
:
08
00
15.0
o
C
Period 6:
:
30
15.0
o
C
13
Loop:
12345+ 67
Time Period Weekday:
Period1:
:
00
20.0
o
C
Period2:
:
08
00
15.0
o
C
Period3:
:
13
30
15.0
o
C
Period4:
:
12
30
15.0
o
C
06
12345+ 6712345+ 67
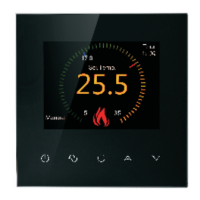
5. Setting the programmable mode
Press and hold key for 5 seconds when the thermostat is turned on,
and the screen will display “LooP” to set the desired time and time period
temperature. “LooP” represents a week’s working and rest day cycle
control mode. Repeat the operation “ “ to move the cursor to select the
set time and time period temperature. Press and to set the time and
time period temperature parameters.
The working day is divided into six time periods, and the rest day is divided
into two time periods. The time period parameters in the graph are the
default parameters at the factory.
Language
Sensor Mode
Out Set temp:
Out Control Hysteresis:
Set temp Max:
Set temp Min:
English
In
o
C
42
o
C
2
o
C
35
o
C
05
Wed
22:55
Set Te mp.
20
0
.
6. Advanced settings (recommended for professional operation)
When shutting down, press first and then
to enter advanced settings;
Language: English/ /
In / Out (Ext Sensor) / In and Out
5-99℃
1-9℃ (Ext Sensor)
5-99℃
Русский язык
Deutsch/Français/Italiano/Español
5-99℃
Sensor compensate:
Antifreeze:
Restart:
Room Control Hysteresis:
o
C
o
C
10
Linkage output direction:
FAC:
Disable
always off
Positive
08
o
00
o
Disable
always off
Positive
08
0-5℃
Disable/Enable
always off/keep last status
0.5-3.0℃
Positive/Negative
FAC=0 Restore factory settings
(Press the key to take effect)
IX. Phone Port Operation Instruction
Remark:
Deadzone for floor temp.: i.e. the setting deadzone for floor sensor is 2,
Out Set temp. is 42℃, when actual temp. reach 44℃, the relay will stop
working; when actual temp. is back to 40℃, the relay starts working again.
It works when room temp. is lower than set temp.
Sensor error:
Please select the right sensor mode. If select the different mode or there
is error of sensor, “Ext sensor dropped” will display on the LCD screen,
the thermostat will stop heating till the problem is solved.
1. Install APP on phone
For iOS system: Login in App Store, search “Smart Life” or “Tuya Smart”,
you can download it on your iphone.
Or scan below code to download:
For Android System: Login in Google Play, search “Smart Life” or “Tuya
Smart”, you can download it on your phone.
Or scan below code to download:
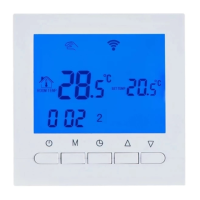
2. Connection Thermostat with phone
Thermostat Setting
In power off state: Long press the Up
key for 10 seconds.
Start WIFI configuration: When the WIFI
icon and EasyConfig are displayed on
the screen, WIFI configuration can be
used.
Easyconfig: network distribution can begin.
Connecting: the phone is connected normally.
Connected: distribution network complete.
Connect the distribution network to the WIFI branch server cloud.
Connection with Phone
Open Smart Life or Tuya Smart APP on your phone,
you can see APP welcome page.
When
the WIFI icon and EasyConfig are displayed
on the screen, you canstart the configure on your phone.
Wed
22:55
Set Te mp.
20
0
.
Wed
22:55
Auto
Set Te mp.
35
5
20
0
.
Perio d 6
17
.
0
Eas yConf ig
Connecting
EasyConfig
Connected
AP Config
Press the key to move the cursor and
select the setting parameters.
Press the key to display the week,
hour, and minute (as shown in the left
figure).
Before configuring the network thermostat, please check the
necessary settings on your phone:
 Loading...