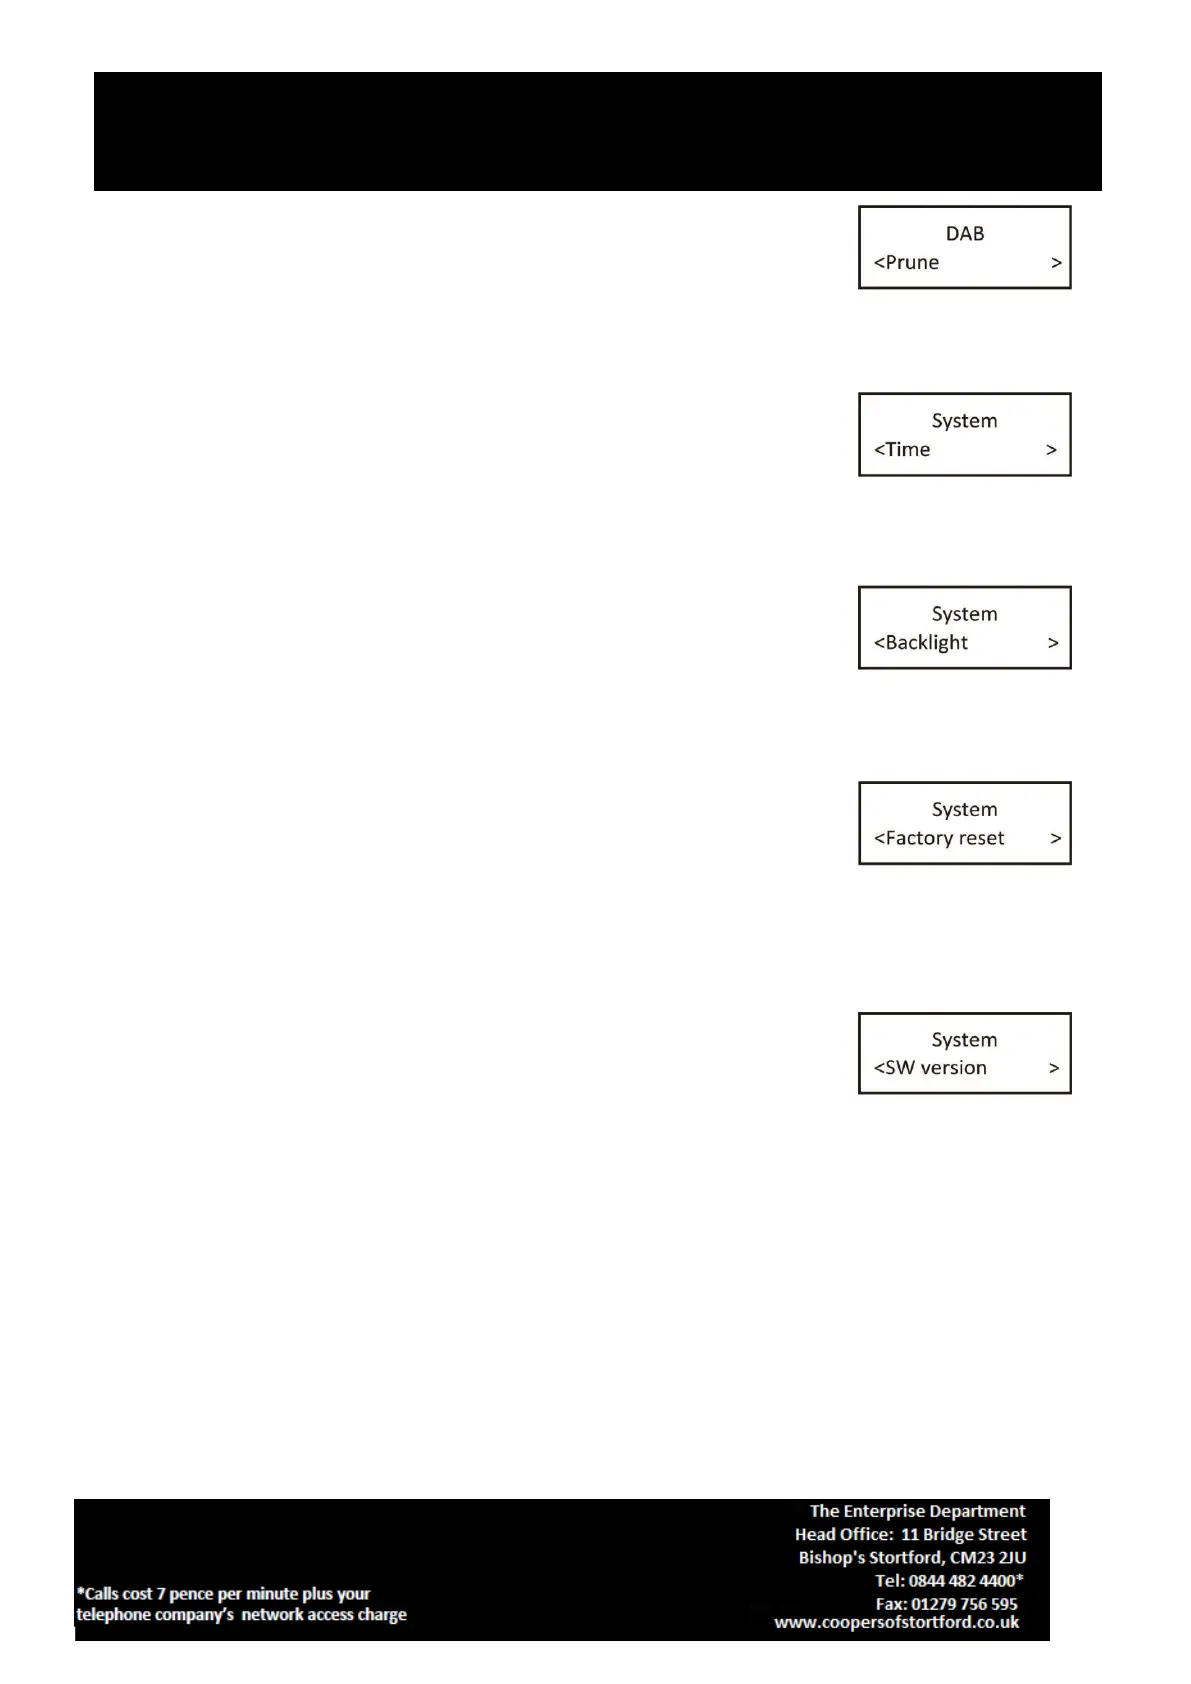
5. Prune – this removes all invalid stations indicated in the station list with a ‘?’ in
front of the station name. Under menu list, press the Next/ Previous button to
select “Prune” through the list of menu, Push SELECT button to confirm to fig.6.
Then press the Next/ Previous button to select <Yes>, and Push SELECT button to
confirm
6.0. Time – if there are any DAB signals, the radio will automatically update the
time. If there is no signal, can also be set manually to fig.7.
*Set Time/Date: set hour / set minute / set month / set date>set year > saved
*Auto update options: update from Any / update from DAB / update from FM /
no update
*Set 12/24 hour: 12hour/24hour
*Set date format: DD-MM-YYYY/MM-DD-YYYY Cycle through Time menu by Push the SELECT button, select a
particular option, and Push the SELECT button changes.
6.1. Backlight – this radio display has a backlight which can be adjusted. You can
select the time out of the display backlight of your radio. Under the system menu,
press the Next/ Previous button to select “Backlight” through the list of menu,
Push the SELECT button to confirm to fig.8. You can now use the Next/ Previous
button, then press the Next/ Previous button to select
Medium>High>Low, and Push SELECT button to confirm.
6.3. Factory Reset – this function clears all user defined settings, replacing them
with the original default values, so time/date, preferences/settings, DAB station
list and preset stations are all lost. Under the system menu, press the Next/
Previous button to select “Factory Reset” through the list of menu, Push the
SELECT button to confirm to fig.9. Then, use the Next/ Previous button to choose <Yes> and Push the SELECT
button to start the factory reset.
6.4. Software version – this is used to display the current software version.
Under the system menu, press the Next/ Previous button to select “Software
version” through the list of menu fig.10, Push the SELECT button to confirm.
Then, the existing SW version will be shown.
 Loading...