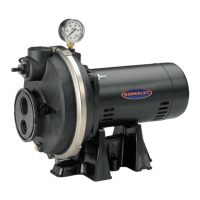
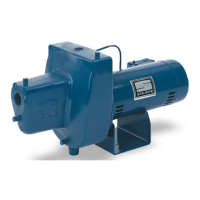
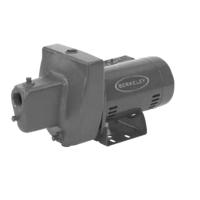
OPERATION
Preparing to Start the Pump – Deep Well
Never run pump dry. Running pump without
water may cause pump to overheat, damaging seal and pos-
sibly causing burns to persons handling pump. Fill pump with
water before starting.
Never run pump against closed discharge.
To do so can boil water inside pump, causing hazardous
pressure in unit, risk of explosion and possibly scalding per-
sons handling pump.
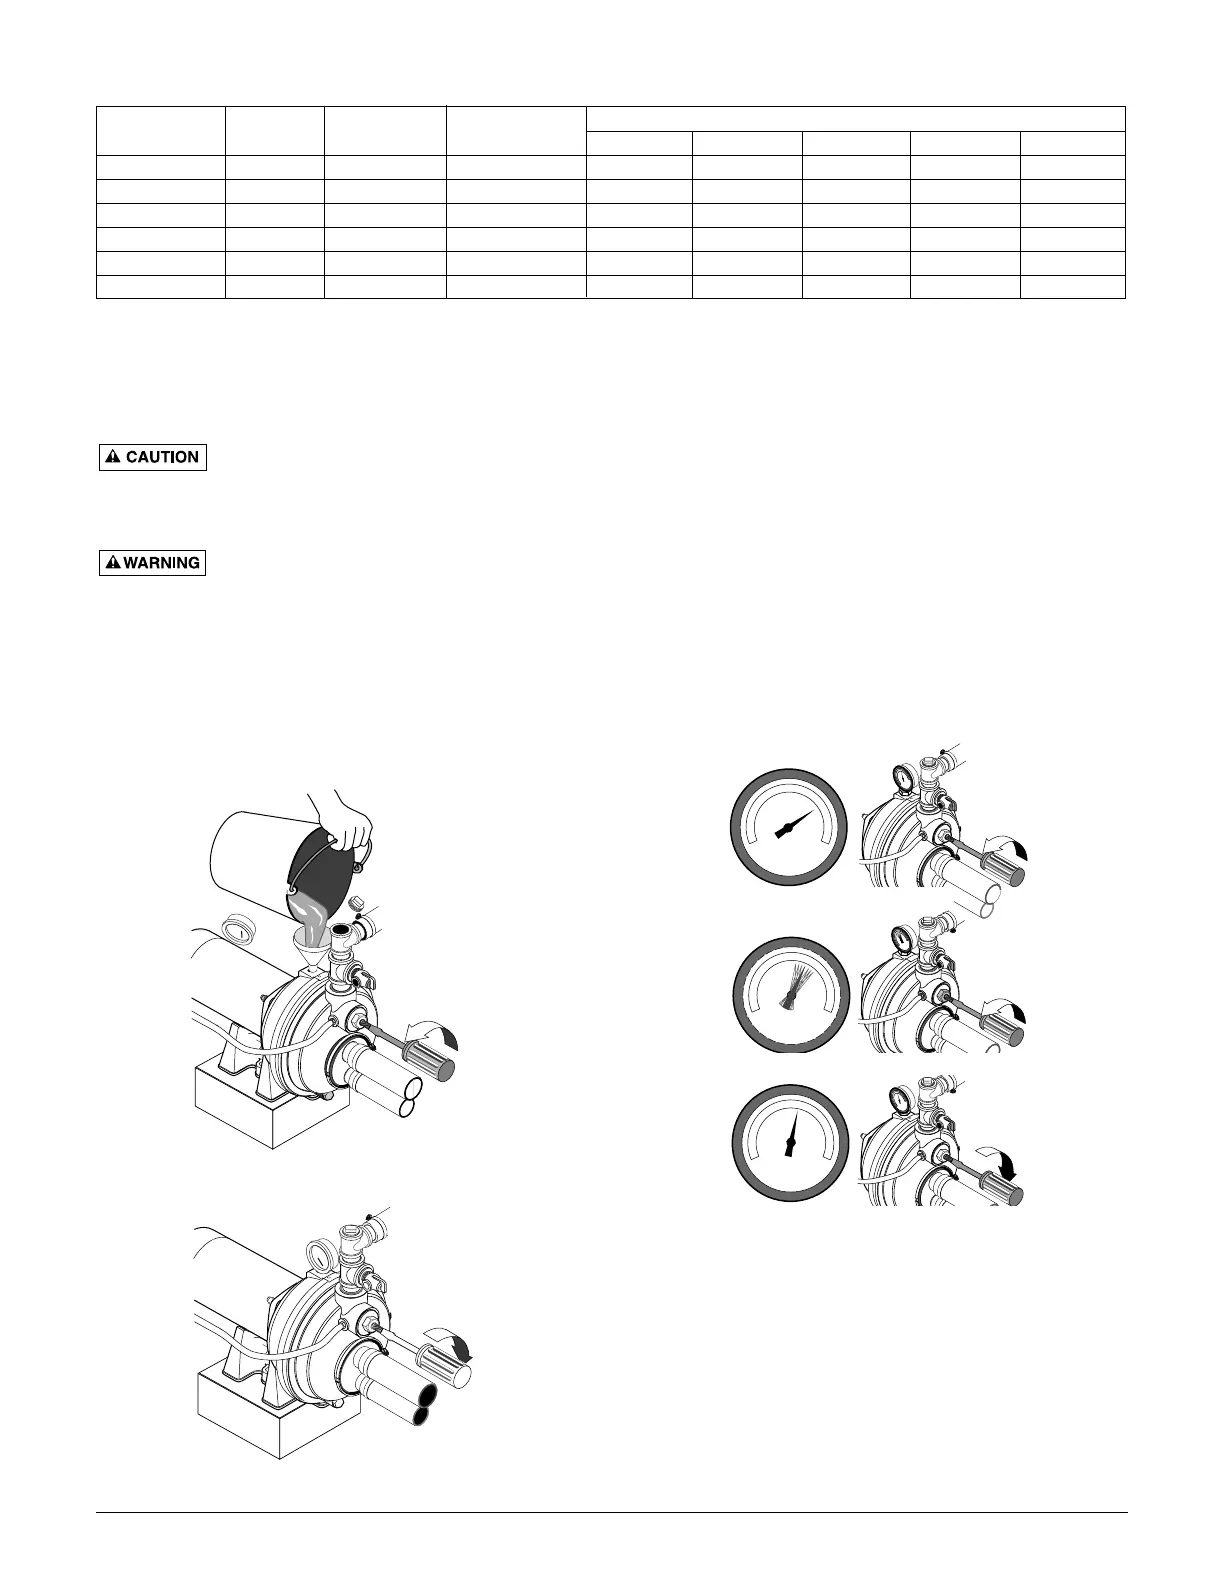
1. Open the control valve as far as possible (See Figure
13). Then remove the priming plug from the pump and fill
the pump, fill all piping between the pump and the well,
and make sure that all piping in the well is full. If you
have also installed a priming tee in the suction piping,
remove the plug from the tee and fill the suction piping.
2. Replace all fill plugs and close the control valve com-
pletely (See Figure 14).
3. Power on! Start the pump and watch the pressure gauge.
The pressure should build rapidly to 50 psi as the pump
primes.
4. After 2 or 3 minutes, the gauge should show pressure. If
not, stop the pump, remove the fill plugs, reopen the con-
trol valve, and refill the pump and piping. You may have
to repeat this two or three times in order to get all the
trapped air out of the piping. Don’t forget to close the
control valve each time before you start the pump.
5. When pressure has built up and stabilized at about 50
psi, slowly open the control valve (See Figure 15) and let
the pressure drop until the pressure gauge needle starts
to flutter. When the needle flutters, close the valve just
enough to stop the flutter (See Figure 15). Your pump is
now operating at its most efficient point.
9
or priming tee.
valve .
Figure 15 – Set Control Valve
Max. Load Branch Fuse Distance in Feet from Motor to Supply
Model Volts Amps Rating Amps* 0 - 100 101 - 200 201 - 300 301 - 400 401 - 500
3PL 115/230 8.8/4.4 15/15 14/14 12/14 10/14 8/14 8/12
5PL 115/230 12.2/6.1 20/15 12/14 10/14 8/14 6/12 6/12
7PL 115/230 14.8/7.4 20/15 12/14 8/14 6/14 6/12 4/10
10PL 115/230 16.2/8.1 25/15 10/14 8/14 6/14 6/12 4/10
10PLS11C 115/230 14.8/7.4 20/15 12/14 8/14 6/14 6/12 4/10
15PLS11C 115/230 16.2/8.1 25/15 10/14 8/14 6/14 6/12 4/10
WIRING CHART – RECOMMENDED WIRE AND FUSE SIZES
(*) Fusetrons are recommended instead of fuses on all motor circuits.