My BERNINA
9
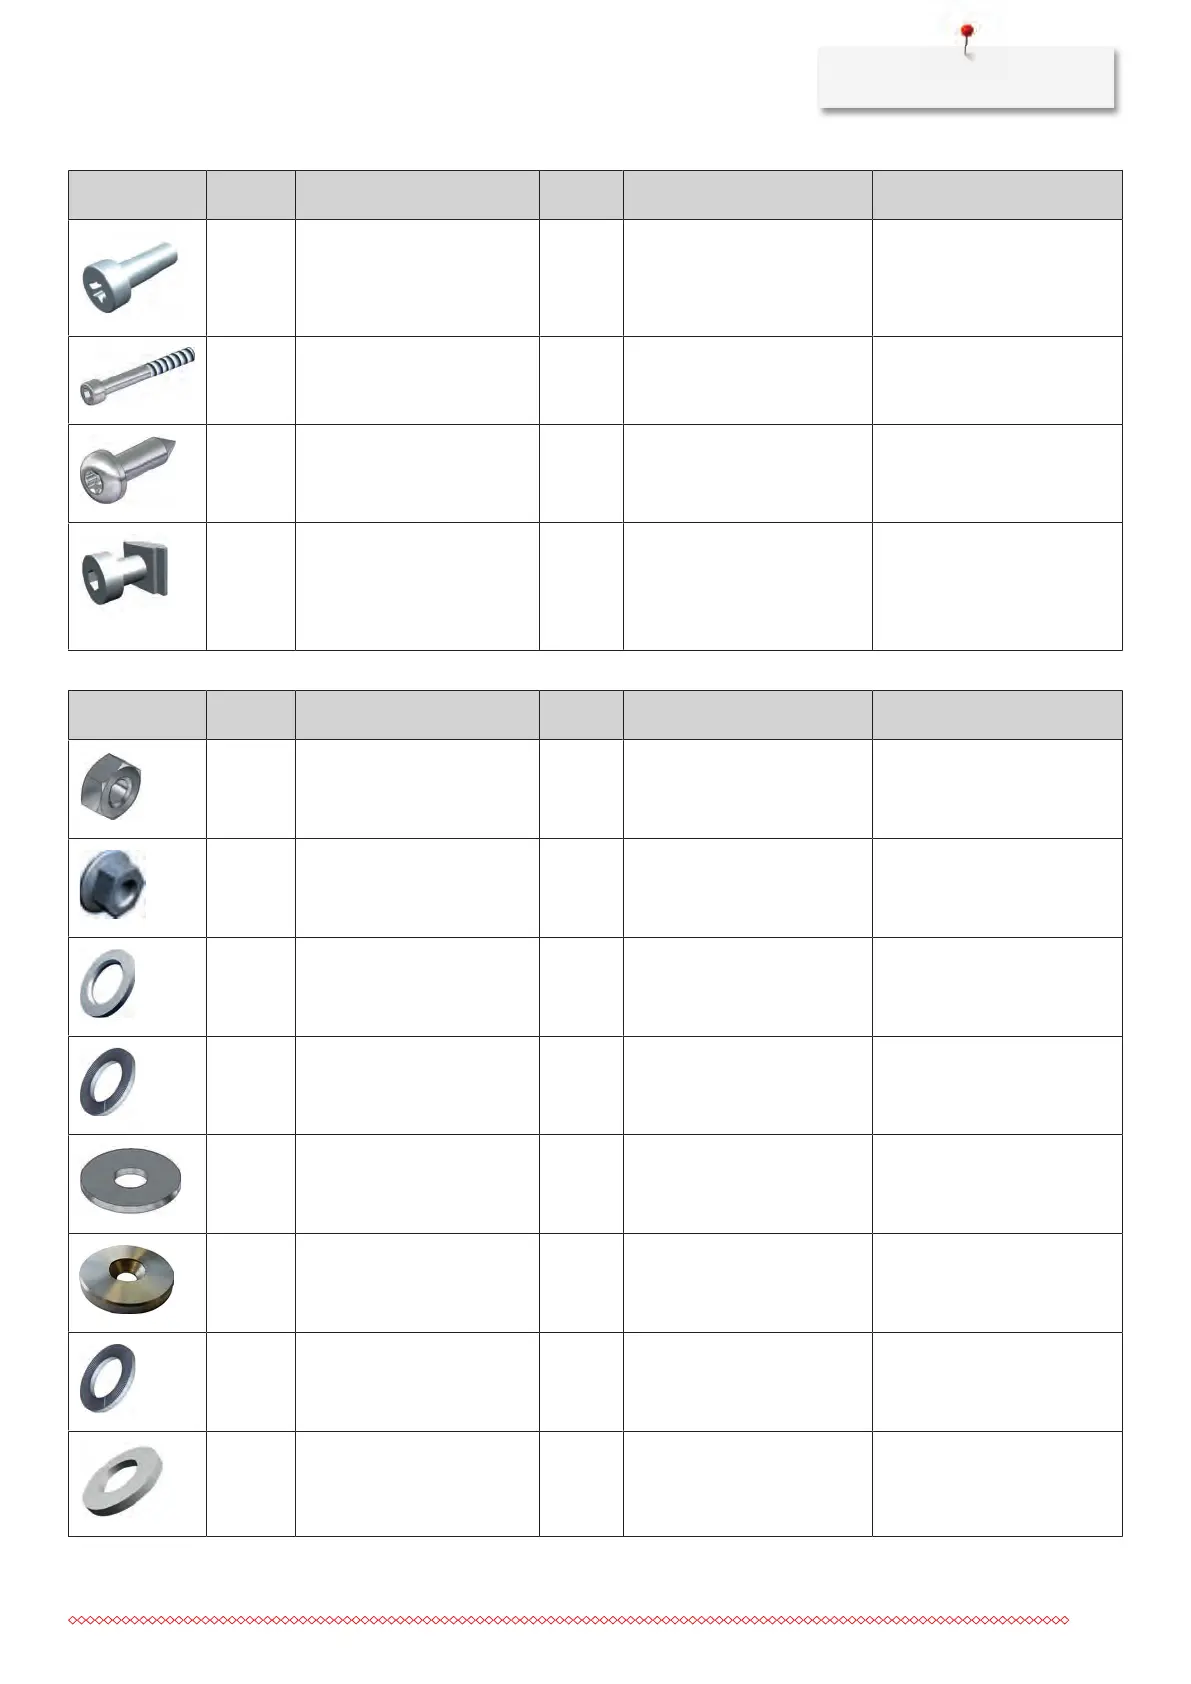
Figure Number Designation Code Tool Use
4 Head cap screw, M5×16 S10 Torx T25 screwdriver Carriage alignment
4 Head cap screw, M6×50 S11 Allen key no.5 Attaching the front bar
2 Button head self-tapping
screw, 6.3×22
S12 Torx T30 screwdriver Attaching the front track
10 Slot nut, M6, comprising a
square nut, an M6 serrated
washer and a head cap
screw (M6×12)
SN1 Allen key no.5 Attaching the rear bar
Attaching the front bar
Tab.1: Overview of screws
Figure Number Designation Code Tool Use
1 Nut, M4 N1 Carriage alignment
4 Hex nut, M5 N2 Carriage alignment
6 Washer, M10 W1 Attaching adjustable leveling
feet
8 Serrated washer, M8 W2 Rail support assembly
3 Washer, M8 W3 Attaching the lower cross bar
1 Countersunk washer, D25 W4 Attaching the Take-up rail
4 Serrated washer, M6 W5 Attaching the front bar
4 Washer, 5.3/10×1 W6 Carriage alignment
 Loading...