My BERNINA
10
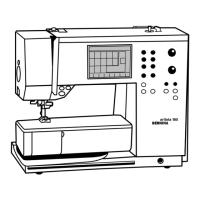
Figure Number Designation Code Tool Use
2 Serrated lock washer, M6 W7 Carriage alignment
Tab.2: Overview of washers, nuts
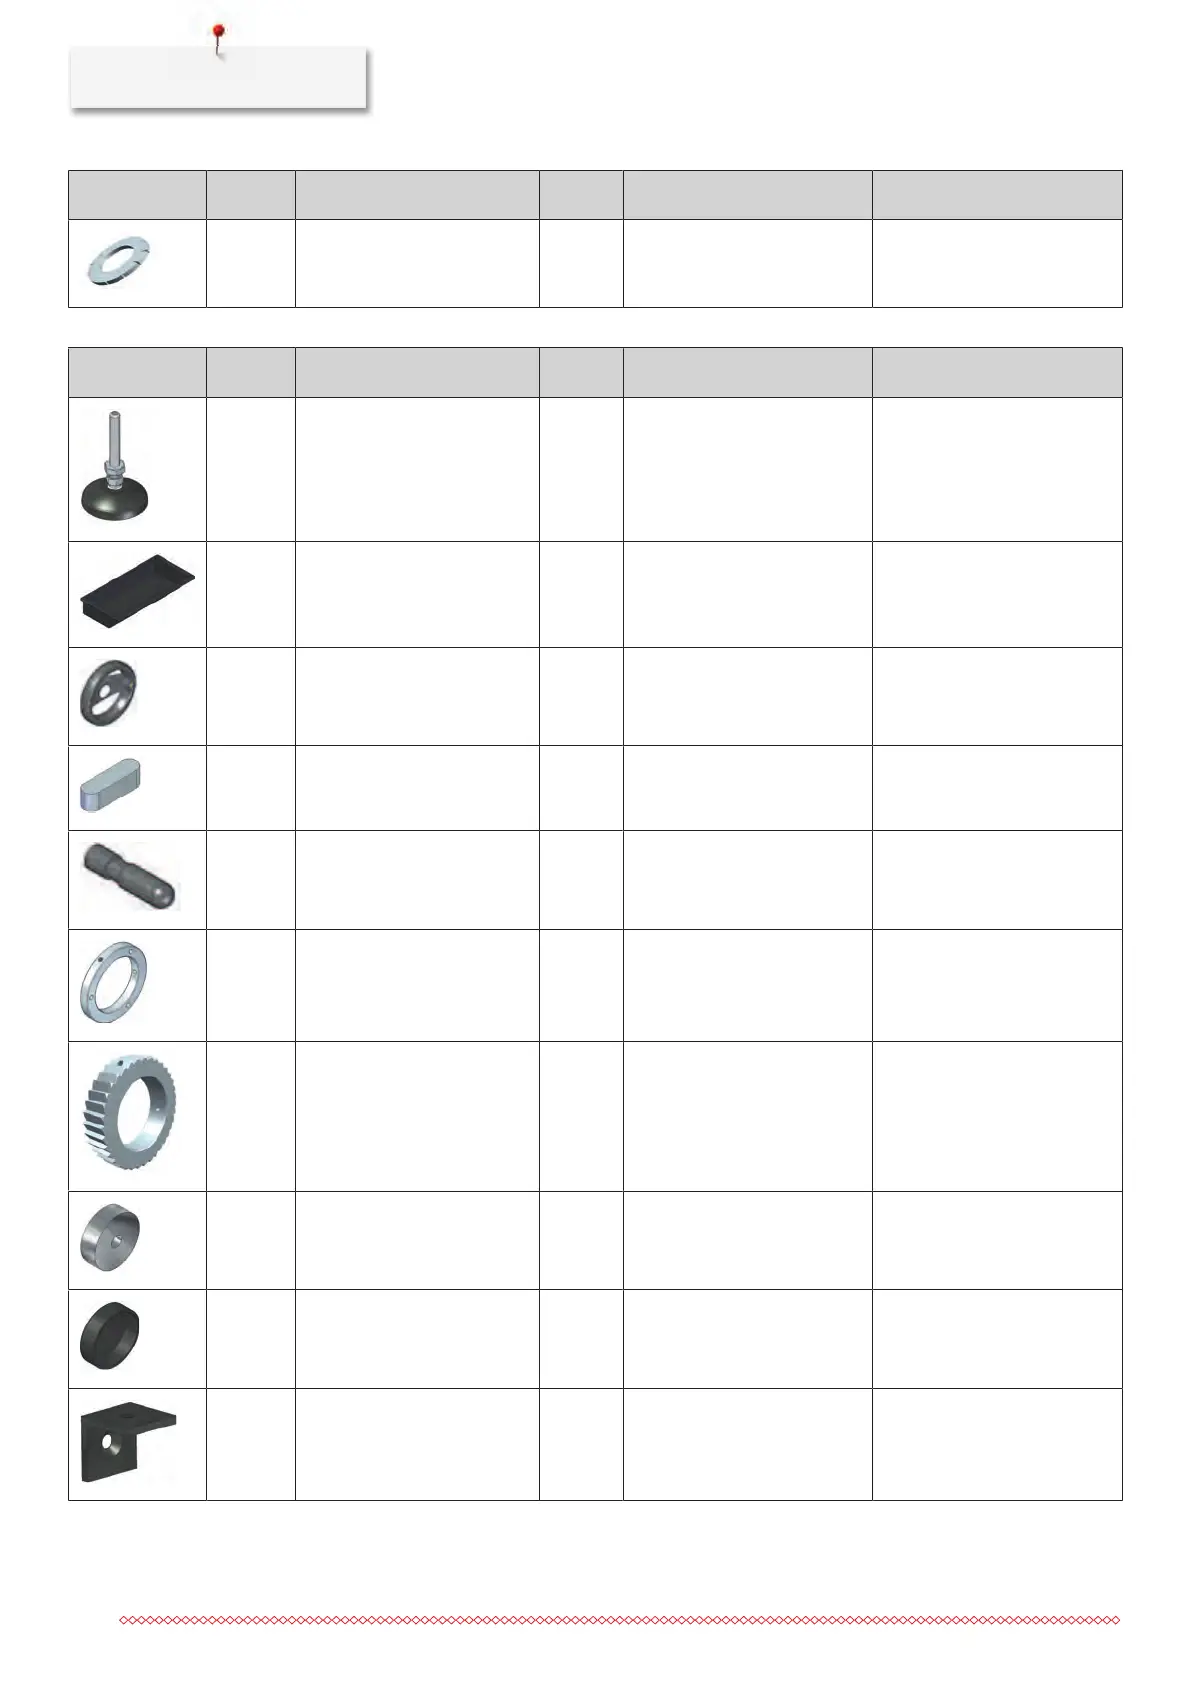
Figure Number Designation Code Tool Use
6 Leveling foot M1 Open-ended wrench no.14 Attaching adjustable leveling
feet
2 Storage tray, black M2 – Attaching the storage trays
1 Handwheel, black, sticker/
cover label
M3 Allen key no.3 Attaching the Take-up rail
1 Locking piece M4 – Attaching the Take-up rail
1 Winder bolt M5 Allen key no.4 Attaching the Take-up rail
2 Setting collar (with three
screwed-in grub screws)
M6 Allen key no.2 Attaching the backing rail
Attaching the Take-up rail
3 Ratchet wheel (with three
screwed-in grub screws)
M7 Allen key no.2 Attaching the backing rail
Attaching the Take-up rail
Attaching the Top rail
1 Magnet, circular M8 – Carriage alignment
1 Rubber cap for magnet,
black
M9 – Carriage alignment
8 Metal bracket, black M10 – Positioning tabletops
 Loading...