www.universal.bertazzoni.com
12
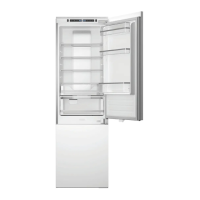
4. PANELS MOUNTING
115 (4 ½”)
(7
)
135
(5 )
1075 (42 )
min 100 (4”)
2050 (80 ¾”)
min 540 (21 ¼”)
max 635 (25”)
(7
)
A
3 ( )
1320 (52”)
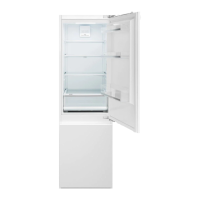
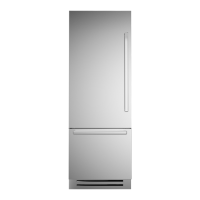
4.3 Panels dimensions
Example:
84” niche height
36” niche width
4” toe kick height
1/8” gap desired all around
Door panel:
Width: 35-3/4”
Height: 1320 (52”)
Drawer panel:
Width: 35-3/4”
Height: 84”-1/8”-54-3/4”-1/8”-4”=25”
If you want a 6” toe kick height
then your bottom drawer panel
height would be 23”
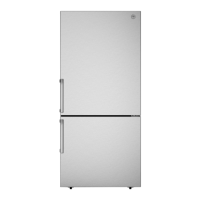
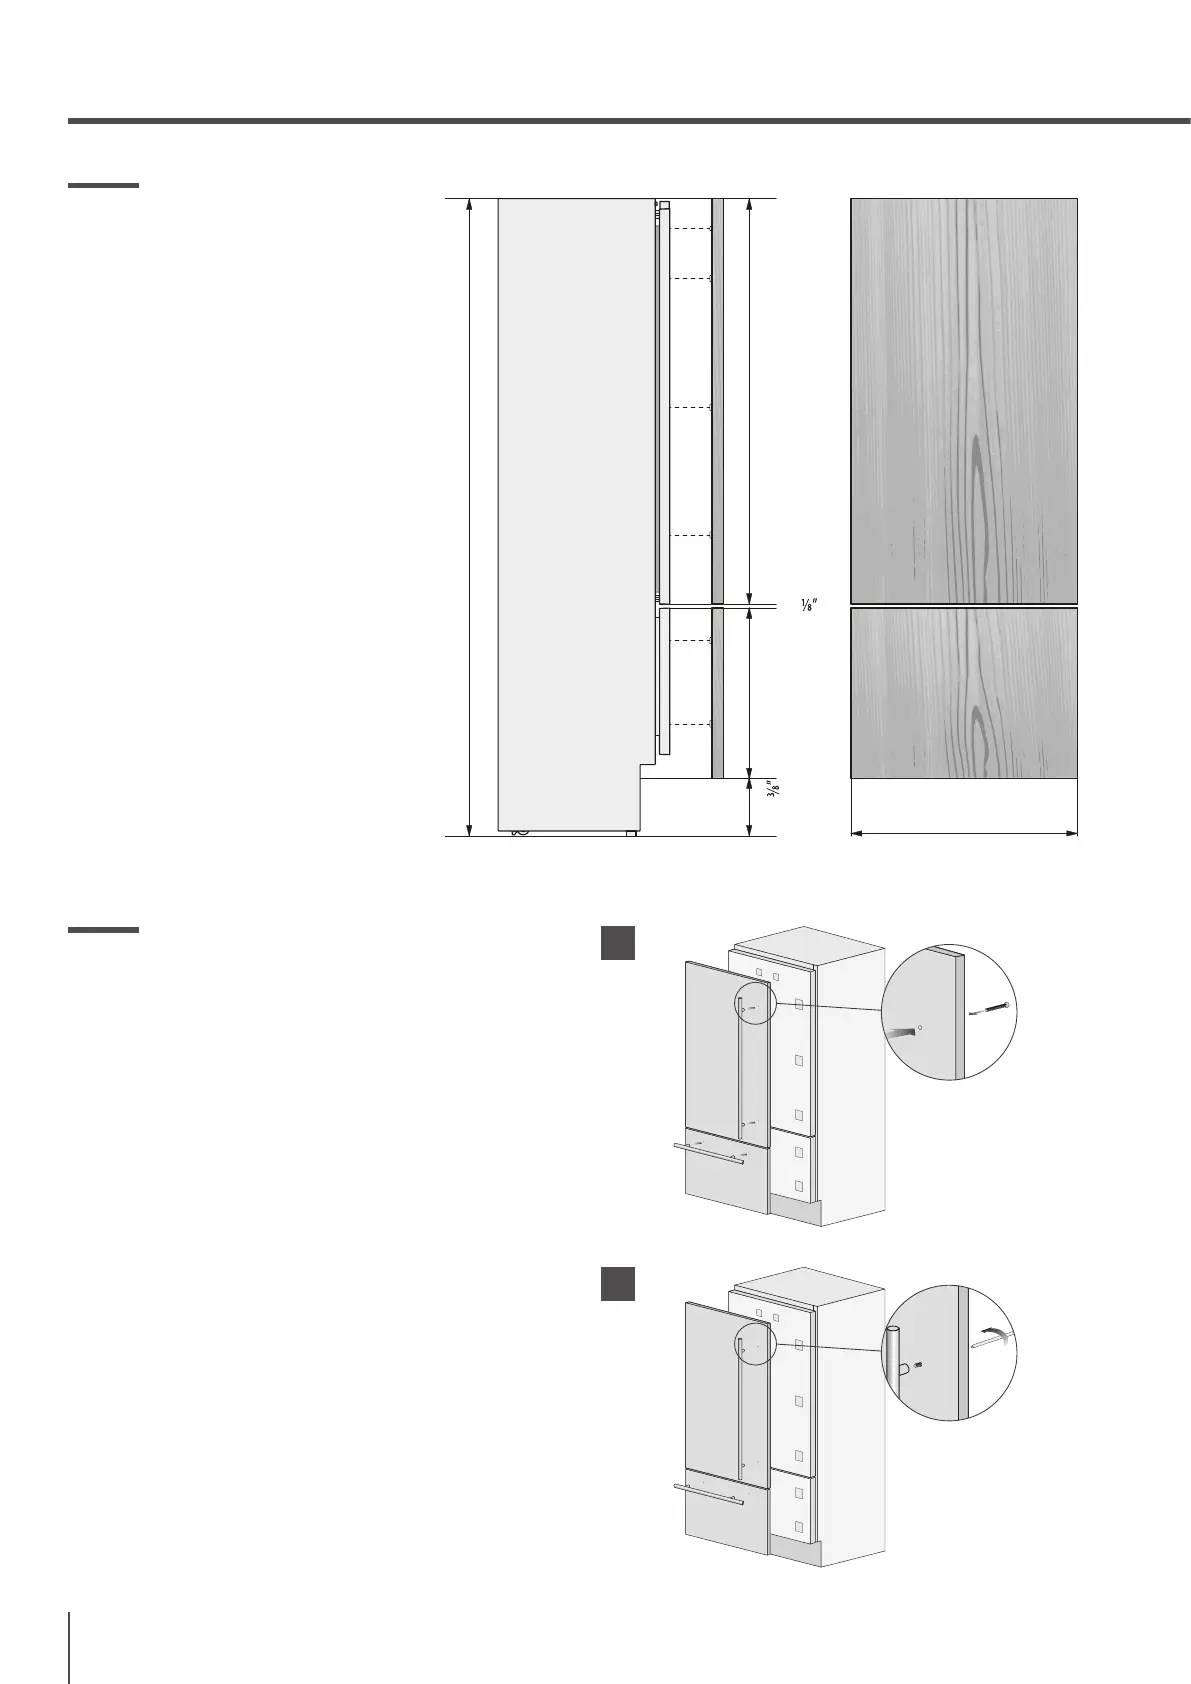
4.4 Mounting the handles on Integrated
units
Handles will have to be mounted on the panels be-
fore they are applied to the fridge. For overlay panel
mounting, remove the screw connecting the stand-
os to the handle bar.
The overlay screw will pass through the overlay pa-
nel, the stand-o and into the handle bar.
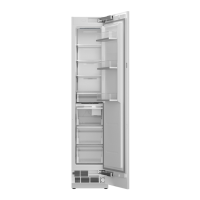
Operate as follows:
> Drill two holes of 5 mm (1/4 “) on the rear side pa-
nels, insert the supplied screws to the distance indica-
ted in the the table below. To center the vertical handle
(code HV) to the center of the door, split into two the
height of the panel and make a hole at -450 mm (-17
3/4”) and one at +450 mm (+17 3/4”) [ 1 ].
> Place the handle on top of the holes and insert
the screws through the panel and into the handle
support [ 2 ].
2
1