EN
www.universal.bertazzoni.com www.universal.bertazzoni.com
17
Operate as follows:
>
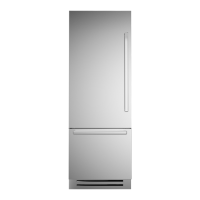
Once completed the previous steps, push the units in
their final position [ 5 ] .
If the units are to be installed inside a niche or within
an enclosed structure, it is not necessary to have addi-
tional ventilation at the back of the niche as European
units come with a factory installed ventilation cap on
top to prevent overheating. Always mount front panels
on door and drawer before pushing the unit into their fi-
nal position in the niche as the panels require additional
clearance at the top when being mounted.
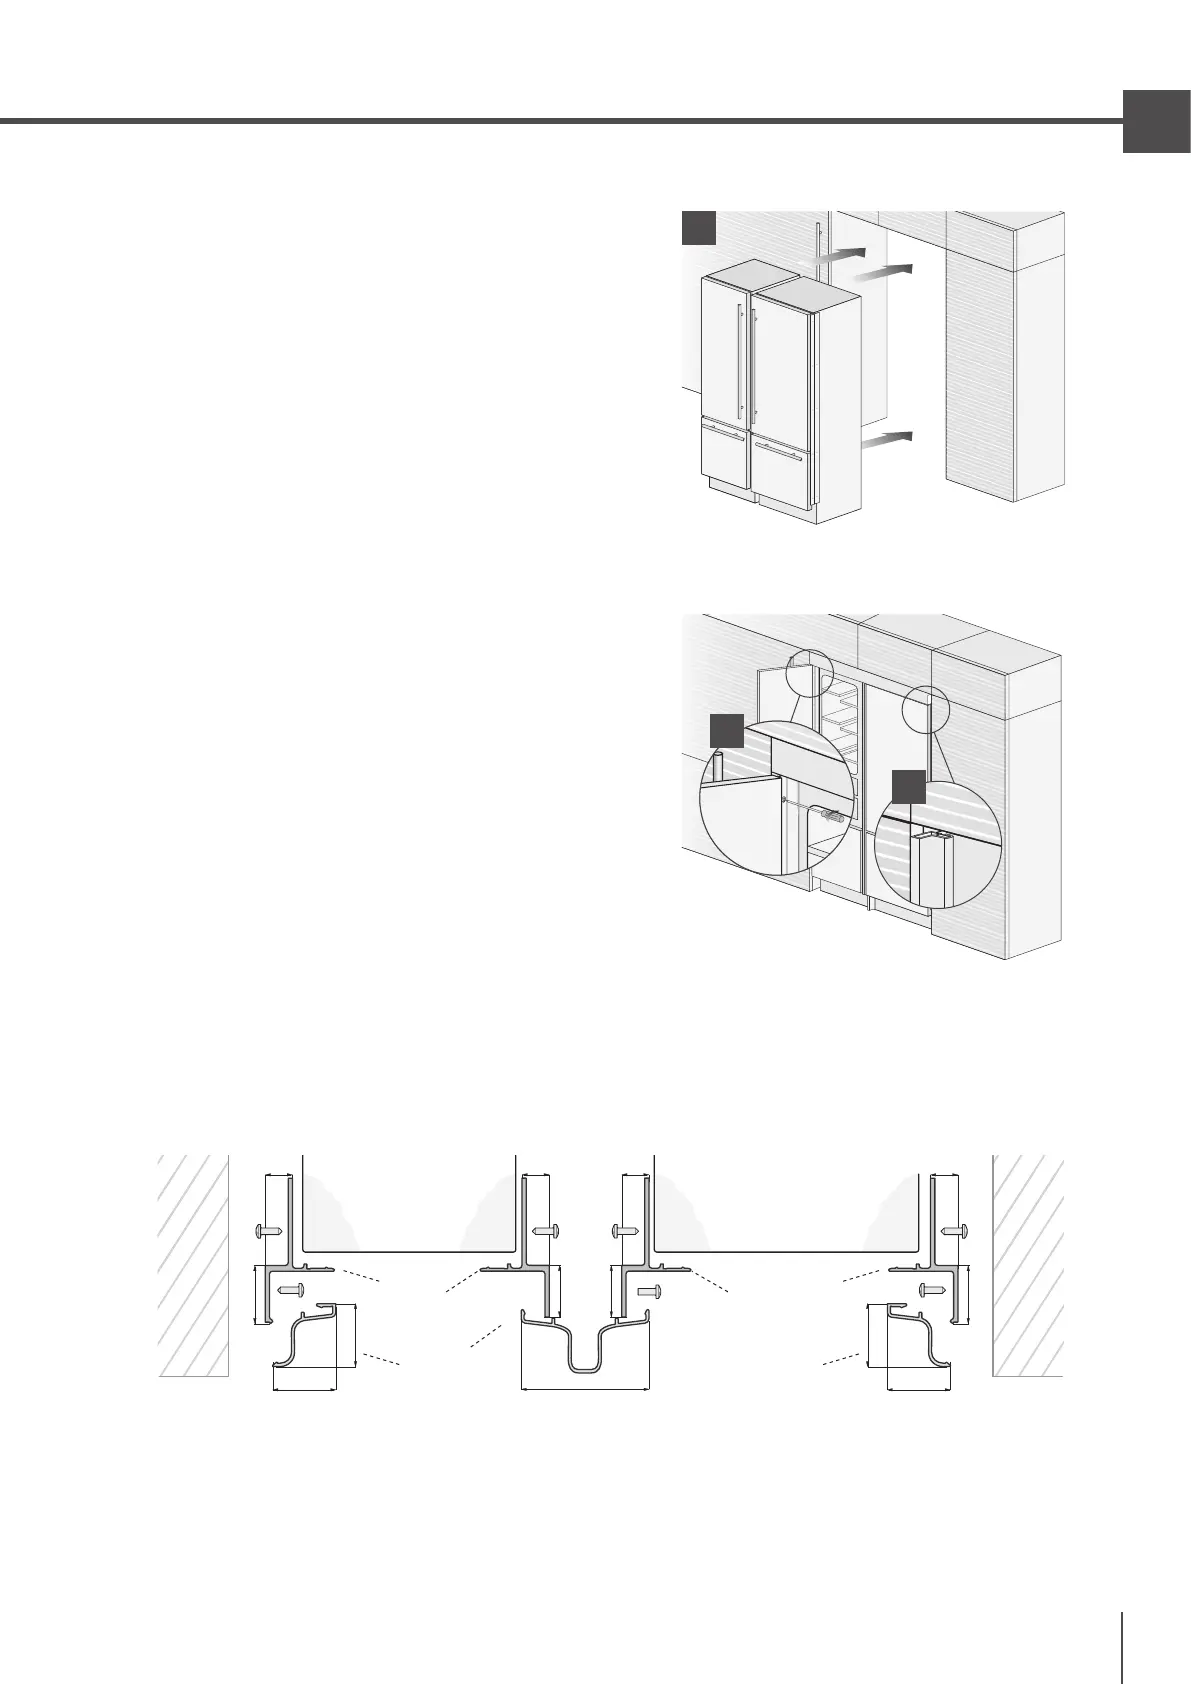
> Check the levelling of the appliance, adjusting its feet
and wheels to correct it.
> Using the provided screws secure the appliance to
the adjacent cabinets through the side profiles [ 6 ].
To make this operation easier keep the door and the
drawer open.
> Mount the aluminum trim covers onto the side pro-
file trims by mating with appliance face and niche
ceiling and then sliding towards the niche sidewalls
[ 7 ].
Press firmly until a click is heard. A wood block and
mallet may be needed to snap into place. Make sure
not to damage the trims.
5
6
7
E
D
A
B
A
B
D
6,5 (¼”) 6,5 (¼”)
20 (¾”)
20 (¾”)
22 (7⁄8”)
22 (7⁄8”)
22 (7⁄8”) 22 (7⁄8”)
6,5 (¼”)6,5 (¼”)
18 (¾”)
44,4 (1 ¾”)
18 (¾”)
C
13 (½”)
Appliance Appliance
Wall
or
furniture
Wall
or
furniture
A Connecting element
B Alluminium frame
D Connecting element
E Alluminium frame
SIDE AND CENTRAL PROFILES MOUNTING