EasyManua.ls Logo

Bestop Windjammer User Manual

Bestop Windjammer
5 pages
To Next Page IconTo Next Page
Page #1 background imageLoading...
Page #1 background image
80062 1
Rev. A 1298
WARNING
This product is designed to enhance the appearance of the
vehicle and to shield the occupants from ordinary weather con-
ditions. Do not rely in any way on the components of this product
to contain occupants within the vehicle, or to protect against
injury or death in the event of an accident. This product will not
protect the occupants from falling objects. Never operate vehicle
in excess of manufacturer’s specifications.
WEAR SEAT BELTS AT ALL TIMES.
Read and follow, precisely, all installation instructions provided
when installing this product. Failure to do so may result in a poor
fit and could place occupants of the vehicle in a potentially
dangerous situation.
Installation Tips
Before you begin installing this Windjammer assembly,
read all instructions thoroughly. Below are a few tips to
make this installation easier.
For a smooth fit:
For ease in installation, the Windjammer should be
installed at temperatures above 72° F. Below this tem-
perature, the fabric may contract an inch or more,
making it difficult to fit to the vehicle.
It is normal for the fabric to contract and wrinkle when
stored in the shipping carton. Within a few days after the
installation, the fabric will relax and the wrinkles will
disappear.
Windjammer
Installation Instructions
For: 1995 GEO Tracker and
Part Number 80062
Suzuki Sidekick
Question and Answer IconNeed help?

Do you have a question about the Bestop Windjammer and is the answer not in the manual?

Bestop Windjammer Specifications

General IconGeneral
BrandBestop
ModelWindjammer
CategoryAutomobile Accessories
LanguageEnglish

Summary

Safety and Warnings

Product Limitations and Risks

Product enhances appearance and weather protection, not occupant safety in accidents or against falling objects.

Mandatory Seat Belt Usage

Emphasizes the critical importance of wearing seat belts at all times.

Installation Tips

Optimal Installation Temperature

Install above 72°F to prevent fabric contraction and ensure easier fitting.

Managing Fabric Wrinkles

Fabric wrinkles from storage will naturally relax and disappear post-installation.

Installation Steps

Initial Windjammer Attachment

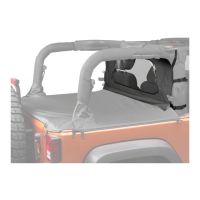
Drape Windjammer over header, align snaps, and attach to header panel near the dome light.

Optional Bikini Integration

Cut plastic areas on Bikini, thread straps through Windjammer openings, and attach to vehicle handles.

Advanced Installation

Securing the Retainer Strip

Slip the notched plastic strip along the Windjammer sides into the vehicle's retainer.

Optional Duster Compatibility

Adjust hook and loop fasteners on Windjammer and Duster for a smooth, integrated fit.

Accessory Compatibility Overview

Integrated Accessory Usage

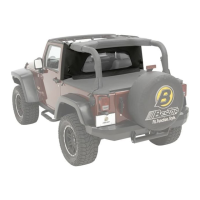
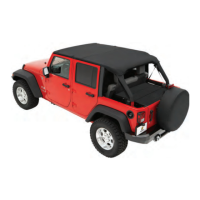
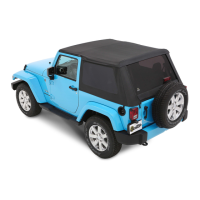
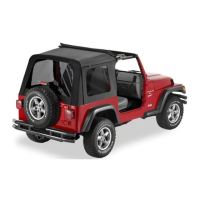
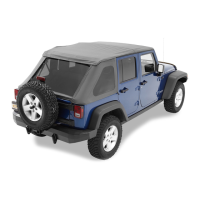
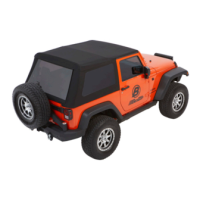
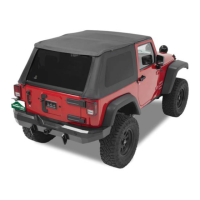
Windjammer can be used alone or with Duster Deck Covers and Bikini Tops for integrated use.

Care and Maintenance

Cleaning and Preserving Your Top

Guidelines for washing fabric, cleaning windows, sealing seams, and maintaining snaps for longevity.

Product Warranty Information

Limited Warranty Terms and Claims

Details on warranty period, coverage, exclusions, and procedures for making a warranty claim.

Related product manuals