Do you have a question about the Bestop WrapAround Windjammer and is the answer not in the manual?
Read instructions thoroughly and install above 72°F for best fit. Fabric may contract and wrinkle initially.
Wear safety glasses. Do not rely on product for occupant restraint or injury protection. Always wear seat belts.
Lists all included parts and hardware with part numbers and quantities for installation.
Remove side and rear windows, and fold down the soft top from the windshield.
Wrap fabric tightly around bows and remove the soft top assembly and hardware from the vehicle.
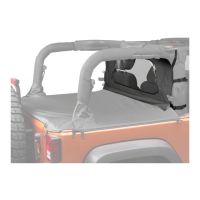
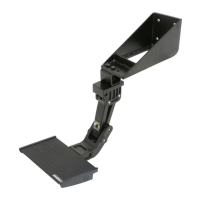
Install the 'Z' channel to the vehicle riser and secure the Windjammer to the door surround.
Fasten top straps around sport bar and secure Windjammer fabric strip into the 'Z' channel.
Release and fasten web straps to secure the center flap of the Windjammer to the top of the door.
Optional steps to secure the Windjammer flap to the Duster using snaps and locknuts.
Instructions for washing, cleaning windows, and repairing fabric to maintain the product.
Details on the product warranty period, coverage, limitations, and how to make a claim.
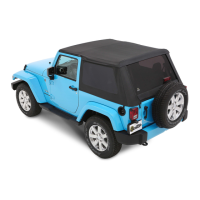
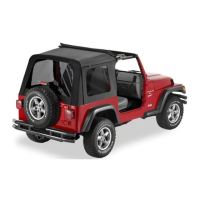
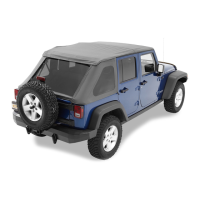
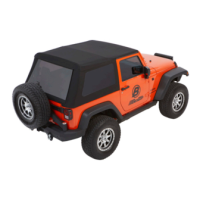
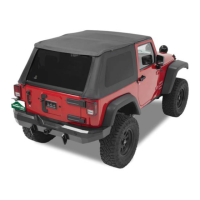
| Compatibility | Jeep Wrangler models |
|---|---|
| Color Options | Black |
| Purpose | Reduces wind and drafts inside the Jeep Wrangler; provides protection from the elements; extends the open-air driving season |
| Installation | Easy, no-drill installation |
| Features | Wrap-around design |
| Attachment | Attaches to sport bar and soft top belt rail channels; uses straps, buckles, and hook and loop fasteners |