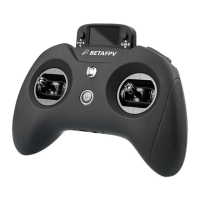
02
1.Button Functions
● Power Button: Turn the radio transmitter o/on.
● SETUP Button: Enter joystick calibration mode after radio transmitter is powered
on.
● BIND Button: Enter binding mode after radio transmitter is powered on.
There are three buttons on LiteRadio 3 radio transmitter.
2.Power On/O
POWER ON: Long press the power button on the radio transmitter for 3 seconds
until it beeps three times (do re mi) then release. The radio transmitter LED ring will
ash red quickly, then remain blue.
POWER OFF: A long press of the power button on the radio transmitter will turn it
o after three beeps (mi re do).
3.LED Indicator and Buzzer
The LED ring indicates the working status of the radio transmitter.
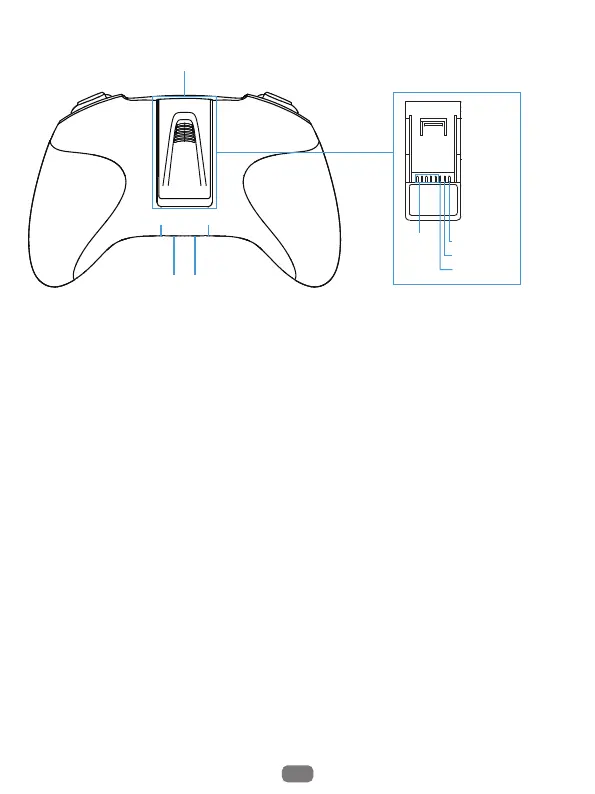
The back side of the radio transmitter.
SETUP
BIND
Audio Po
Type-C Po
NANO Bay
NC
VCC
GND
CRSF.po
 Loading...
