14 Beurer GL44 mmol/L
4.2 Making and changing basic settings
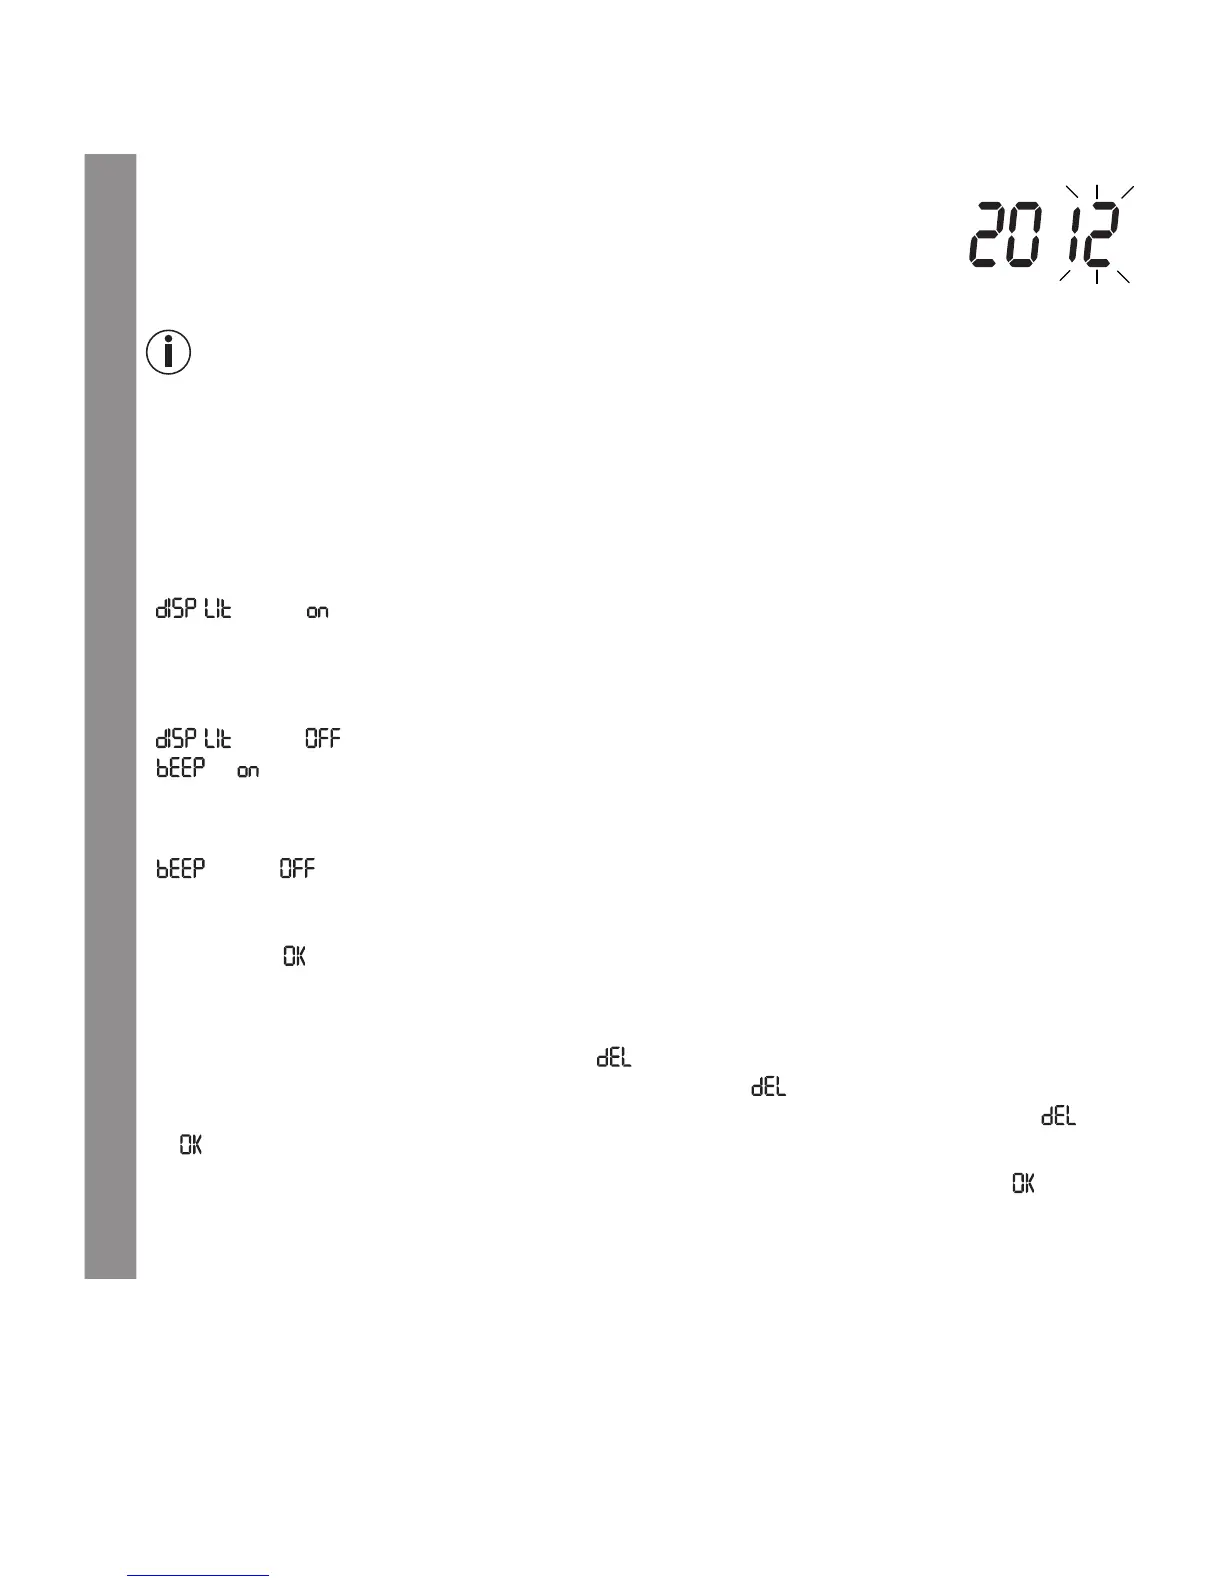
1
Remove the batteries and reinsert them. Alternatively, press the “+” button
and the On/O button for a minimum of five seconds.
An acoustic signal sounds.
The year display flashes.
2
Setting the date and time
Note
•
You must set the date and time. Otherwise, you will not be able to save your measured values
correctly with a date and time to retrieve them later.
•
The time is displayed in the 24-hour format.
Set the year (calendar to 2099) by pressing the “+” or “–” button. Confirm by pressing the On/
O button [4].
The day display flashes.
Proceed as described above for the month, day, hour and minute.
“ ” and “ ” will be displayed. The background of the display is simultaneously illumi-
nated for a few seconds.
3
Switch backlighting on/o
To switch the blue backlighting o, press the “+” or “–” button.
“ ” and “ ” will be displayed. Confirm by pressing the On/O button [4].
“
”, “ ” and the speaker symbol are displayed.
4
Switching the acoustic signal on/o
To switch the acoustic signal o, press the “+” or “–” button.
“
” and “ ” is displayed.
The speaker symbol is no longer shown in the display.
Confirm by pressing the On/O button [4].
“
Mem
” and “ ” are displayed.
5
Deleting stored values
Proceed as follows to delete stored values:
•
Press the
“+”
or
“–”
button. “Mem” and “ ” are displayed
•
Confirm by pressing the On/O button
[4]
. “Mem” and “ ” flash in the display.
•
To irreversibly delete your values, press the On/O button again to confirm. “Mem”, “ ” and
“ ” are displayed.
If you do not wish to delete your values, press the “+” or “–” button. “
Mem
” and “ ” are dis-
played again. Confirm by pressing the On/O button.
6
The blood glucose monitor is now ready for operation