18
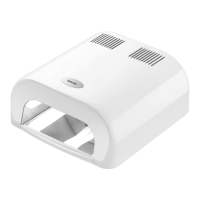
5. INITIAL USE
• Remove the packaging material.
• Make sure that all parts specified in the Included in delivery
list are contained (see 1. Included in delivery).
• Check the paran bath and mains cable for damage.
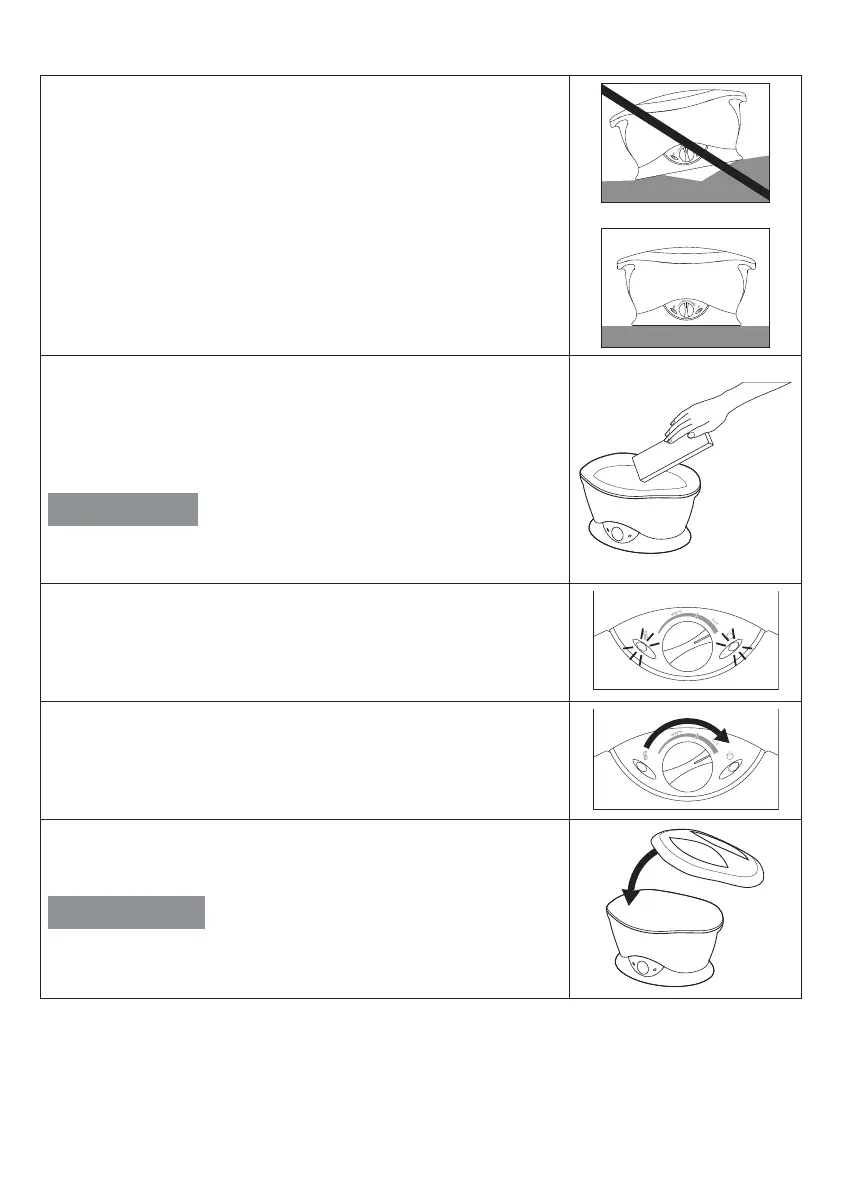
• Place the paran bath on a flat, secure, even and water-re-
sistant surface or table.
• Make sure that the paran bath is empty before filling it with
paran wax.
• Remove the paran wax from its plastic packaging.
• Put the desired amount of paran wax (minimum 0.9 kg,
maximum 1.35 kg) into the paran bath. In order to make it
easier to put the paran wax into the paran bath, break up
the blocks of paran wax.
CAUTION
Make sure that the paran bath is always filled with paran wax
up to at least the MIN fill indicator line before use.
• Insert the mains plug into the socket (240 V~, 50/60 Hz).
The green operation light on the paran bath will light up.
The device is now switched on. The red heating light on the
paran bath will also light up, and will only go out when the
specified heat setting has been reached.
• Turn the temperature controller to “hot” to melt the paran
wax.
• Now place the lid on the paran bath and wait until the par-
an wax has completely melted (around 2-3 hours).
WARNING
If the paran bath is set to “hot”, never dip your hands, feet or
elbows in the paran wax.