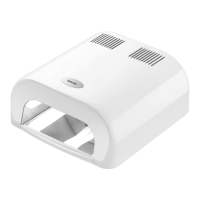
19
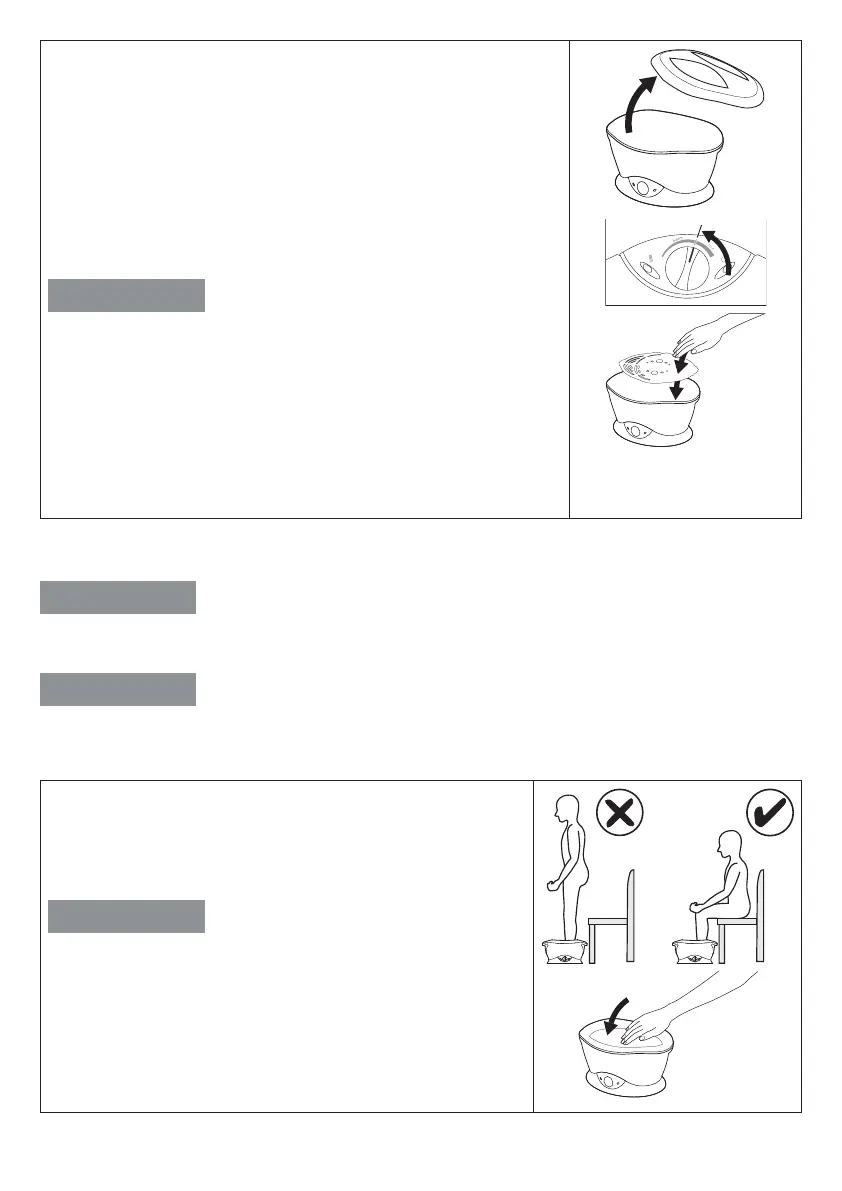
• As soon as the paran wax has completely melted, remove
the lid.
• Turn the temperature controller to the marked line between
“warm” and “hot”.
• Lay the protective grille included in the delivery contents in
the liquid paran wax and wait until it has sunk to the bot-
tom of the paran bath.
• Put the lid back onto the paran bath and wait approxi-
mately one hour, until the paran wax has cooled to an ideal
operating temperature (60°C).
WARNING
The room temperature can aect the power of the device and
consequently the temperature of the wax.
Before submerging your hands, feet or elbows in the paran
bath, use the inside of your wrist to check that the temperature
of the wax is comfortable.
If a skin should form on the wax surface, increase the tempera-
ture by turning the temperature controller clockwise. If the par-
an wax is too hot for you, reduce the temperature by turning
the temperature controller anti-clockwise.
6. USAGE
WARNING
Before submerging your hands, feet or elbows in the paran bath, use the inside of your wrist
to check that the temperature of the wax is comfortable.
WARNING
Take o your jewellery (e.g. watches, rings, etc.) before treatment.
After you have completed the necessary preparations from “Chapter 6 Initial use”, you can
begin using the device. To start the treatment, carry out the following steps:
• We recommend applying a lanolin-based hand lotion to
the areas to be treated before treatment. This will help
you achieve a better result, and will make it easier to
remove the paran wax after treatment.
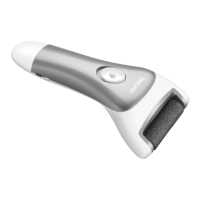
WARNING
When using the paran bath on your feet, only use it sitting
down. Never stand in the paran bath.
• Briefly submerge the area to be treated (your hand, foot
or elbow) for 1-2 seconds in the liquid paran wax.
Remove your hand again and wait briefly until the wax
has solidified. During this time, do not move the treated
area, so that the wax can solidify properly.
1-2 s