4-4 602469_1009
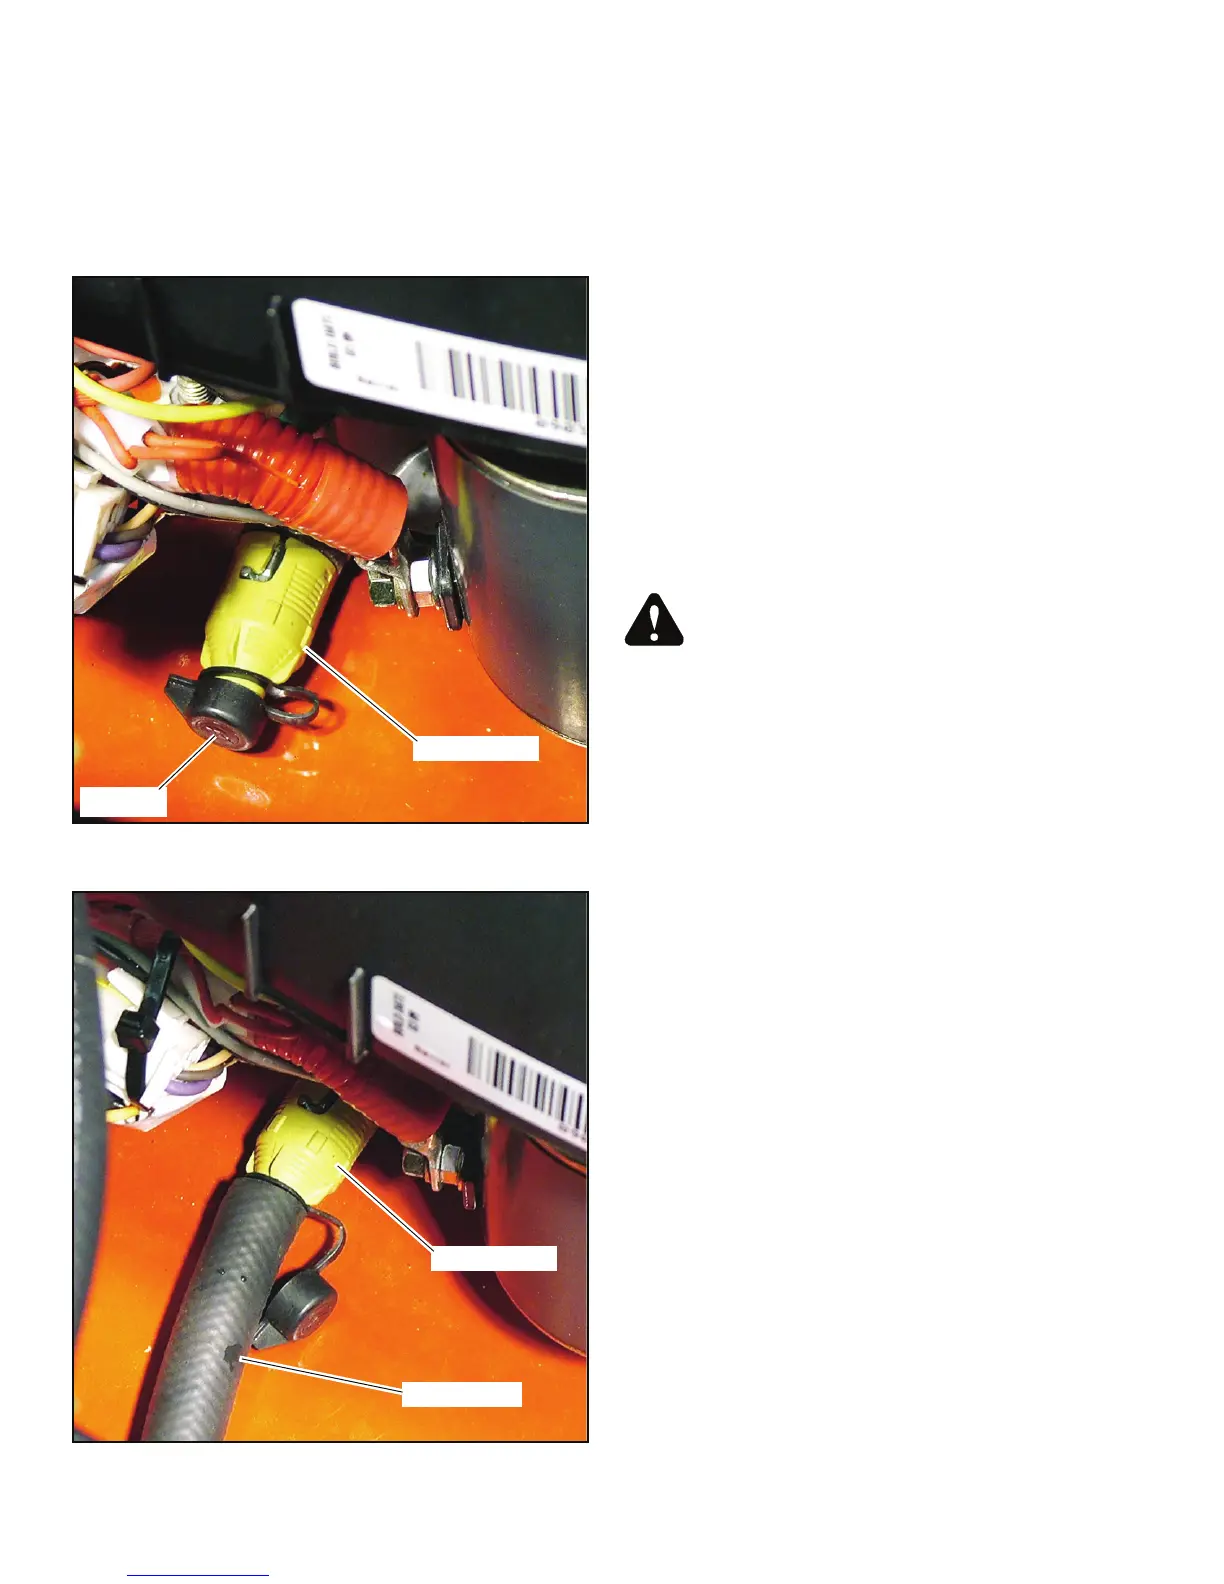
7. After oil is drained, close the valve by pushing in on the
valve body and twisting it clockwise.
8. Once the valve is closed, carefully remove the oil drain
hose and clean up any spilled oil.
IMPORTANT: All oil drips or spills must be cleaned off
of the exhaust system before operating the machine.
9. Re-install the dust cap on the oil drain valve nipple.
10. Clean the oil drain hose and store it appropriately.
Engine air filter
Perform engine air filter maintenance per the engine’s
owner’s manual.
General engine maintenance
Detailed instructions and recommendations for break-in and
regular maintenance are specified in the Engine Owner’s
manual. Please refer to this manual for engine servicing,
lubricating oil levels with quality and viscosity
recommendations, bolt torques, etc. The engine warranty is
backed by the manufacturer. Special attention should be paid to
applicable data which will not be duplicated here.
Belts
BigDog™ Mowers C Series mowers have two belts. Inspect
belts frequently for wear and serviceability. Replace a belt that
shows signs of severe cuts, tears, separation, weather checking
and cracking, or burns caused by slipping. Slight raveling of belt
covering does not indicate failure, trim ravelings with a sharp
knife.
WARNING: If the pump belt fails, loss of control will
occur especially when operating on a slope. If you
lose steering control while operating the machine,
place the steering control levers in the park brake
position immediately. Inspect the machine and
involve your BigDog™ Mowers dealer to resolve
the problem before continuing to operate.
Inspect the belt pulley grooves and flanges for wear. A new
belt, or one in good condition, should never run against the
bottom of the groove. Replace the pulley when this is the case,
otherwise belt will lose power and slip excessively.
Never pry a belt to get it on a pulley as this will cut or damage
the fibers of the belt covering.
Keep oil and grease away from belts, and never use belt
dressings. Any of these will destroy the belt composition in a
very short time.
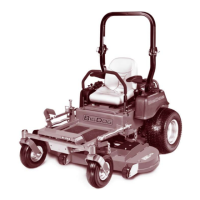
Seat adjustment
The seat can be adjusted forward and rearward by loosening
the two cap screws on the seat latch, sliding the seat latch to the
left and pivoting the seat platform up and forward. Then loosen
the four cap screws on the underneath side of the operator’s
platform. Position the seat where you have the best control of
the machine and are the most comfortable and then tighten the
cap screws. Fig. 4-4
Make sure to latch the seat platform in place and tighten the
two cap screws when done with the adjustment.
Steering control lever adjustment
The steering control levers can be adjusted for operator
comfort. By loosening the cap screws that attaches the upper
control lever to the lower lever (Fig. 4-5), the upper control
lever can be pivoted to fit the operator’s personal preference.
The steering control levers can also be adjusted up and down.
Remove the cap screws and slide the upper control lever up or
down and align the holes in it with the holes in lower lever. Re-
install the cap screws and tighten.
Fig. 4-2
Fig. 4-3
Oil drain valve
Oil drain hose