How to Use BCM-600 19
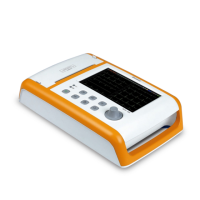
BCM-600
Electrocardiograph (Ver 1.0)
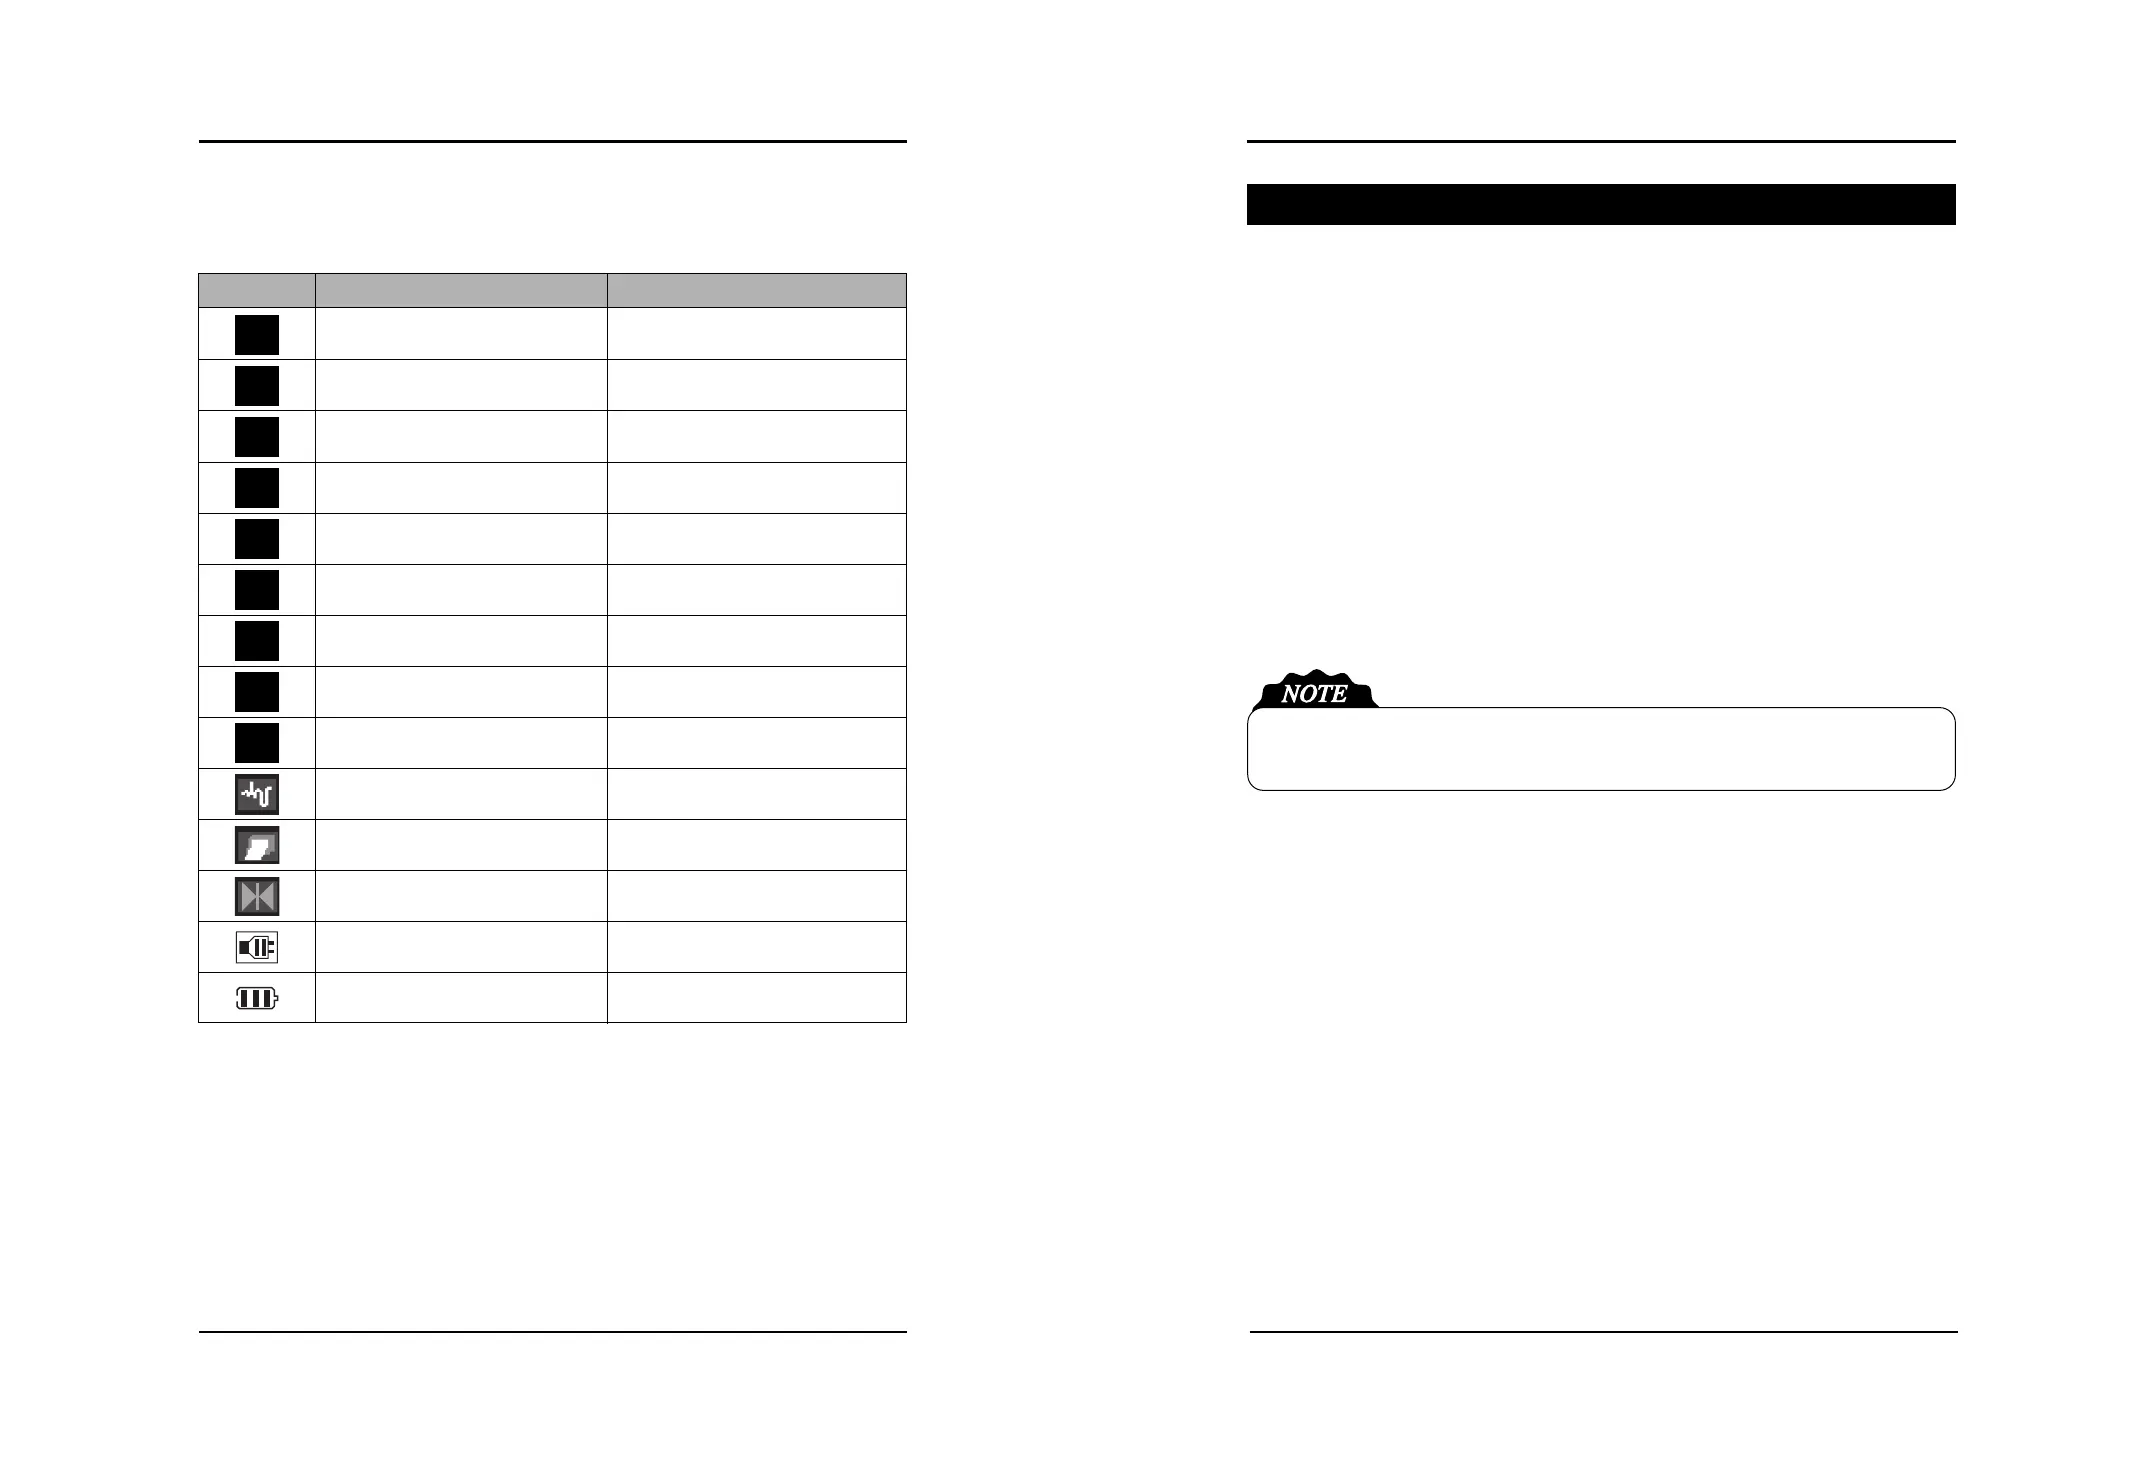
18 Description of Product Symbols
(Table 1). Explanation of screen icons
Icon Meaning How to display
Limb Electrode (R) lead check
Limb Electrode (L) lead check
Limb Electrode (F) lead check
Chest Electrode (C1) lead check
Chest Electrode (C2) lead check
Chest Electrode (C3) lead check
Chest Electrode (C4) lead check
Chest Electrode (C5) lead check
Chest Electrode (C6) lead check
Auto diagnosis
Printing
Waveform stop
AC in use
Battery in use
Normal (Green) Abnormal(Red)
Normal (Green) Abnormal(Red)
Normal (Green) Abnormal(Red)
Normal (Green) Abnormal(Red)
Normal (Green) Abnormal(Red)
Normal (Green) Abnormal(Red)
Normal (Green) Abnormal(Red)
Normal (Green) Abnormal(Red)
Normal (Green) Abnormal(Red)
Flickers at 1-second interval.
Flickers at 1-second interval.
Flickers at 1-second interval.
Fixed.
Fixed.
How to Use BCM-600
(1) How to Use
Step 1) Turn on the main power switch at the back of the product. Check the light-on status of the
AC LED in the front, and push the power switch 1~2 seconds to turn it on.(If any
problems occur, refer to the “How to solve the problems” section in the manual)
Step 2) If you want to change the setting value etc. during use, push the Menu button to change
the setting values per each measurement parameter
Step 3) When the measurement sensor is connected to the patient, the information of the patient
electrocardiogram is displayed as values and waveforms on the LCD screen
Push the Power button 1~2 seconds when turn it off and then “Power off” massage will be
displayed.
R
L
F
C1
C2
C3
C4
C5
C6