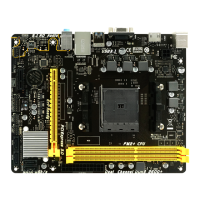
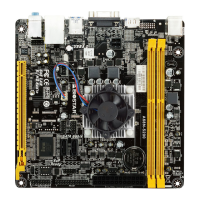
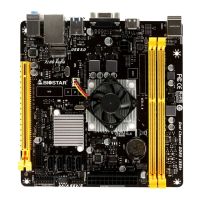
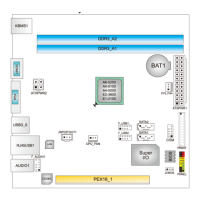
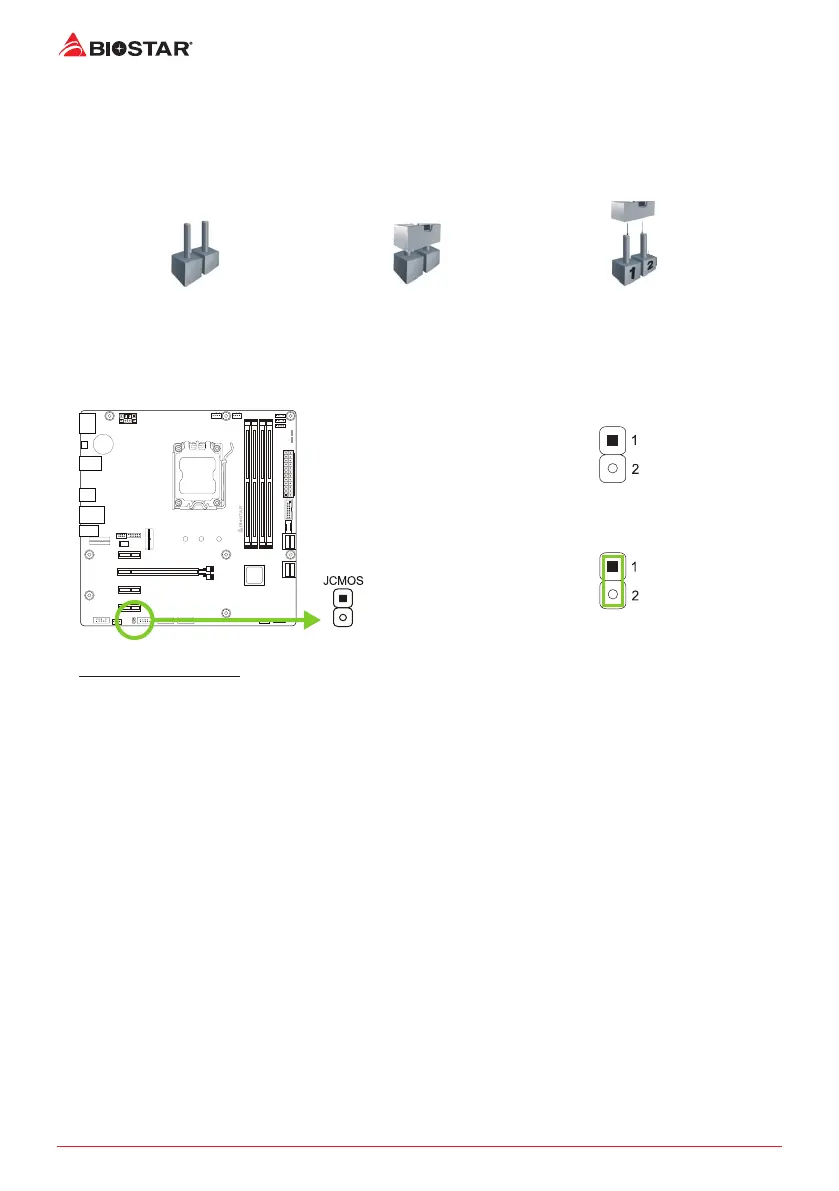
EasyManuals Logo

Biostar A620MP-E PRO User Manual

Biostar A620MP-E PRO
164 pages
To Next Page IconTo Next Page
To Previous Page IconTo Previous Page
Page #104 background imageLoading...
Page #104 background image
18 | 챕터 2: 하드웨어 설치
2�6 점퍼 & 스위치 설정
아래의 일러스트는 어떻게 점퍼를 설정하는지 보여주고 있습니다. 점퍼 캡이 핀 위에
있으면 “닫힌 상태”이며, 그렇지 않으면 “열린 상태”입니다.
Pin opened Pin closed Pin 1-2 closed
JCMOS: CMOS 클리어 점퍼
점퍼는 사용자에게 바이오스 안전 설정과 CMOS 데이터를 복구할 수 있게
합니다.메인보드가 손상되지 않도록 다음의절차를 준수하시기 바랍니다.
핀1-2 열림: 정상 작동 (기본값)
핀1-2 닫힘: CMOS 데이터 클리어
CMOS 클리어 과정:
1. AC 파워 코드를분리합니다.
2. 점퍼를 “핀 1-2 닫힘” 으로 설정하고, 두 개의 핀을 드라이버와 같은 금속 물체를
사용해 터치합니다.
3. 5초 가량 기다립니다.
4. CMOS 값이 지워진 후 점퍼가 “핀 1-2 열림”로 설정되어 있는지 확인합니다.
5. AC 파워 코드를 연결합니다.
6. 최적화된 기본값을 로드하고 CMOS에 설정을 저장합니다.

Table of Contents

Questions and Answers:

Question and Answer IconNeed help?

Do you have a question about the Biostar A620MP-E PRO and is the answer not in the manual?

Biostar A620MP-E PRO Specifications

General IconGeneral
Audio chipRealtek ALC897
Component forPC
Motherboard chipsetAMD A620
Audio output channels7.1 channels
Motherboard form factormicro ATX
Motherboard chipset familyAMD
Processor socketSocket AM5
Compatible processor seriesAMD Ryzen 5 7th gen, AMD Ryzen 7 7th Gen, AMD Ryzen 9 7th Gen
HDCPYes
DirectX version12.0
Parallel processing technology support-
Memory slots typeDIMM
Number of memory slots4
Supported memory typesDDR5-SDRAM
Maximum internal memory128 GB
Supported memory clock speeds4800, 5200, 5400, 5600, 6000 MHz
Wi-FiNo
LAN controllerRealtek RTL8125B
Ethernet interface type2.5 Gigabit Ethernet
USB 2.0 ports quantity2
USB 3.2 Gen 1 (3.1 Gen 1) Type-C ports quantity0
Cables includedSATA
Supported storage drive interfacesSATA III
Weight and Dimensions IconWeight and Dimensions
Width244 mm

Related product manuals