EasyManuals Logo

Biostar H510MHP User Manual

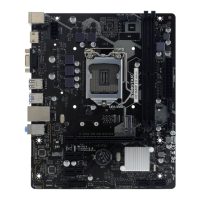
Biostar H510MHP
88 pages
To Next Page IconTo Next Page
To Previous Page IconTo Previous Page
Page #9 background imageLoading...
Page #9 background image
Chapter 2: Hardware installaon | 9
H510MHP
l
B560MHP
Step 4: Hold processor with your thumb and index ngers, oriented as shown. Align the
notches with the socket. Lower the processor straight down without lng or sliding the
processor in the socket.
Step 5: Hold the CPU down rmly, and then lower the lever to locked posion to complete the
installaon.
Note
»
  EnsurethatyouinstallthecorrectCPUdesignedforLGA1200socket.
»
  TheCPUtsonlyinonecorrectorientaon.DonotforcetheCPUintothesockettoprevent
damagingtheCPU.

Table of Contents

Questions and Answers:

Question and Answer IconNeed help?

Do you have a question about the Biostar H510MHP and is the answer not in the manual?

Biostar H510MHP Specifications

General IconGeneral
Form FactorMicro ATX
ChipsetIntel H510
SocketLGA 1200
Maximum Memory64GB
LANRealtek RTL8111H Gigabit LAN
Video Outputs1 x HDMI, 1 x VGA
RAID SupportNo
Memory Slots2 x DIMM
PCIe Slots1 x PCIe 3.0 x1
Storage Interface4 x SATA III
USB Ports4 x USB 3.2 Gen1, 6 x USB 2.0
AudioRealtek ALC897
Memory Speed2133/ 2400/ 2666/ 2800/ 2933 MHz

Related product manuals