H81MLC
21
3.3 Software
Installing Software
1. Insert the Setup DVD to the optical drive. The driver installation program would
appear if the Auto-run function has been enabled.
2. Select Software Installation, and then click on the respective software title.
3. Follow the on-screen instructions to complete the installation.
Launching Software
After the installation process is completed, you will see the software icon showing on
the desktop. Double-click the icon to launch it.
Note1: All the information and content about following software are subject to be changed without
notice. For better performance, the software is being continuously updated.
Note2: The information and pictures described below are for your reference only. The actual
information and settings on board may be slightly different from this manual.
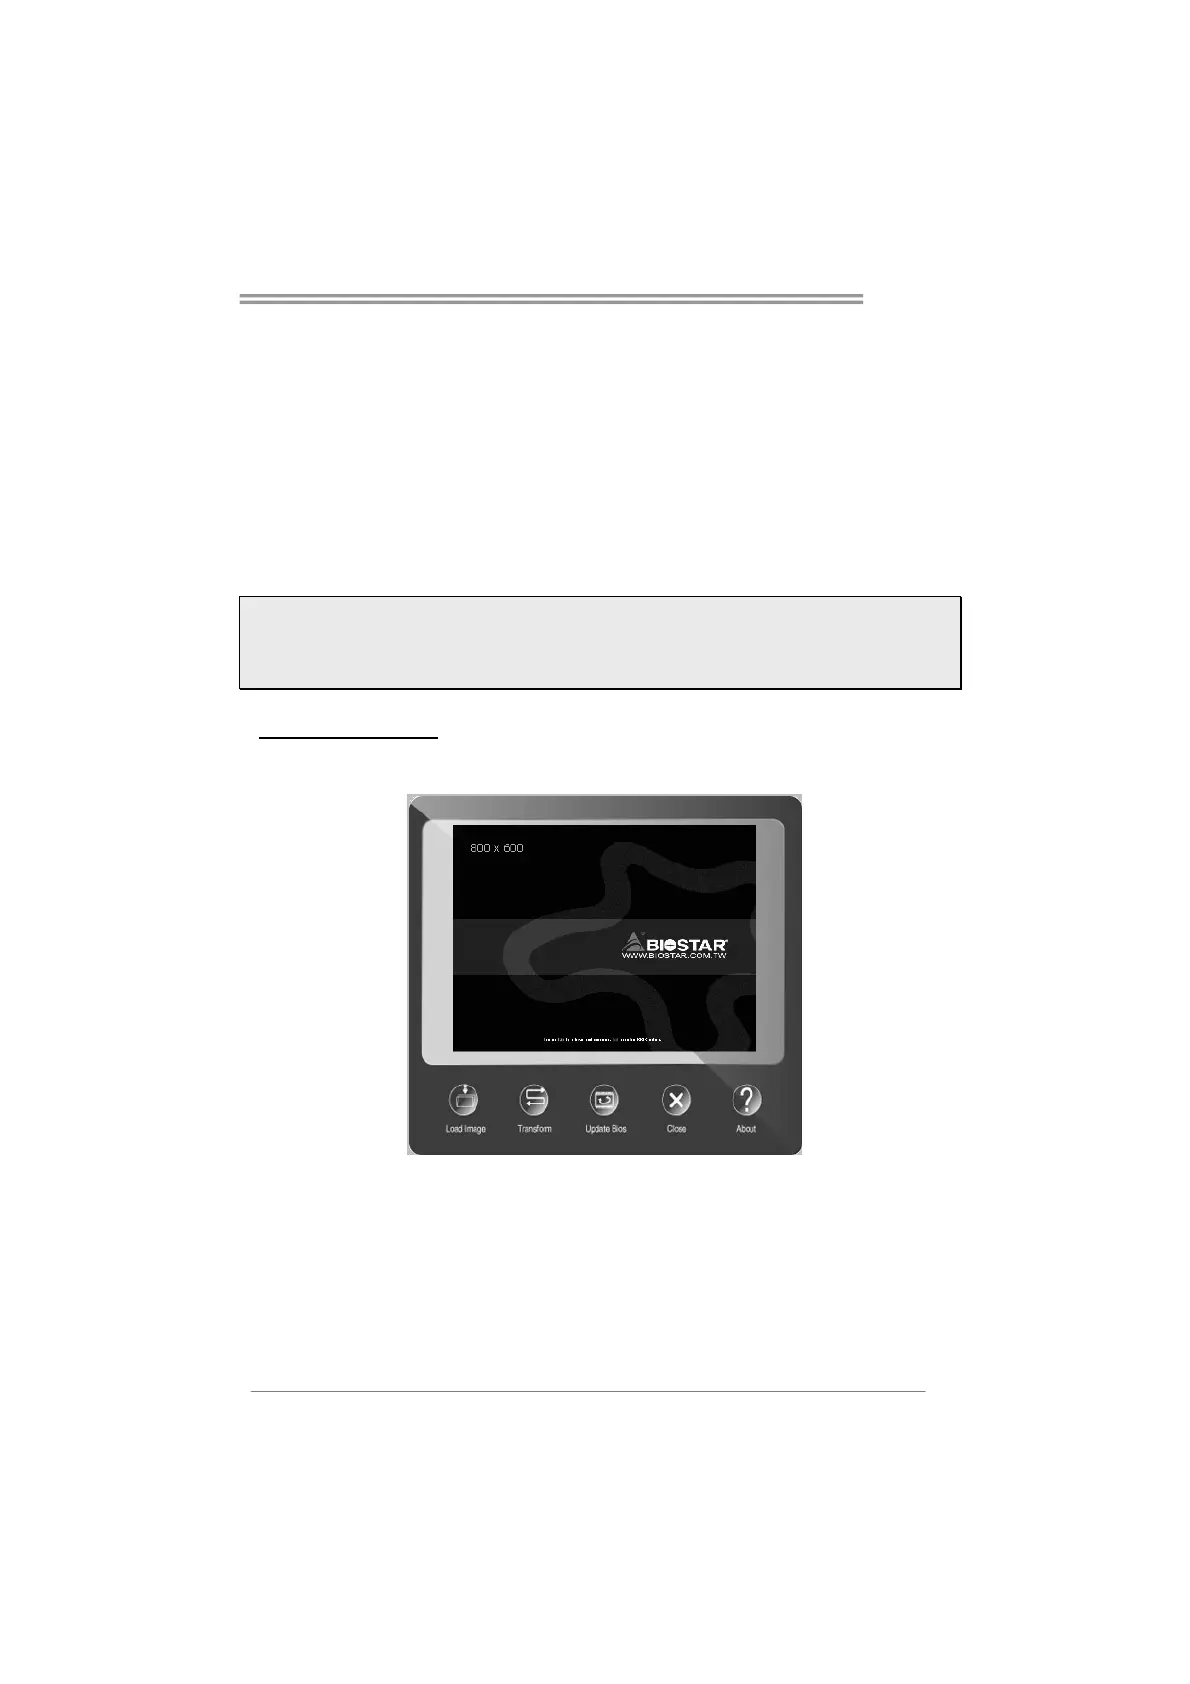
BIOScreen Utility
This utility allows you to personalize your boot logo easily. You can choose BMP as
your boot logo so as to customize your computer.
Please follow the step-by-step instructions below to update boot logo:
z Load Image:Choose the picture as the boot logo.
z Transform:Transform the picture for BIOS and preview the result.
z Update Bios:Write the picture to BIOS Memory to complete the update.