G1 SCBA Radio Pairing Guide | BK Technologies
Rev. 12-3-2021
Page 4 of 10
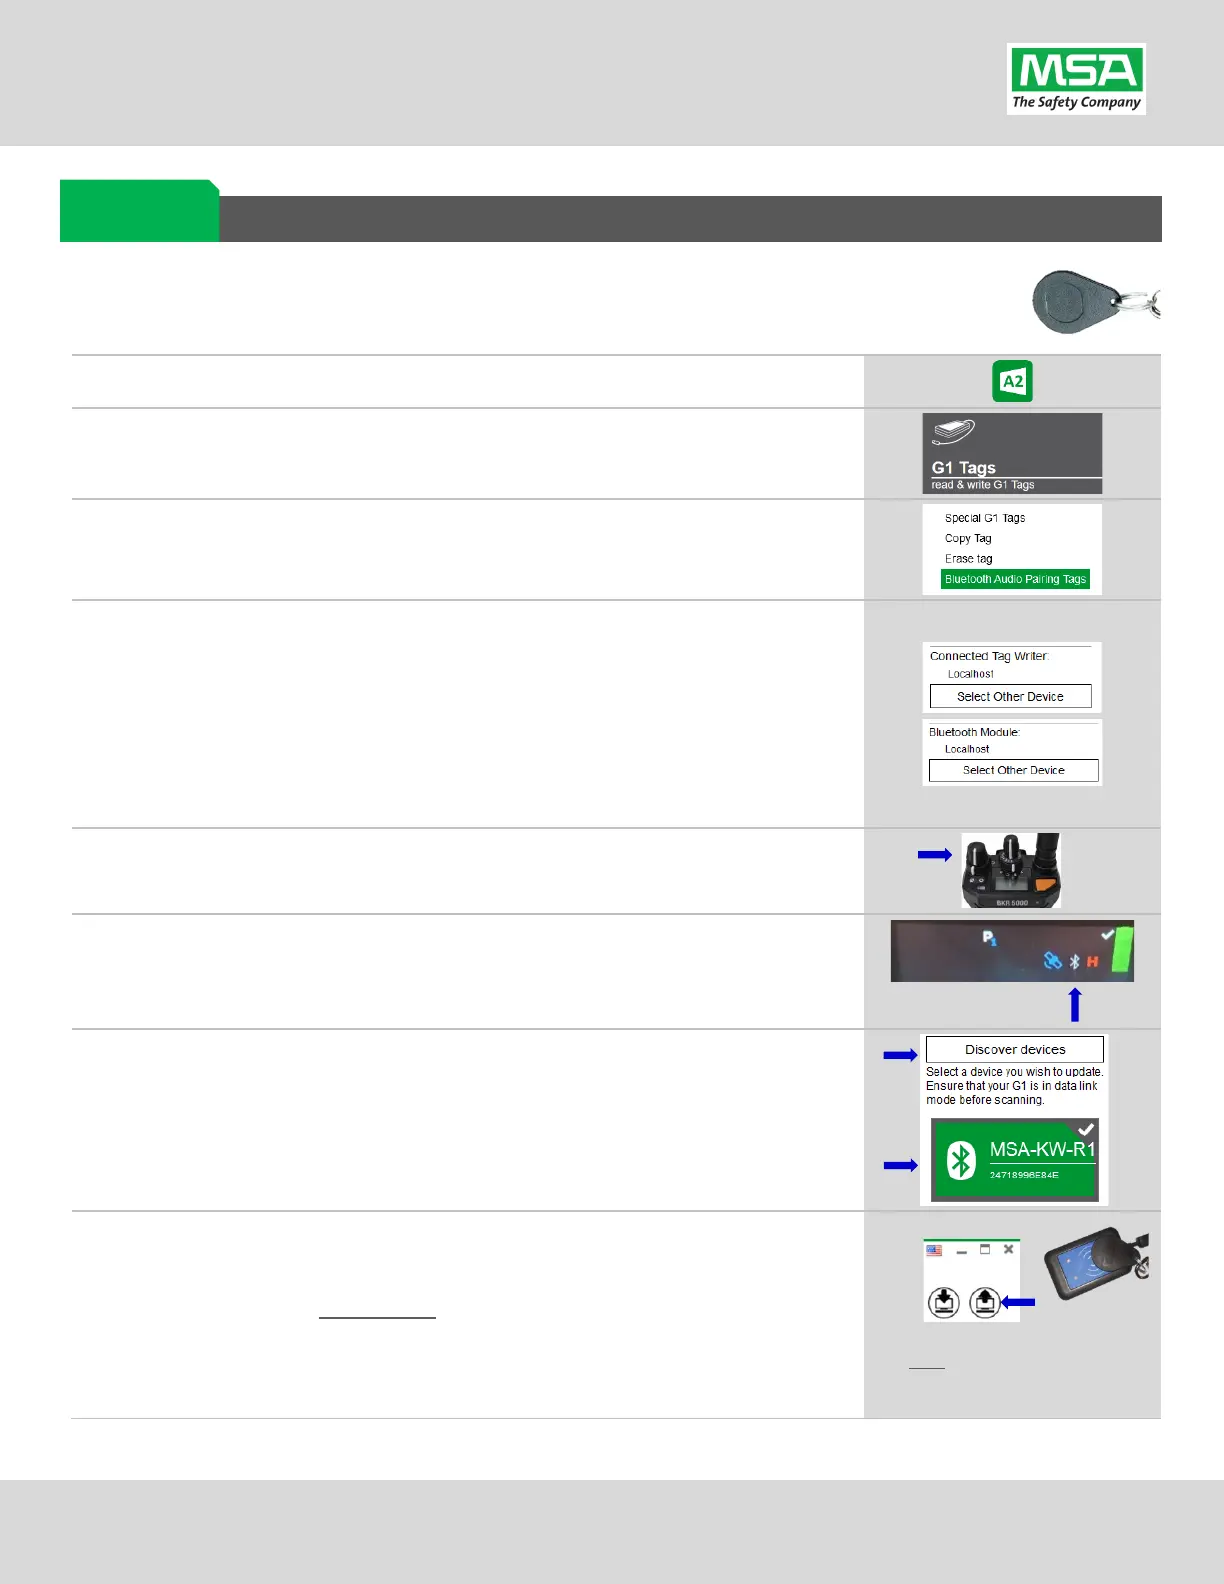
Creating a BKR 5000 Radio Pairing Tag
To pair the radio to the G1 SCBA, a “Bluetooth Audio Pairing Tag” needs created in the A2 Software.
Once the Pairing Tag is created, it can be applied to the SCBA, which “programs” the SCBA to connect
to that specific radio.
Launch the MSA A2 Software
Select the “G1 Tags” Tile on the A2 Dashboard (Under the “G1 Devices”
column)
Select tag type: “Bluetooth Audio Pairing Tags”
Ensure that your PC's Bluetooth adapter is on, and selected for use in A2,
and
that your RFID Reader/Writer is connected and ready.
• Both modules appear in lower left of A2 display. Generally they will
appear as the computer's name, or as "localhost".
• If either is not visible there or under "Select Other device":
disconnect and reconnect the hardware;
• Restart the A2 service if necessary.
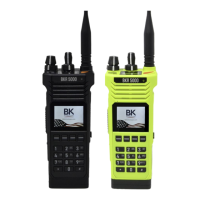
Turn on the BKR 5000 Radio using the volume knob.
Ensure Bluetooth is “ON” : A white Bluetooth icon will appear with no slash
“/” and no connection dots “…”.
visible, enable the radio’s Bluetooth OR reconfigure radio.
Discovering the Radio in A2:
(A) Click “Discover Devices”
You may have to scan twice if the Friendly name doesn’t appear.
(B) Select the tile for the discovered Radio in A2 to select it.
The discovered device info will load on the screen.
Writing the Bluetooth Audio Pairing Tag:
(A) Place RFID Tag on the RFID Reader / Writer
(B) Select the Write G1 Tag icon
(top-right hand side of A2 application)
(C) Click “OK” on the “Tag was successfully written” dialog.
Note: Hovering over the icons will
also show “Write Tag” or “Read Tag”.
Radio ID
Pair Tag