5
EN
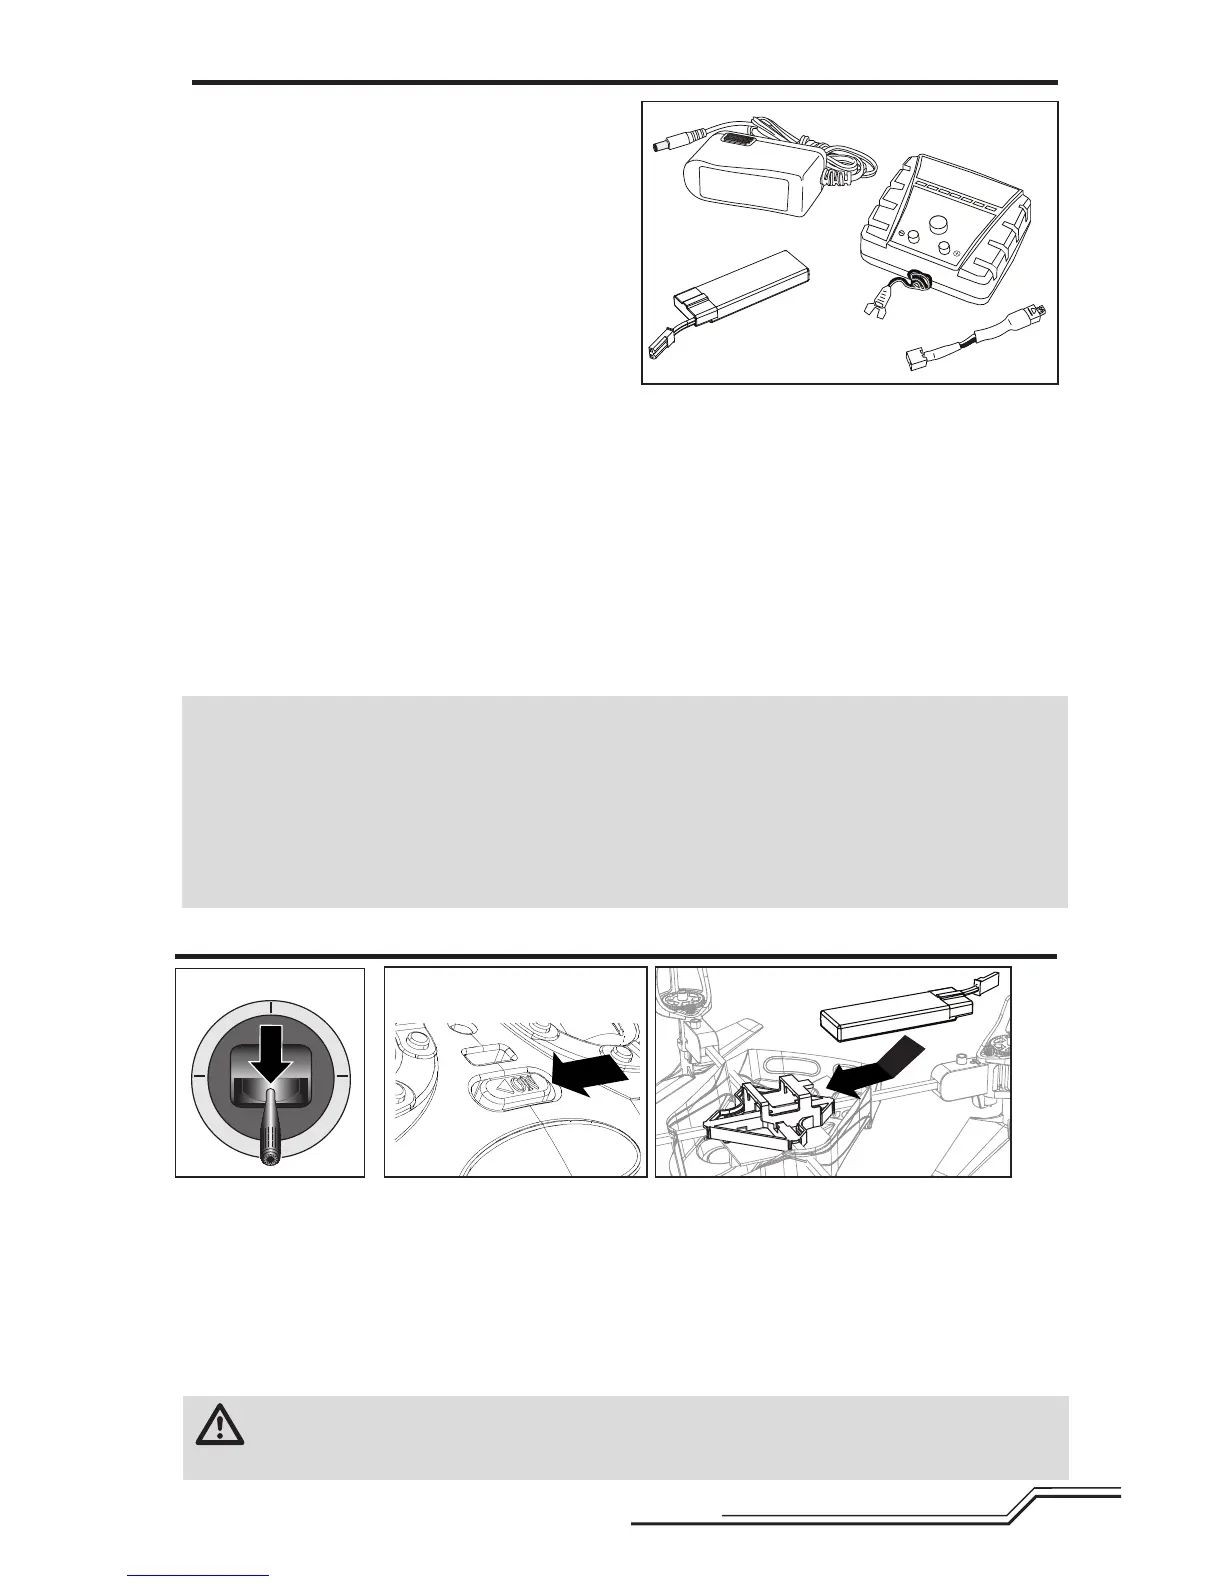
Battery Charging
Celectra™ 1-Cell 3.7V Variable Rate DC Li-Po
Charger
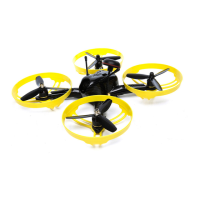
1S 3.7V 500mAh 12C Li-Po Battery Pack (E-flite
EFLB5001S)
TheBlademQX1SLi-PobatteryfeaturesaJSTconnec-
torthatallowsyoutosafelychargeyourbatterypack
whenusedwiththeincludedLi-Pochargerandcharge
adapter.Theincludedightbatteryissafetochargeup
to2C(1.0Amp).
UseonlyHorizonHobbyapprovedbatterypacksand
chargerscompatiblewiththisproduct.
1.Connectthepowersupplytoanappropriatepower
source.
2.InserttheoutputplugfromthepowersupplyintothepowerinputslotoftheVariableRateCharger.
3.Selecttheappropriatechargecurrentforyour
batterybypushingthe+or-,whicharethesmallerbuttonstotherightandleftofthemiddlebutton.(When
chargingyour500mAhbattery,setthechargerto0.7amps.)
4.ConnectthechargeadaptertotheChargerlead.Matchthereddotsonboththechargeadapterandthe
Chargerlead.
5.ProperlyconnectthebatterytotheChargerlead.Matchthereddotsonboththebatteryandcharger
connectors.
6.Pressandreleasethestartbuttononthevariableratecharger(thelargestbuttoninthemiddle).
Afullychargedightbatterycanyieldighttimesofuptotenminutes.
AC Power Supply Cautions and Guidelines
NEVERattempttopowerthechargerfromanACoutletwithouttheuseofaproperACtoDCadapter/power
supply.
DONOTconnectchargedordischargedLi-Pobatteriesifthepowersupplyisconnectedtothechargerwhilethe
powersupplyisnotconnectedtoapowersource.Doingsowilldischargeandpossiblydamagethebatteries.
ForACoperation,onlyuseanE-ite®6Vpowersupplywiththischarger.DONOTusea12Vpowersupplyor
propertydamageandinjurycouldoccur.
1.Lowerthethrottleandthrottletrimtothelowestsettings.
2.Poweronthetransmitter.
3.FliptheQuad-Copterupside-downandinstallthebatterybyslidingitintothebatterymountingslotbelowthe
PCBoard.Slidethebatteryintotheslotswiththelabelfacingupwardsothatthebatterykey,moldedintothe
batteryend-cap,comesincontactwiththekeyonthebatteryslot.(ThiskeyindicatestheFRONToftheQuad-
Copterin“+”ightmode).
4.Connectthebatterycabletothe4-in-1controlunit.
NOTICE:DonotallowtheQuad-CoptertomoveuntiltheLEDonthe4-in-1controlunitissolidblue(notblinking).
CAUTION: AlwaysdisconnecttheLi-Pobatteryfromtheaircraftwhennotyingtoavoidover-
dischargingthebattery.Batteriesdischargedtoavoltagelowerthanthelowestapprovedvoltagemay
becomedamaged,resultinginlossofperformanceandpotentialrewhenbatteriesarecharged.
Installing the Flight Battery
1