EasyManuals Logo
Home>BobsCNC>Power Tool>E3

BobsCNC E3 Assembly Guide

BobsCNC E3
90 pages
To Next Page IconTo Next Page
To Previous Page IconTo Previous Page
Page #84 background imageLoading...
Page #84 background image
Page 84

        


        


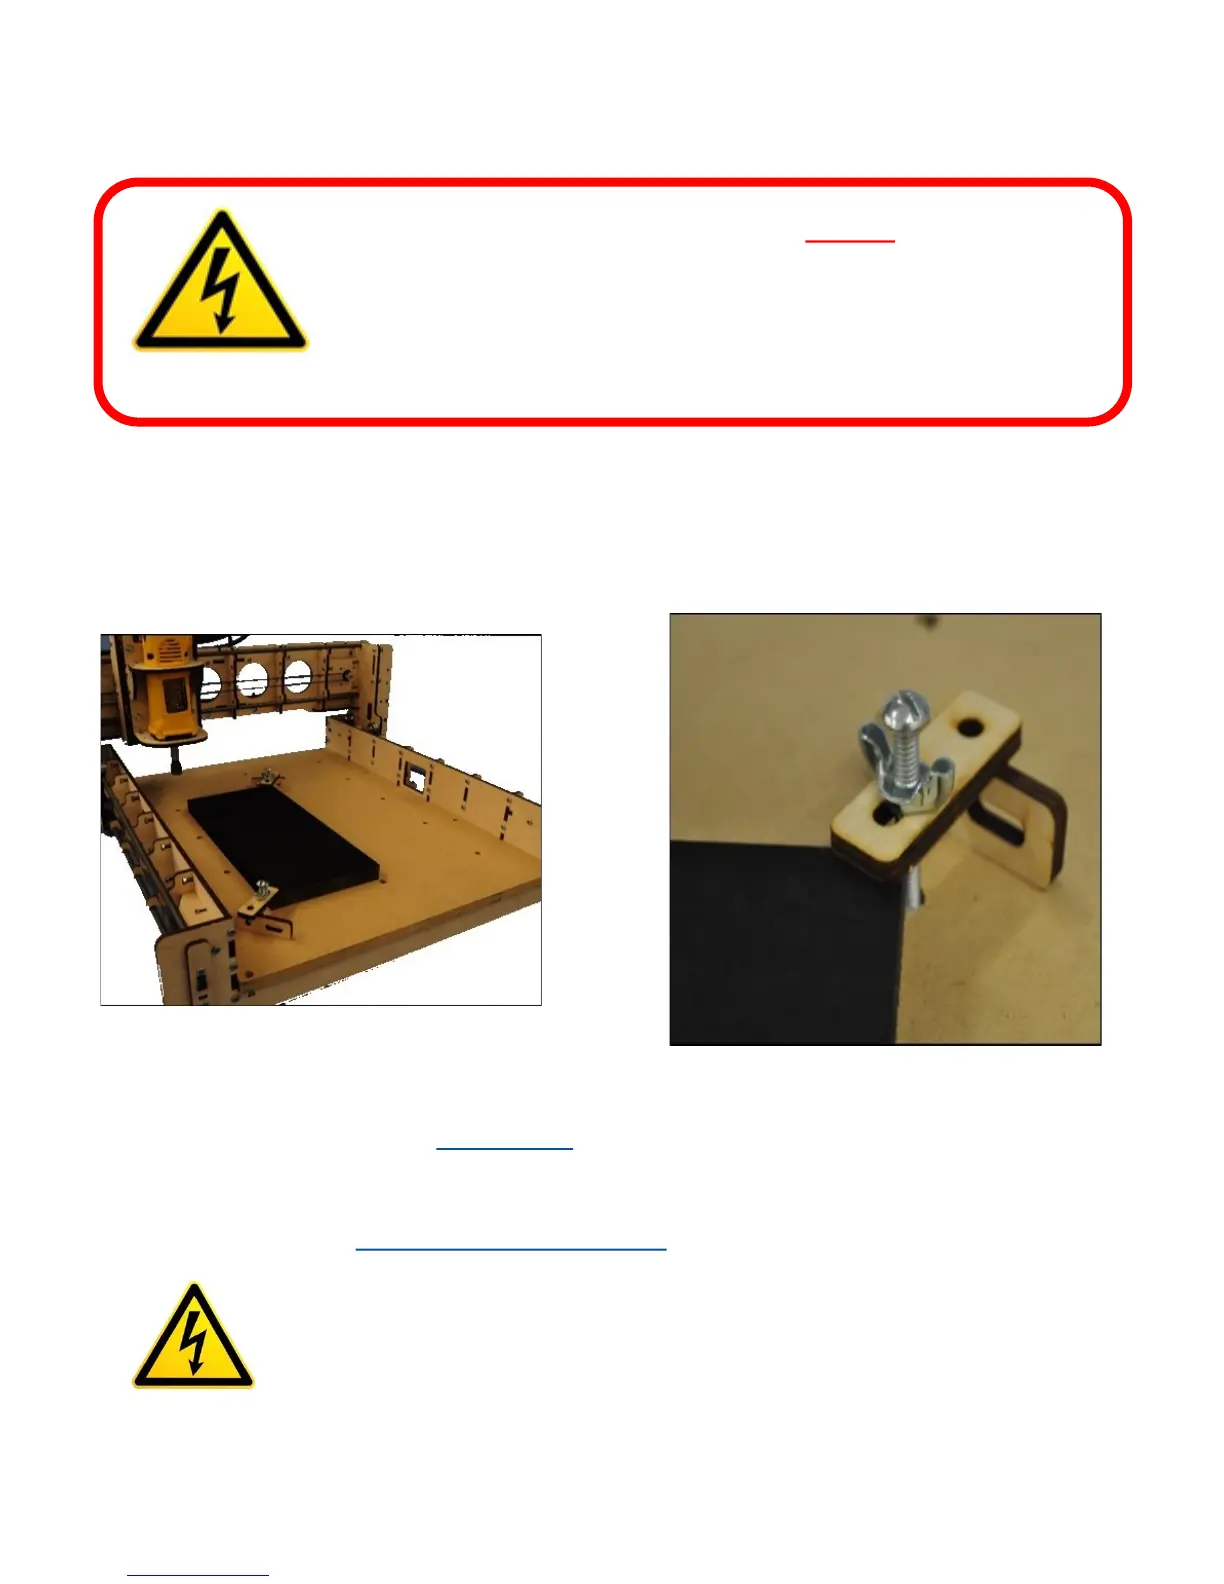
The E3 kit includes clamping hardware. Insert the wing nut onto the 2” ¼-20 screw as shown. The screws
will thread into the inserts on the table. The extra clamps can be used as spacers as shown in the
pictures.
If you are new to CNC Roung we oer a quick start guide to walk you thru the soware setup and
help get you roung. Please check BobsCNC.com for the latest copy.

Always unplug the router before changing the bits
Do not leave the router unaended.
Use a scrap board underneath the work to keep from engraving into the spoil
board.
For work such as isolaon roung for circuit boards, consider milling a scrap
blank, then use double-sided tape to fasten the circuit board.

Other manuals for BobsCNC E3

Questions and Answers:

Question and Answer IconNeed help?

Do you have a question about the BobsCNC E3 and is the answer not in the manual?

BobsCNC E3 Specifications

General IconGeneral
BrandBobsCNC
ModelE3
CategoryPower Tool
LanguageEnglish