1
Be careful to assemble all components
in the sequence they are presented.
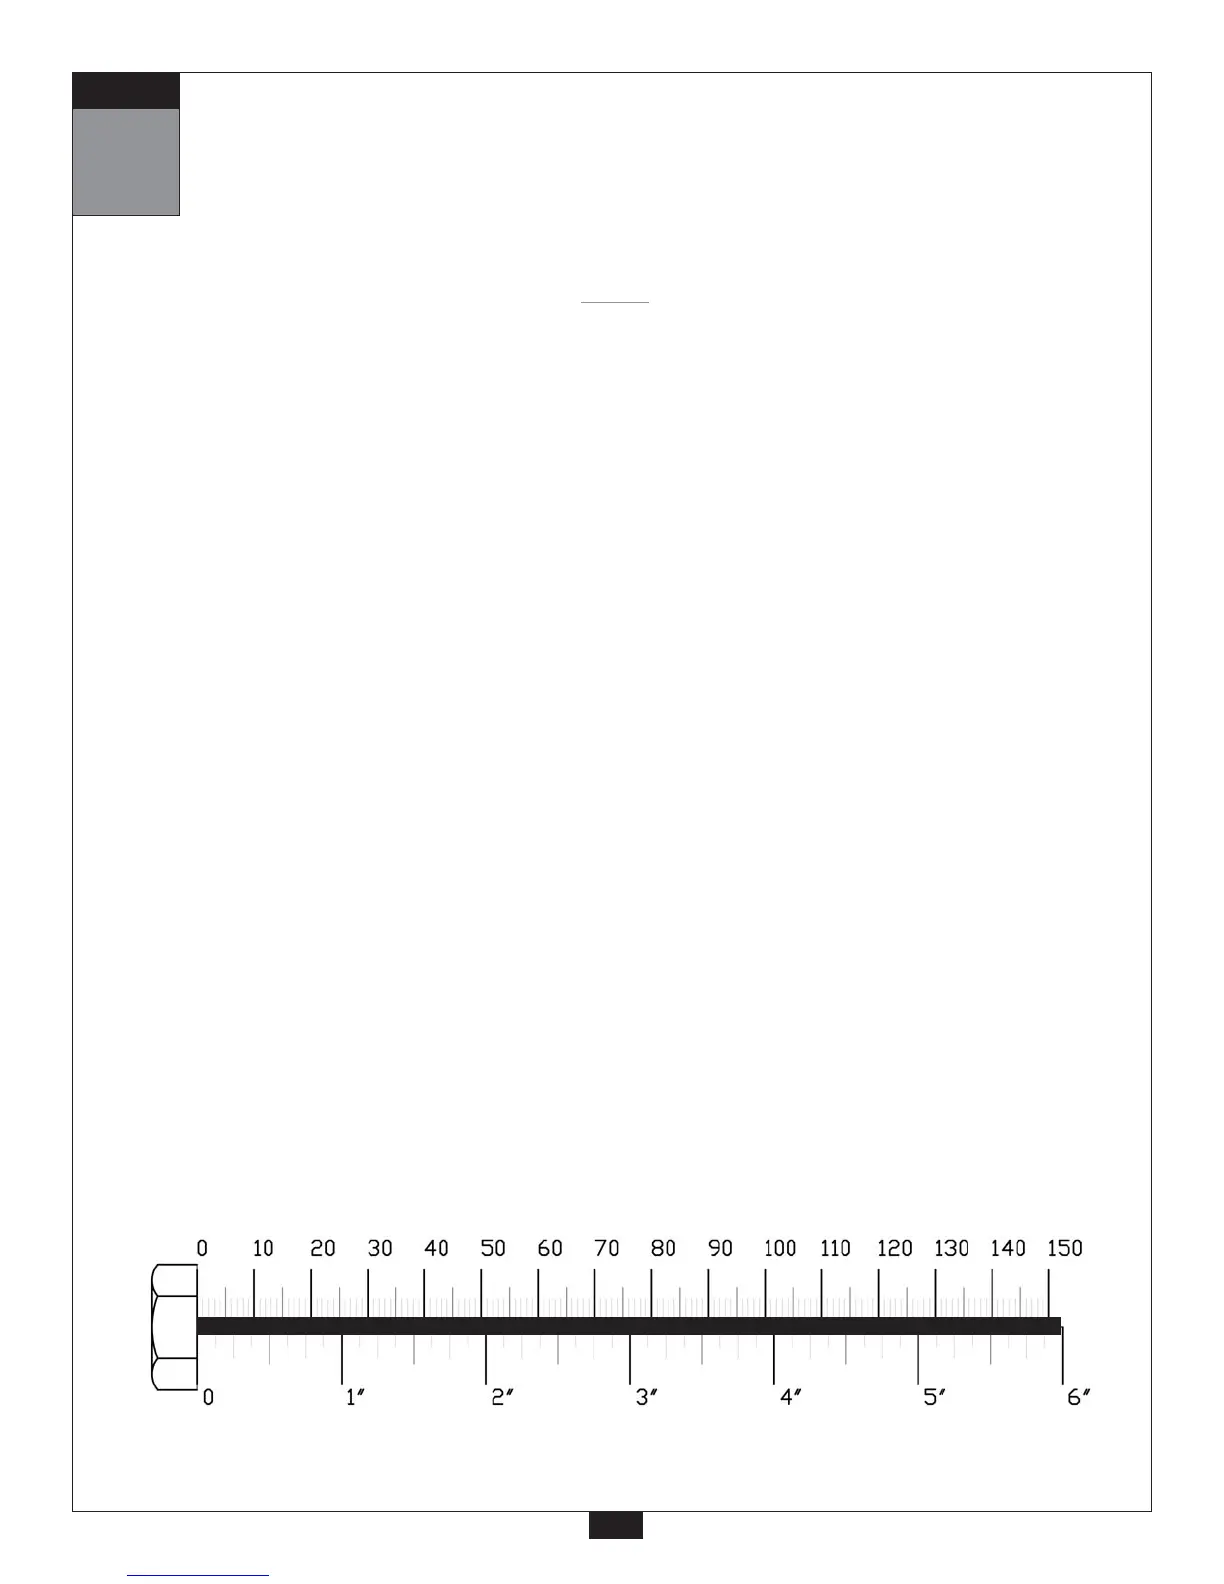
mm
Inch
10
STEP
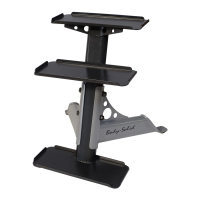
A. Attach Frame Leveler (8) to Main Base Frame (A) as shown.
Attach Main Base Frame (A) to Rear Base Frame (B) and Rear Vertical Frame (C) using:
Two 42 (3/8”x 3” hex head bolt)
Two 55 (3/8” washer)
Two 51 (3/8” nylon lock nut)
and
Two 63 (3/8”x 2 3/4” carriage bolt)
Two 51 (3/8” nylon lock nut)
B. Attach three End Caps (3) to Main Base Frame (A).
Attach two Foot Caps (6) to the ends of Rear Base Frame (B).
Attach End Cap (3) to the top of Rear Vertical Frame (C).
C. Attach Angled Vertical Frame (D) to Main Base Frame (A) using:
Two 42 (3/8”x 3” hex head bolt)
Two 51 (3/8” nylon lock nut)
D. Attach Top Frame (E) and Flat Plate (70) to Angled Vertical Frame (D) using:
Two 43 (3/8”x 2 3/4” hex head bolt)
Two 51 (3/8” nylon lock nut)
E. Connect Top Frame (E) and Flat Plate (65) to Rear Vertical Frame (C) using:
Two 43 (3/8”x 2 3/4” hex head bolt)*
*Note:
Hex head bolts (43) go into threaded housing inside Top Frame (E)
NOTE:
Finger tighten all hardware in this step. Do Not
wrench tighten until end of step 4.