EN
31
Details
If you have selected a measurement from the pane
list, all the results will be shown in detail here.
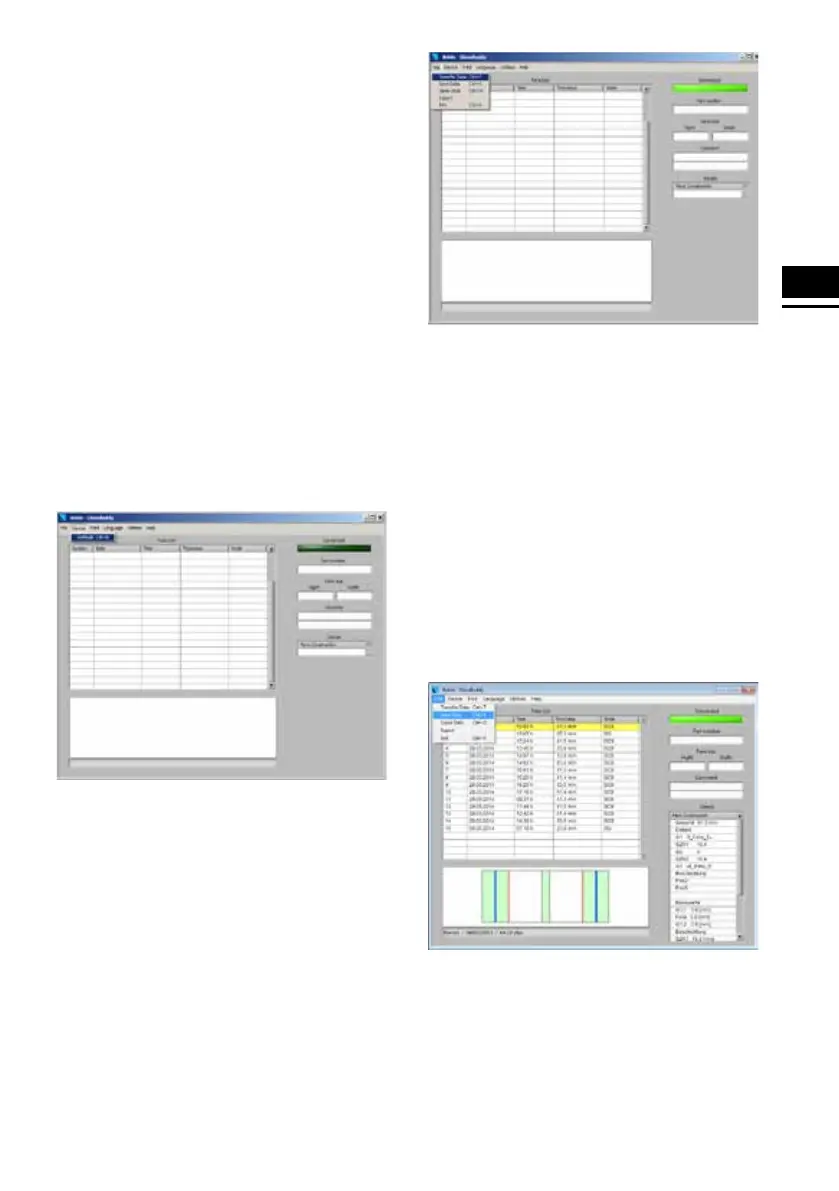
Data Transfer from the GlassBuddy
To transfer the data stored on your GlassBuddy to
your computer, first connect the device to your com-
puter using the supplied USB cable. Use the micro
USB slot on the GlassBuddy and a free USB slot on
your PC. Switch the GlassBuddy on. The display
of the GlassBuddy will show “PC connection” and
“Battery charging” or “Battery charged”. The
GlassBuddy is now connected to your PC.
Start the GlassBuddy PC application. In the pro-
gramme screen you will see the field “Connected”,
which is shown in dark green. The programme is
not yet connected to the GlassBuddy. To connect,
please click on the menu item “Devices” and then
select “Update” in the drop-down menu.
The programme is now connected to the
Glass Buddy. Once the connection has been
established, the field “Connected” in the
programme screen will turn light green. If
this field does not turn light green, click on
“Devices – Update” again.
To transfer the data stored in the GlassBuddy,
click on the menu item “File” and then on “Transfer
Data” in the drop-down menu. After the data has
been successfully transferred, the measurement
results will appear in the pane list.
The transferred measurements can be stored on
your PC. To do this, click on the menu item “File”
and then on “Save Data” in the drop-down menu.
You can then save the measurements under a file
name of your choice. To finally save the file, please
confirm, after entering the file name, by pressing
Return or by clicking on “Save”. Please use the
menu item “Save Data” as standard saving method.
A .gdm file is generated which can be called and
displayed also by the PC application. Use the menu
item “Export” for exporting the data in .csv format.
The .csv file can subsequently be edited in a spread-
sheet. We recommend saving the data in .gdm for-
mat for archiving them.