0DLQWHQDQFHHYHU\PRQWKV
%20$*
41BPR 25/40 D
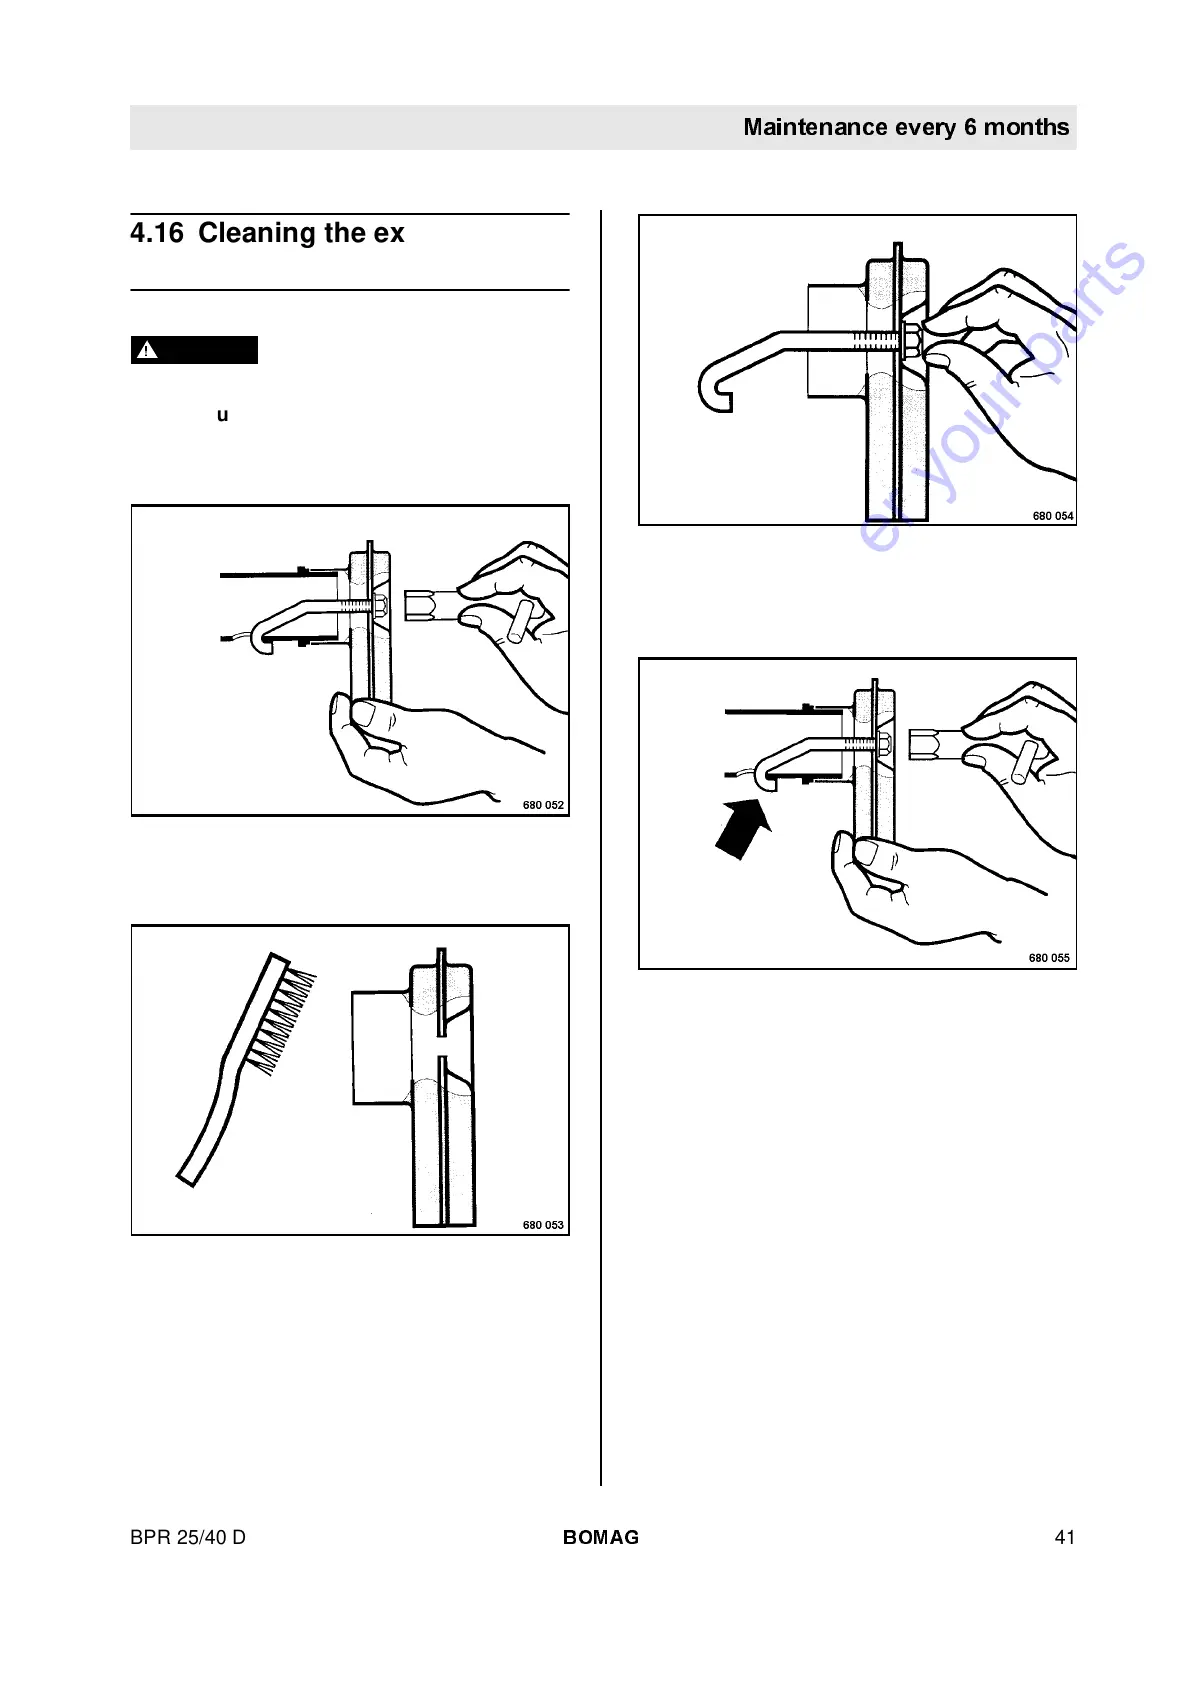
4.16 Cleaning the exhaust
screen
Danger
Danger of burning!
The exhaust is very hot during and after oper-
ation. Perform this work only after cooling
down.
Fig. 38
● Unscrew the fastening nut (Fig. 38), remove
the exhaust screen and the fastening bracket.
Fig. 39
● Clean deposits on the screen insert with a suit-
able wire brush (Fig. 39).
● Examine the exhaust screen for cracks or frac-
tures, replace if necessary.
Fig. 40
● Insert the fastening bracket into the opening in
the exhaust screen and screw the fastening
nut for approx. 1 turn (Fig. 40).
Fig. 41
● Slide the exhaust screen on with the fastening
bracket (Fig. 41).
● Hook the fastening bracket into the bore and
tighten the fastening nut.
Go to Discount-Equipment.com to order your parts
 Loading...