Page 13 3BE390845NI – 01/12
BONNET GRANDE CUISINE
Registered office:
Rue des Frères Lumière - Z.I Mitry Compans
F-77292 MITRY MORY Cedex
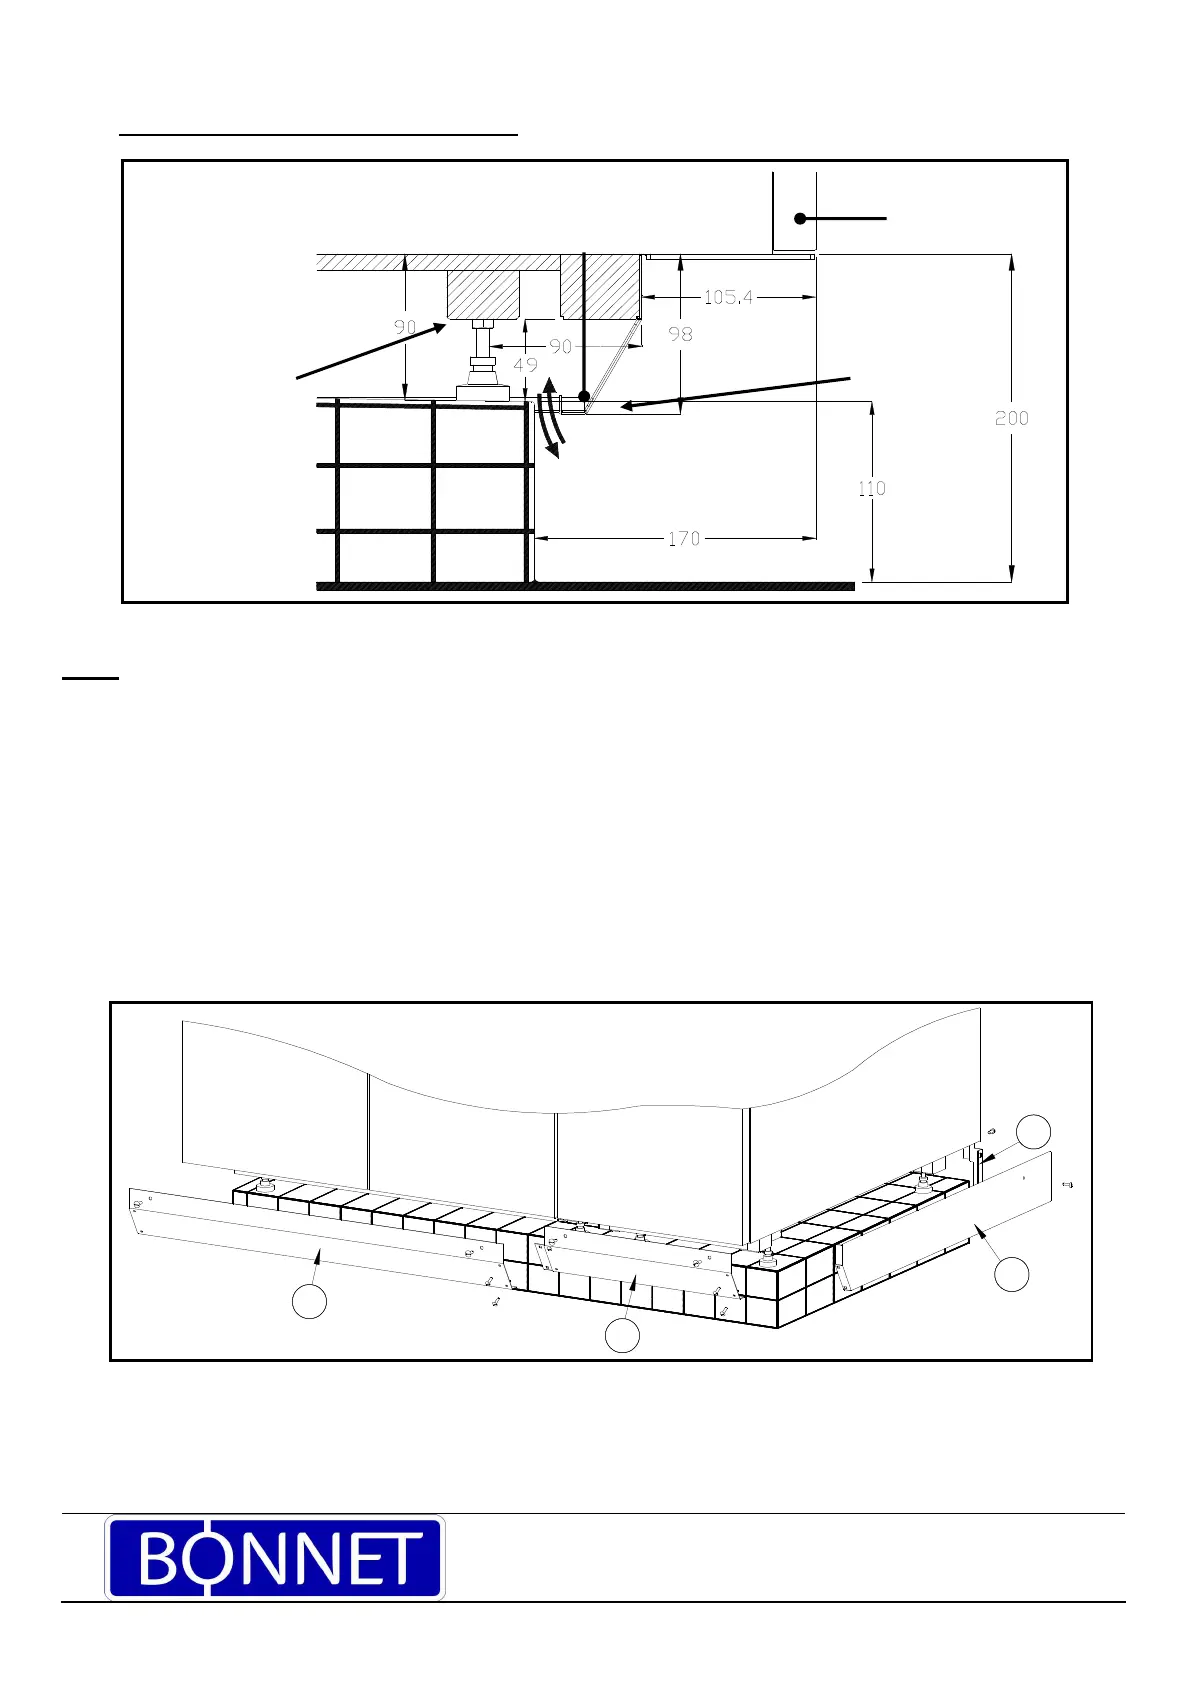
Assembling units on a concrete plinth
Locate the units on the plinth.
Note: If the units are delivered separately from the legs first fit the ‘espace 2000’ legs to the units.
Connect up the electrics (see paragraph 4 Installation: Connections)
Level everything and connect the units to each other
- Fix together at the rear through the flue vents and at the front through the front edges in both cases
using
HM5
X
16 bolts 5mm
Ø
washer and nut.
Make all the necessary gas water and drainage connections.
Fit the plinth trims. One ‘espace 2000’ front trim per unit and a left and right hand trim according to the order.
- Assemble the trim(s) with 2 screws per junction in accordance with the number of legs.
- Fix the front trim(s)
and
onto the legs (at least two screws per trim).
- Fit the rear pièce
onto the end unit before finally fixing it to the leg with a hex headed nut.
- Fix the left and right hand trims
with 2 screws at the front and one to the rear.
1
2
4
3
Height
of plinth
at the
Appliance
Ventilation
Plinth trims
espace 2000
legs
Services could run
along the front