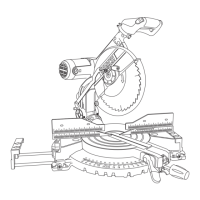
Miter Scale
Indicator Adjustment
1. Set table at the 0° miter position and tighten miter
lock knob.
2. Raise the head assembly to the full-up position.
3. Loosen the Phillips screw that holds the indicator
in place.
4. Position the indicator to align with the 0° miter
mark and tighten the screw.
Figure: Miter Scale Adjustment
Kerf Insert Replacement
The kerf insert should be close to the blade, in order
to avoid tear-out on the bottom of the workpiece.
To Replace Kerf Insert:
1. Raise the head assembly.
2. Loosen the six (6) kerf screws using the multi pur-
pose tool.
3. Replace kerf insert.
4. Tighten the kerf screws.
NOTE: A new kerf insert does not have a blade slot.
The slot will be created by the tool’s blade. After tight-
ening the kerf screws, switch the saw on and fully
lower the blade into the kerf insert, thereby creating a
blade slot. A “zero-clearance” kerf insert support to
the workpiece, will greatly reduce splintering.
Figure: Kerf Insert
17.
Screw
Access
Hole
Miter
Scale
Indicator
Kerf
Insert
Screws
Phillips
Screwdriver

 Loading...