
W
woodsrebeccaJul 28, 2025
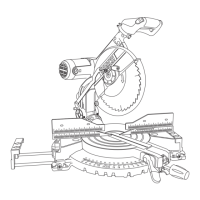
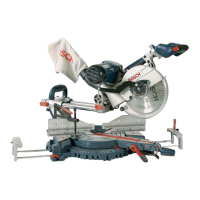
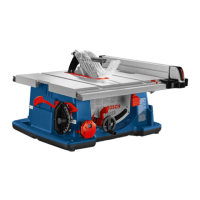
Why is the tilt lock handle elevation wheel hard to move on my Bosch Saw?
- OoliviadeckerJul 28, 2025
The tilt lock handle or elevation wheel on your Bosch saw might be hard to move because: * The blade tilt lock handle wasn't loosened when making a tilt adjustment. * There's sawdust on the depth screw threads.