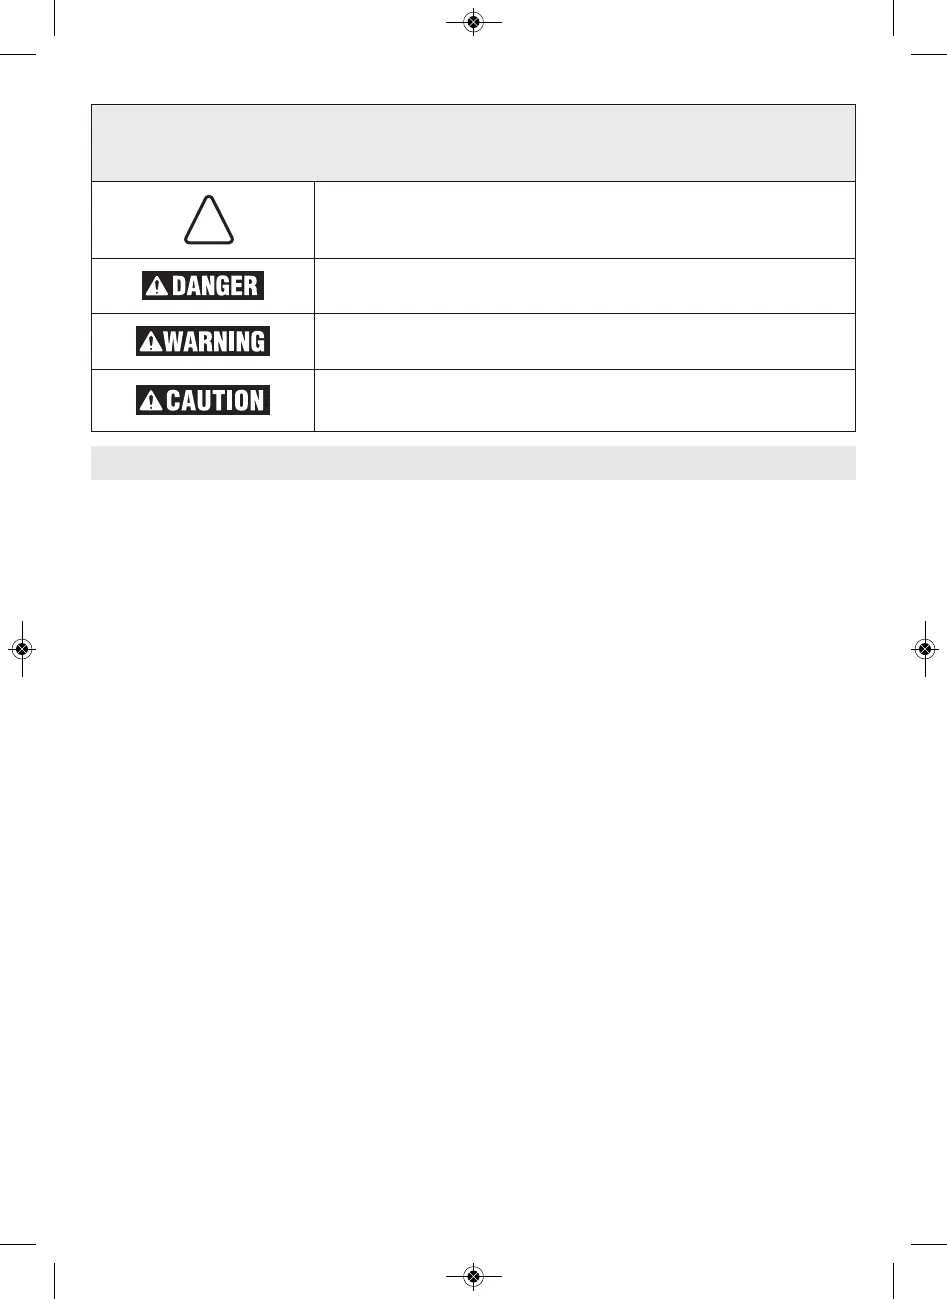
This is the safety alert symbol. It is used to alert you to potential per-
sonal injury hazards. Obey all safety messages that follow this symbol
to avoid possible injury or death.
DANGER indicates a hazardous situation which, if not avoided, will
result in death or serious injury.
WARNING indicates a hazardous situation which, if not avoided, could
result in death or serious injury.
CAUTION indicates a hazardous situation which, if not avoided, could
result in minor or moderate injury.
Safety Symbols . . . . . . . . . . . . . . . . . . . . . . . .2
General Power Tool Safety Warnings . . . . . . .3
1. Work area safety . . . . . . . . . . . . . . . . . . . .3
2. Electrical safety . . . . . . . . . . . . . . . . . . . . .3
3. Personal safety . . . . . . . . . . . . . . . . . . . . .4
4. Power tool use and care . . . . . . . . . . . . . .4
5. Service . . . . . . . . . . . . . . . . . . . . . . . . . . .5
Safety Instructions for Table Saws . . . . . . . . .5
1. Guarding related warnings . . . . . . . . . . . .5
2. Cutting procedures warnings . . . . . . . . . .5
3. Kickback causes and related warnings . . .6
4. Table saw operating procedure warnings .7
Additional Safety Rules . . . . . . . . . . . . . . . . .8
Intended Use . . . . . . . . . . . . . . . . . . . . . . . . . .8
Specifications . . . . . . . . . . . . . . . . . . . . . . . . .9
Double Insulated Tools . . . . . . . . . . . . . . . . . .9
Extension Cords . . . . . . . . . . . . . . . . . . . . . .9
Symbols . . . . . . . . . . . . . . . . . . . . . . . . . . . . .10
Getting To Know Your Table Saw . . . . . . . . .12
Glossary of Terms . . . . . . . . . . . . . . . . . . . . .14
Unpacking And Checking Contents . . . . . . .15
Tools Needed For Assembly . . . . . . . . . . . . .16
Assembly . . . . . . . . . . . . . . . . . . . . . . . . . . . .17
Attaching Bottom Screen . . . . . . . . . . . . . .17
Attaching the Smart Guard System . . . . . . .17
Positioning The Riving Knife . . . . . . . . . . .17
Attaching The Guard Assembly . . . . . . . .18
Attaching The Anti-Kickback Device . . . . .18
Selecting and Changing the Blade . . . . . . .19
Using the Correct Blade . . . . . . . . . . . . . .19
Changing the Blade . . . . . . . . . . . . . . . . .20
Attaching Rip Fence . . . . . . . . . . . . . . . . . .20
Attaching Thin Workpiece Fence . . . . . . . . .21
Storage, Transportation, and Mounting . . . .21
Miter Gauge and Push stick Storage . . . .21
Rip Fence and Thin Workpiece
Fence Storage . . . . . . . . . . . . . . . . . . . . .22
Smart Guard System Storage . . . . . . . . . .22
Mounting The Table Saw . . . . . . . . . . . . .23
Adjustments . . . . . . . . . . . . . . . . . . . . . . . . .23
Adjusting Blade Parallel to the
Miter Gauge Slots . . . . . . . . . . . . . . . . . . . .23
Miter Gauge Adjustment . . . . . . . . . . . . .24
Rip Fence Adjustments . . . . . . . . . . . . . . . .25
Aligning Rip Fence . . . . . . . . . . . . . . . . . .25
Rip Fence Pointer Adjustment . . . . . . . . .25
To Set The Rip Fence Pointer: . . . . . . . . .25
Table Pointer Adjustment . . . . . . . . . . . . . .26
Riving Knife Alignment . . . . . . . . . . . . . . . .26
Checking Riving Knife Alignment . . . . . . .26
Adjusting Riving Knife . . . . . . . . . . . . . . .27
Adjusting the Table Insert . . . . . . . . . . . . . .27
Adjusting 0 and 45 Degree Positive Stops .28
Adjusting 0 Degree Positive Stop: . . . . . .28
Adjusting 45 Degree Positive Stop: . . . . .28
Basic Table Saw Operation . . . . . . . . . . . . . .29
Power Switch . . . . . . . . . . . . . . . . . . . . . . .29
Using the Smart Guard System . . . . . . . . . .29
Riving Knife / Splitter . . . . . . . . . . . . . . . .30
Main Barrier Guard . . . . . . . . . . . . . . . . .30
Anti-Kickback Device . . . . . . . . . . . . . . . .30
Making Work Helpers . . . . . . . . . . . . . . . . .30
Making Push Stick and Push Block . . . . .31
Making auxiliary fence . . . . . . . . . . . . . . .31
Making a Featherboard . . . . . . . . . . . . . .31
Making The Facing Block . . . . . . . . . . . . .32
Making Rip Fence Auxiliary Facing . . . . . .32
Using the Push Stick, Push Block,
and Auxiliary Fence . . . . . . . . . . . . . . . . . . .33
Push Stick . . . . . . . . . . . . . . . . . . . . . . . .33