23
Storage, Transportation, and Mounting
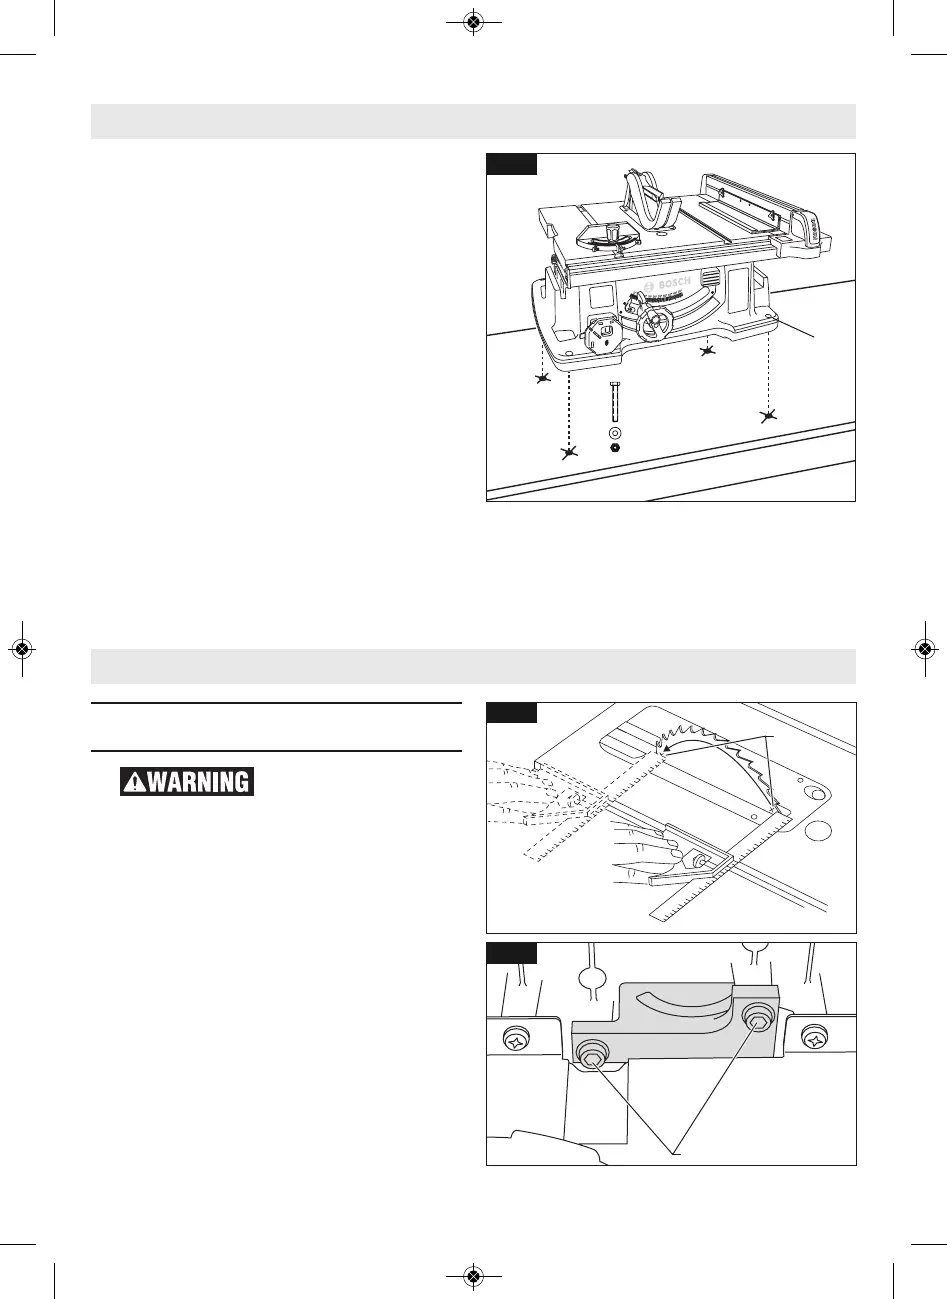
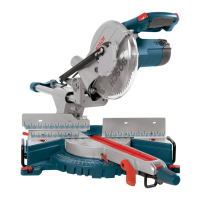
MOUNTING THE TABLE SAW
If table saw is to be used in a permanent lo-
cation, it should be fastened securely to a
firm supporting surface such as a stand or
workbench, using the four mounting holes 24
(Fig. 19).
1. If mounting to a workbench, the base
should be bolted securely using 5/16"
(M8) hex bolts (not included) through
mounting holes.
Hint: If workbench is 3/4" (19mm)
thick, bolts will have to be at least
3-1/2" (90mm) long - if workbench is
1-1/2" (38mm) thick, bolts should be at
least 4-1/2" (114mm) long.
2. Locate and mark where the saw is to be
mounted, relative to holes in the base of
the tool.
3. Drill four (4) 3/8" (9.5mm) diameter
holes through workbench.
4. Place table saw on workbench aligning
holes in base with holes drilled in work-
bench.
5. Insert four (4) 5/16" dia. bolts through
holes in base and supporting surface;
then secure with (4) 5/16” flat washers
and (4) 5/16" hex nuts (hardware not in-
cluded).
24
5/16" HEX BOLT,
WASHER AND
HEX NUT
X4
Adjusting Blade Parallel to the
Miter Gauge Slots
To prevent personal in-
jury, always dis con nect
the plug from power source before mak ing
any adjustments.
The blade was adjusted parallel to the miter
gauge slots at the factory. In order to ensure
accurate cuts and help prevent kickback, this
adjustment should be rechecked. If adjust-
ment is necessary, follow the steps below.
1. Turn elevation wheel 7 (Fig. 1) and raise
blade as high as it will go.
2. Select a point on the body of the saw
blade that is set to the left when viewing
blade from the front of saw, and mark 1
with a pencil (Fig. 20).
3. Place the base of a combination square
against the edge of the miter gauge slot,
and extend the sliding rule of square so
it just touches the marked point 1 on
the body of the saw blade at the rear of
the table.