9 DIVAR IP 3000 System overview | en
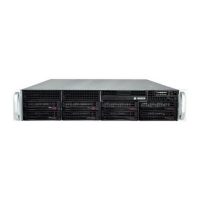
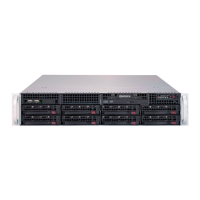
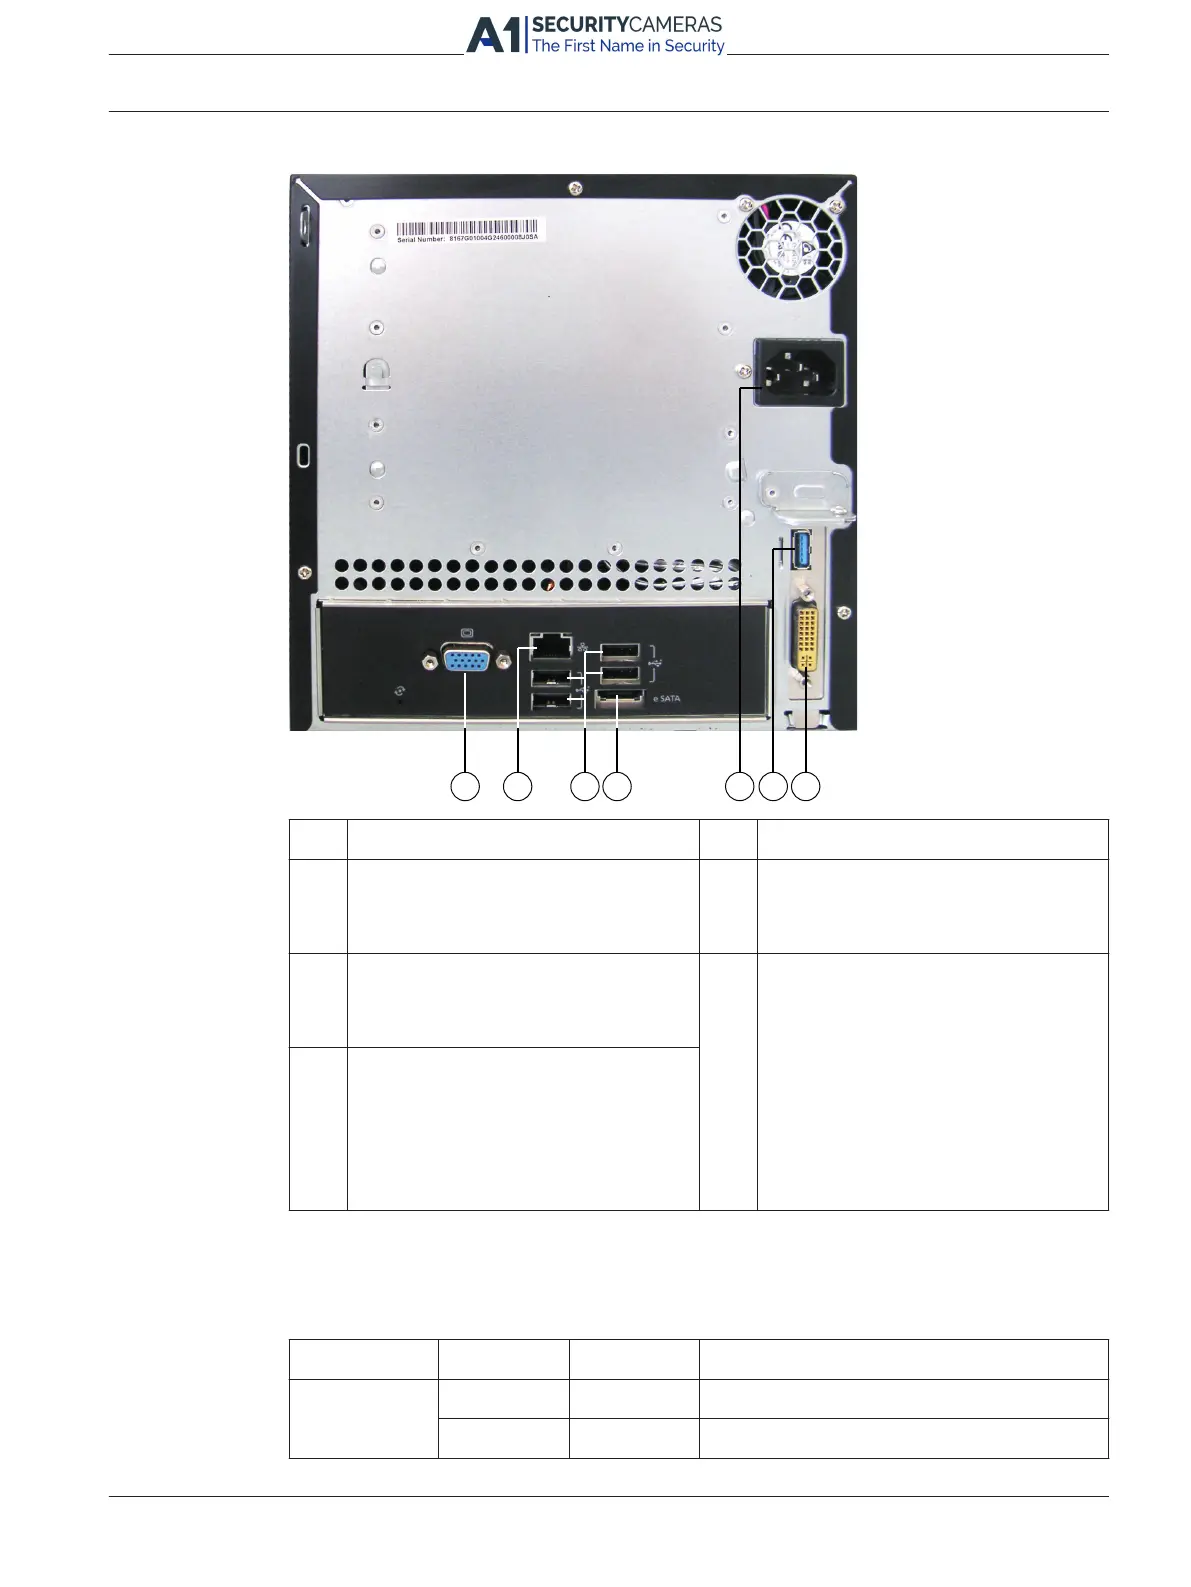
Rear view:
1 1x VGA (monitor) 5 Mains connection 100 - 240 VAC
2 1x Ethernet (RJ45) 6 1x USB 3.0
Note: Do not use this port for
keyboard and mouse.
3 4x USB 2.0
Note: Use these ports for keyboard
and mouse connection.
7 1x DVI (monitor), for local viewing
Note:
If the system is only connected to the
DVI port, no video signal is displayed
until the system has started
completely. This can take 1 – 2
minutes. A video signal is always
displayed when the monitor is
connected to the VGA port.
4 1x eSATA for data export
Note: Do not connect hard disk drives
for recording.
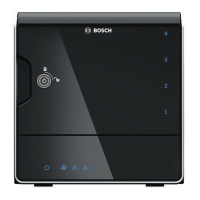
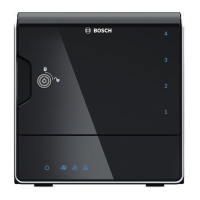
LED description - front panel
This chapter describes the LED displays on the front of the chassis.
LED indicator LED color LED state Description
Power LED N/A Off Power off
Blue On (default) Working (S0 state)
Bosch Sicherheitssysteme GmbH Installation Manual 2013.09 | V2 | DOC
Available from A1 Security Cameras
www.a1securitycameras.com email: sales@a1securitycameras.com
2.3.1