www.pivotcycles.com info@pivotcycles.com
1.877.857.4868
2
QUICK START GUIDE
Mini Remote and System Controller Function
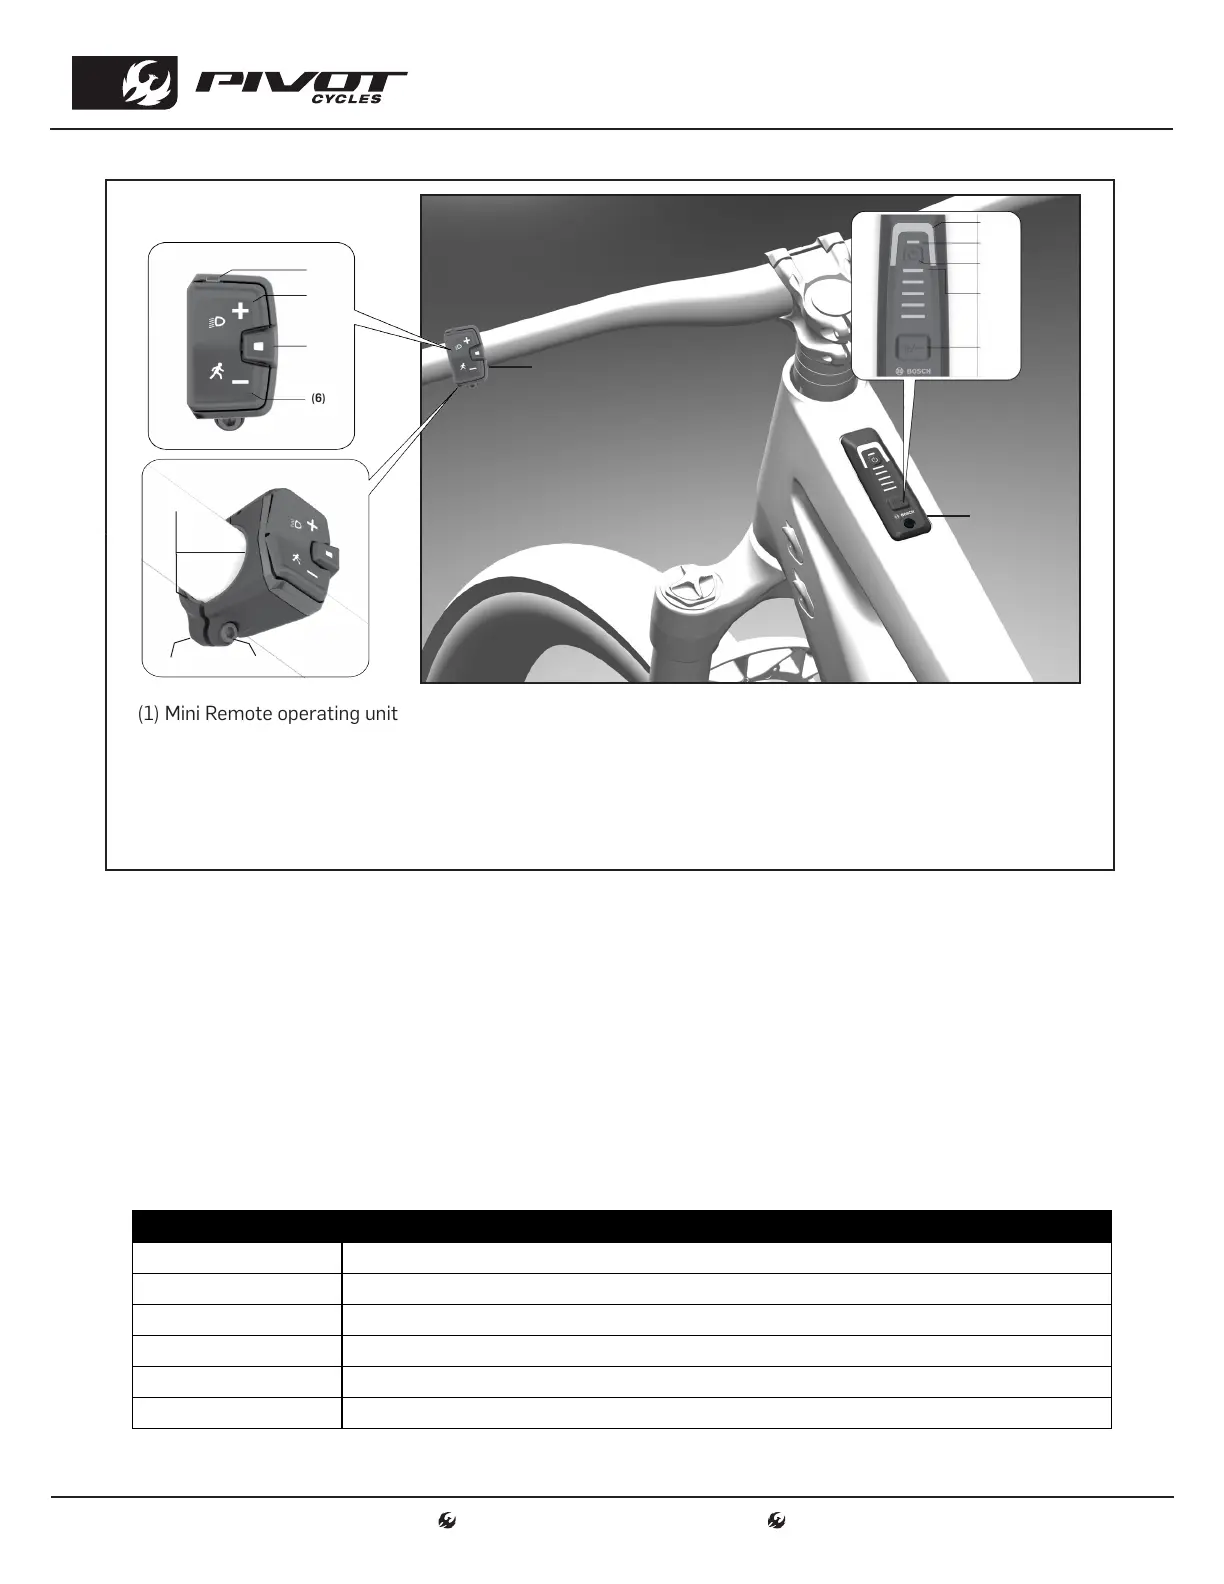
(1) Mini Remote operating unit
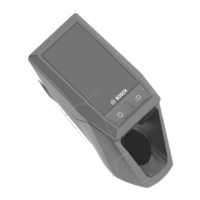
(2) System Controller
(3) LED indicator lamp
(4) Button for increasing support level +/ bike lights
(5) Select Button
(6) Button for decreasing support level -/walk assistance
(7) Rubber insert/battery holder
(8) Holder
(9) Fastening screw for holder
(10) Assistance level LED
(11) ABS LED (optional)/ ambient light sensor
(12) On/off button
(13) LED's for battery charge indicator
(14) Mode Button
Adjusting the Level of Assistance
• The assist level can be selected with the Mini Remote (1) or with the System Controller (2).
• Mini Remote: Briefly press (< 1 s) the + (4) button to increase assistance. Briefly press (< 1 s) the - (6)
button to decrease assistance.
• System Controller: Briefly press (< 1 s) the mode button (14) to increase assistance.
• Press the mode button (14) for longer than 1 s to decrease the assistance.
• The assistance level can be changed at any time, even while cycling, and is displayed in color on the
Assistance level LED (10). See the table below for assist modes, LED color, and description.
• The Shuttle AM also features walk assist. To start walk assistance, press the (6) button for < 1 s and
keep it pressed. The battery charge indicator (13) goes out and a white moving light in the direction
of travel shows that it is ready. Releasing the (6) button pauses walk mode.
LED COLOR ASSIST DESCRIPTION
LED OFF Motor support is switched off. The bike can be pedaled as a normal bike
GREEN Effective support with maximum efficiency, for maximum range
BLUE Steady support, long range for touring
PURPLE Optimal support whatever the terrain, improved dynamics and top performance
RED Maximum support even at a high cadence, for sport cycling
FLASHING SEQUENCE Walk assist. The battery charge indicator (13) LEDs turn off then flash in the direction of travel.
(1)
(2)
(3)
(4)
(5)
(6)
(10)
(7)
(8)
(9)
(11)
(12)
(13)
(14)