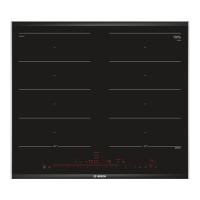
Extended FlexInduction en
11
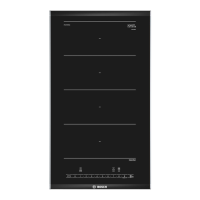
¡ Position the cookware depending on the size:
¡ Recommended oblong cookware :
As two separate cooking zones
Recommended for cooking with two items of cook-
ware.
You can use the front and rear zone independently of
one another, and set a separate power level for each
zone.
Caution
Do not place cookware in the middle between the right
and left zones. The cooking zones are not activated
correctly and you do not achieve a good cooking res-
ult.
10.2 Switching on FlexInduction
1.
Place the cookware on the cooking zone.
2.
The appliance detects the cookware and selects the
cooking zone.
a The cooking zones split or connect automatically
depending on the size and position of the cook-
ware.
a When the flexible zone is connected, lights up
more brightly.
Notes
¡ By pressing , you can manually change the set-
tings for the cooking zones.
¡ If you move or lift the cookware from an active con-
nected cooking zone, an automatic search starts.
Each item of cookware that is found within the cook-
ing zone during this search is heated at the previ-
ously selected power level.
Extended FlexInduction
11 Extended FlexInduction
With the extended cooking zone, you can cook with lar-
ger cookware or position long cookware sideways on.
The extension always switches on in conjunction with
one of the two flexible cooking zones. You cannot
switch the extension on separately.
11.1 Position the cookware according to
weight and size
Position the cookware in the middle over the rear part
of the flexible cooking zone and its extension.
Depending on the size of the cookware and the
covered cooking surface, you can switch on the flexible
cooking zone as two separate cooking zones or as one
connected cooking zone:
11.2 Activating Extended FlexInduction
1.
Place the cookware on the cooking zone in such a
way that it is also on the extended FlexZone.
2.
The appliance detects the cookware and selects the
cooking zone.
 Loading...