24
System Pressure
6 720 801 019 (2012/05)
6.2 EXTERNAL FILLING LOOP
Locate the external filling loop and follow the instructions for re-
pressurising.
B Ensure that the isolating valves are shut before removing the
blanking caps. The valves are shut when the handle or
screwdriver slot is at 90° to the valve.
1. Unscrew the blanking cap(s) from the isolating valves.
2. Attach the filling loop and screw on, hand-tight, to both
isolating valve.
3. The handle/screwdriver slot has only to be turned through 90°
(¼ turn) to open the valve.
4. The handle/screwdriver slot will then be in-line with the valve,
i.e. vertical.
FILLING PROCEDURE:
B Open one of the valves, do not turn passed 90° i.e. ¼ turn.
B Monitor the water pressure gauge and slowly open the second
valve until water can be heard flowing and the pressure gauge
starts to rise.
B When the water pressure reaches 1 to 1.5 bar, close the valve,
this will stop the system filling.
B Once the system has been re-pressurised, to the correct
pressure, close the other valve.
Ensure both valves are closed before removing the hose.
B Remove the hose and replace the blanking cap(s).
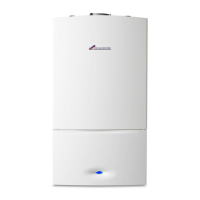
NOTICE: If the filling loop does not look like the one
shown in the figure below or you cannot find your
filling loop, contact your installer.
 Loading...
