36
7. Rub and Buzz Test. Use Channel 1 or 2
7.1 Insert a 1/4 inch Phone Jack that is
connected to a signal generator into the input.
7.2 Apply a 70mv, 80Hz, + 1Hz signal to the
channel under test.
7.2 Set volume at Max. Bass, Treble at Mid.
Tonematch o, Reverb O
7.3 There should be no rubbing or buzzing
sounds.
8. Orientation EQ Test, Channel 1 or 2
8.1 Insert a 1/4 inch phone jack that is connected
to a signal generator in to either channel 1 or 2.
8.2 Apply 100mv, 1KHz, sinewave to channel
input.
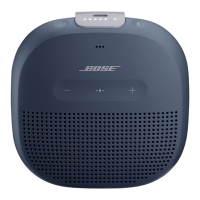
8.3 Position the system in the orientation as
shown in the examples below. Standard, Tilt back
and Floor Monitor.
8.4
Observe slight volume changes for each
position.
Test Procedures
( Continued)
Figure 38
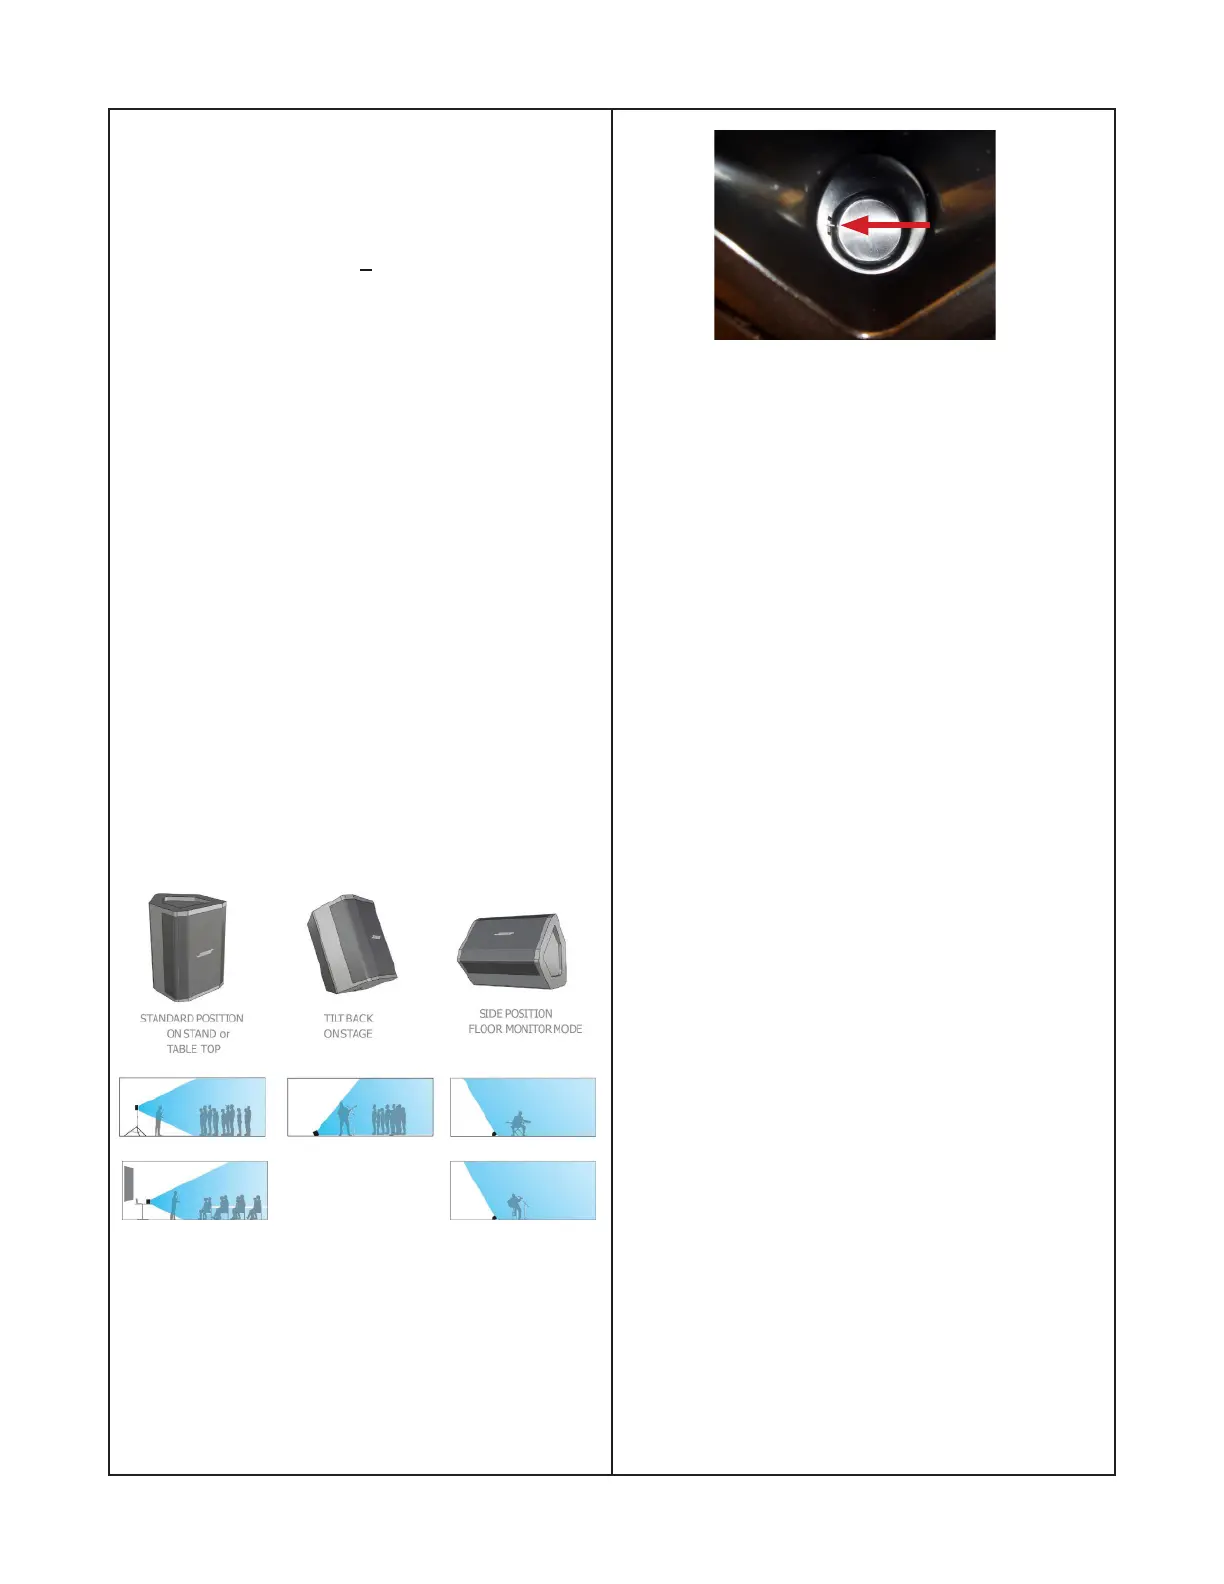
9. Pole mount switch test
9.1 Perform procedure 8.1.
9.2 Locate the Pole mount receptical at the
bottom of the S1 Pro as shown in gure 38.
9.3 The arrow indicates the Pole switch.
9.4 Insert a nger to toggle the Pole switch.
There should be a 3dB higher volume change.
10. Channel 3 Bluetooth
®
Test
10.1 Pair the S1 Pro with a cellphone that is
capable of audio content and output.
10.2 Press the Bluetooth
button on the S1 Pro.
It will display a blinking white LED in the center
of the button. The white LED will remain solid
once pairing is established.
10.3 Conrm Bluetooth audio is present thru
Channel 3 up to 30ft distance.
11. AUX Test Channel 3
11.1 Insert a 1/8 plug into the AUX in of the S1
Pro.
11.2 Apply audio to the AUX plug. Conrm audio
is present thru Channel 3.

 Loading...