33
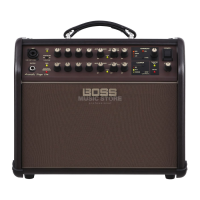
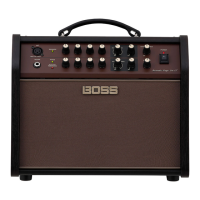
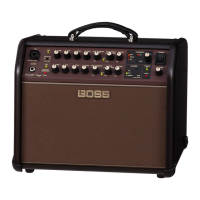
Panel Descriptions
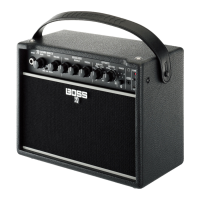
2 GUITAR/INSTRUMENT CHANNEL
GUITAR/INSTRUMENT jack
Connect an acoustic guitar or other acoustic instrument here.
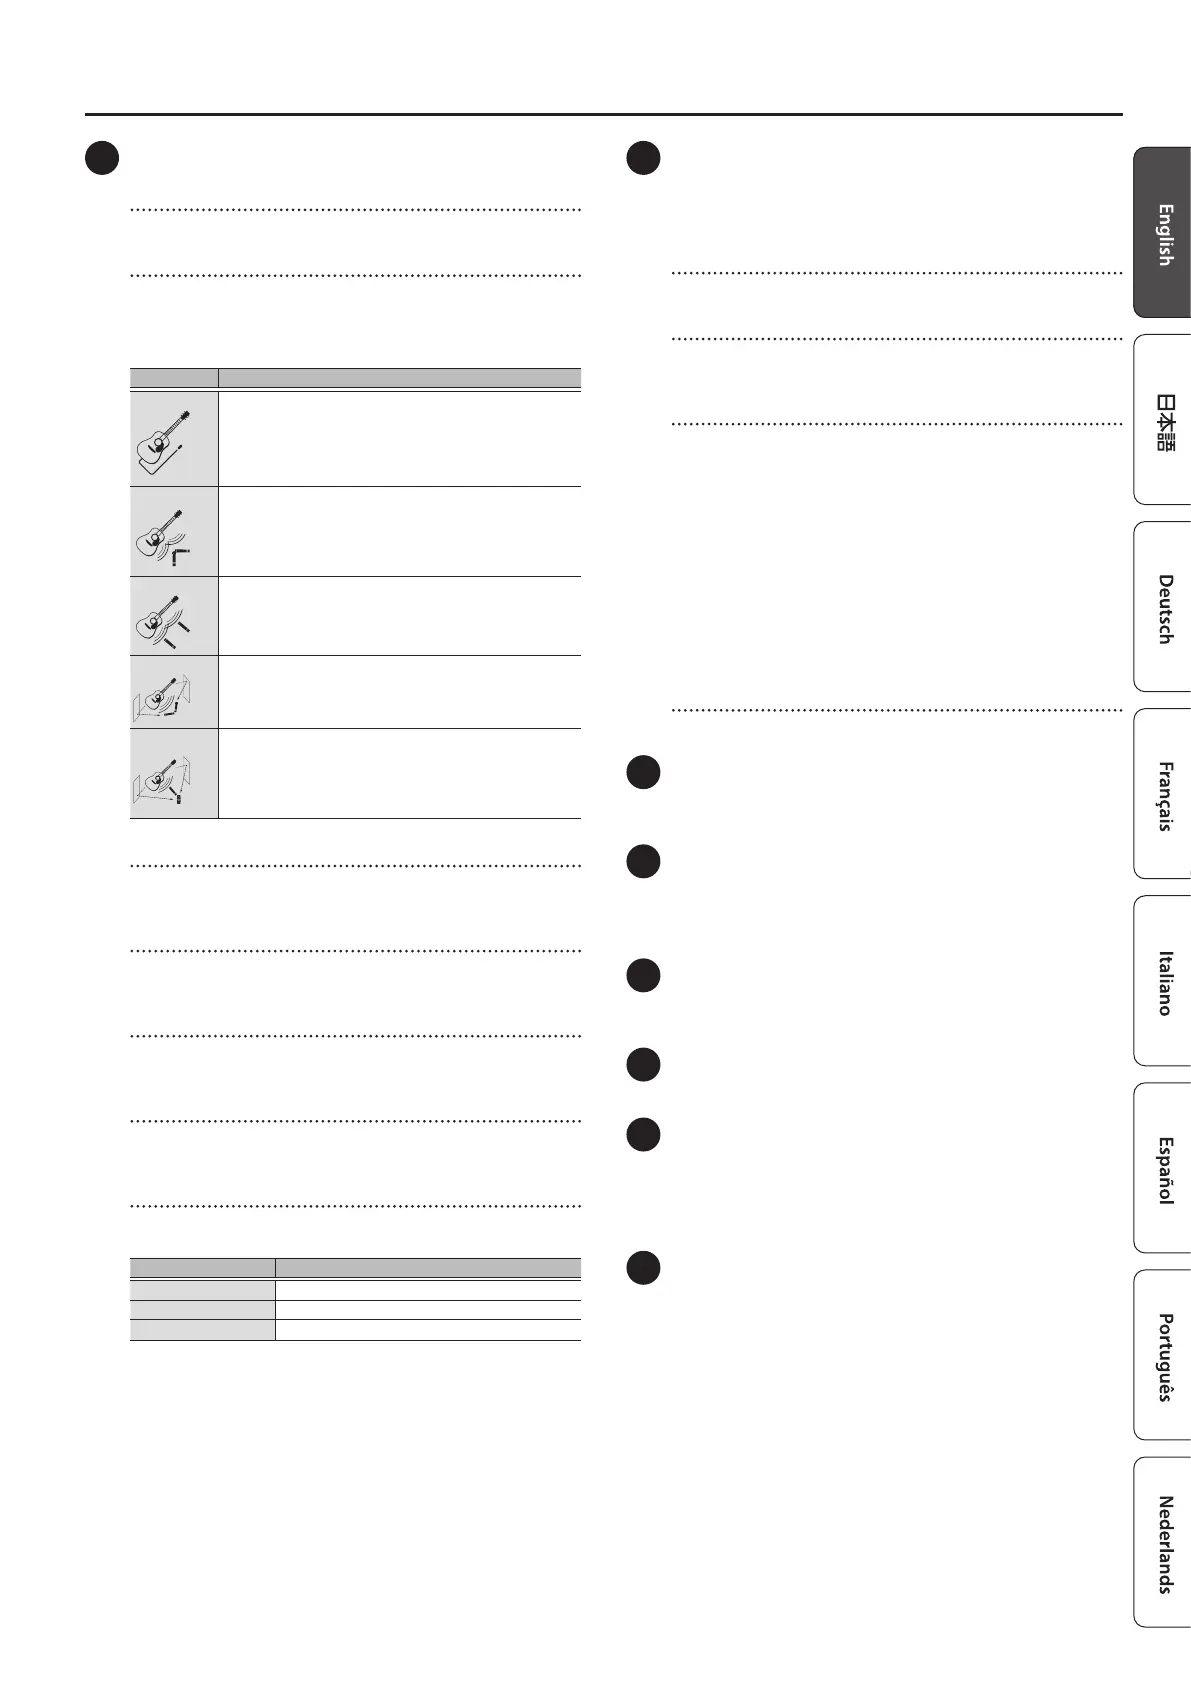
[AIR FEEL] knob
This gives you a reverberation and ambience that’s like recording
the sound of an acoustic instrument through a mic.
You can use the knob to select between ve dierent types of mic
recording (miking).
Type Explanation
DRY
This is the traditional amp system used to directly play back
the sound from the pickups, which emphasizes the character
of the pickup sound.
Used for fully conveying the expressiveness of your
performance.
XY
Oers the advantages of the XY miking technique.
This picks up the body resonance of acoustic instruments
and the direct sound of their strings playing, which gives
percussive playing eects like muting the chord strokes or
the bridge with the palm of your hand.
AB
Oers the advantages of the AB miking technique.
This naturally extends the reverberations of the guitar into
the sound space, and gives acoustic instruments a wider
range of resonance.
ORTF
Oers the advantages of the ORTF miking technique.
Ambience is added to the reverberations of acoustic
instruments, giving them a deeper, atmospheric sound.
MID SIDE
Oers the advantages of the mid-side miking technique.
This oers an ambience that sounds like being at a slight
distance from the acoustic instrument, and is suitable for
emphasizing vocals and other musical instruments when
playing accompaniment.
[VOLUME] knob
Adjusts the volume before equalization and eects are applied to
the acoustic instrument.
[BASS] knob
Adjusts the low-end volume of instruments that are connected to
the GUITAR/INSTRUMENT jack.
[MIDDLE] knob
Adjusts the midrange volume of instruments that are connected to
the GUITAR/INSTRUMENT jack.
[TREBLE] knob
Adjusts the high-end volume of instruments that are connected to
the GUITAR/INSTRUMENT jack.
[REV/REV&CHO] knob
Use this knob to switch between reverb, reverb & chorus for the
GUITAR/INSTRUMENT channel.
Type Explanation
OFF Eects are not applied.
REVERB Adjusts the reverb depth.
REVERB & CHORUS Adjusts the reverb & chorus depth.
3 RHYTHM BOX
This amp features built-in rhythm patterns that use realistic
percussion and drum sounds.
Enjoy playing along with these rhythm patterns as you like (p. 6).
[PATTERN] knob
Selects the genre of the rhythm pattern.
[START/STOP] button
Starts/stops the rhythm box. When you start the rhythm box, the
[START/STOP] button blinks in time with the tempo.
[TAP TEMPO]/[VARIATION] button
When you long-press the [TAP TEMPO] button, it functions as the
[VARIATION] button. You can switch it back to the [TAP TEMPO]
button by long-pressing the button again.
[TAP TEMPO] button
Sets the tempo for the rhythm box. Press this button twice at the
tempo you desire to make the rhythm box play back at that tempo.
[VARIATION] button
Selects the rhythm pattern variation.
Each rhythm pattern has three rhythm variations.
The [VARIATION] button color changes from green to red to orange
each time you press it, and the variation changes accordingly.
[VOLUME] knob
Adjusts the volume of the rhythm box.
4 LOOPER indicator
You can use the looper by connecting a footswitch (FS-5U, FS-6,
FS-7; sold separately) to the FOOT SW jack (p. 7).
5 PHONES/REC OUT jack
Connect your headphones here.
* No sound is played through the unit’s speaker while the PHONES/
REC OUT jack is in use.
6 [MEMORY] button
Use the memory feature to store three dierent sets of knob
congurations for each AIR FEEL type (p. 6).
7 [MASTER] knob
Adjusts the output volume.
8 POWER indicator
This indicator lights when the unit is turned on.
* When operating on battery power only, the indicator blinks when
battery power gets too low. Replace the battery as soon as possible.
(p. 5).
9 [POWER] switch
Turns the power of this unit on/o (p. 5).
* Before turning the unit on/o, always be sure to turn the volume
down. Even with the volume turned down, you might hear some
sound when switching the unit on/o. However, this is normal and
does not indicate a malfunction.
 Loading...