18
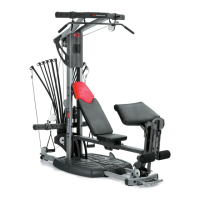
Assembling Your Bowflex Ultimate
®
2
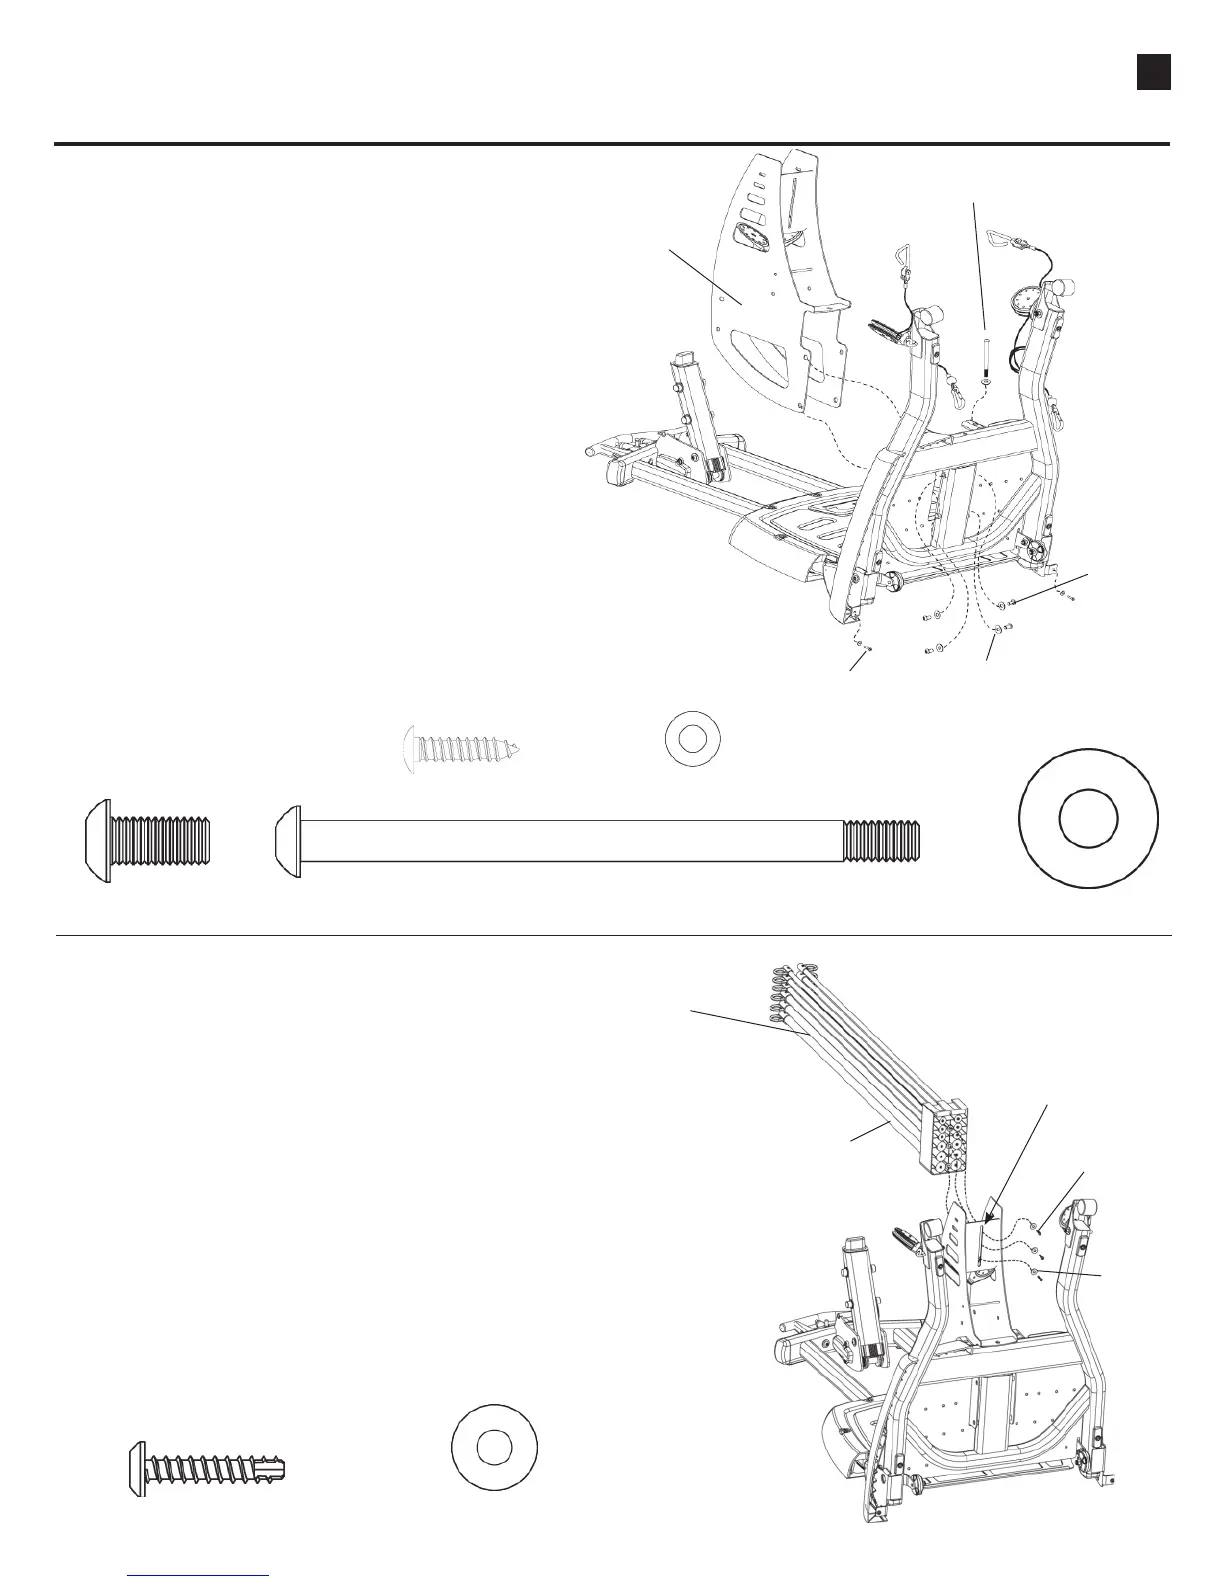
STEP 6
Parts:
• Base Assembly
• Rod Box (Box 4)
Tools:
• Hex Key (7/32”)
6-1 Leave Base in folded position and tilt forward to
gain access to bottom of Rear Base.
6-2 Place the Rod Box through Rear Base and align
with holes in base frame.
6-3 Install the 4 3/4” screw first to hold the Rod Box in
position then install the four 3/4” screws.
6-4 Install the two #8 x 3/4” screws to secure the rear
base covers. Completely tighten all the hardware.
4 Pan Head Allen Bolt (3/8” X 3/4”) 5 Washers (3/8”)
Hardware (1:1):
Pan Head Allen
Bolt 3/4”
Washer
Rod Box
Pan Head Allen Bolt
4 3/4”
1 Pan Head Allen Bolt (3/8” X 4 3/4”)
2 Self Tapping Screws (#8 X 3/4”)
2 Washers (#8)
#8 x 3/4” Self
Tapping Screw
STEP 7 (Requires Two People)
Parts:
• Base Assembly
• Rod Pack (Box 1)
Tools:
• Phillips Head Screwdriver
7-1 Leave Base in folded position from step 6.
7-2 Have one person align the Rod Pack with the slot
in the Rod Box with the 50 Lb. rods facing down.
7-3 Have second person Install and completely
tighten hardware.
3 Self Tapping Screws (#10 X 1”)
Hardware (1:1):
Rod Pack
Self Tapping
Screw
Washer
50 Lb. Rods
facing down
Align with slot
in Rod Box
3 Washers (1/4”)