7
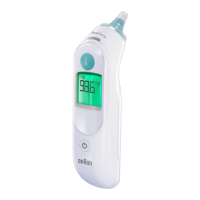
1. To turn the thermometer on, push the “start” button (4)
as shown on page 3.
During an internal self-check, the display
shows all segments.
The reading shown on the screen is the last
temperature taken.
Flashing symbol of lens lter will appear if no
lens lter is attached. Temperature can be
taken only if lens lter is mounted on
the probe.
The thermometer is ready to use after
two beeps and the non-ashing ear
icon appears.
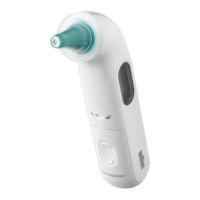
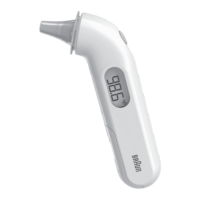
2. Fit the probe (3) snugly into the ear canal,
then push the “start” button (4).
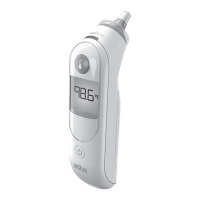
One beep signals normal temperature. Audio
temperature indicator will trigger 2
consecutive beeps when the reading is equal
or higher to 99.5 °F (37.5 °C) and 4 beeps if the
reading is equal or higher to 101.4 °F (38.6 °C).
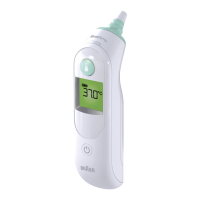
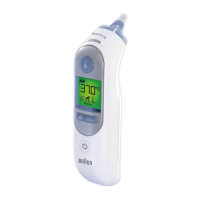
The result is shown on the display (7).
3. Gently pull o the hygienic lens lter (2).
Do not use force in removing the hygienic
lens lter.
4. Put on a new, clean, hygienic lens lter by
snapping into position.
5. Place the protective cap on (1).
The Braun ThermoScan® 4 Ear thermometer turns
o automatically after 60 seconds of inactivity.
The thermometer can be turned o by pressing
and holding the start button for more than
5 seconds.
English
 Loading...