All information herein is proprietary and confidential and may not be copied or reproduced without the expressed written consent of BRAY INTERNATIONAL, Inc.
The technical data herein is for general information only. Product suitability should be based solely upon customer’s detailed knowledge and experience with their
application.
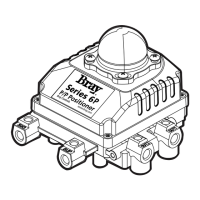
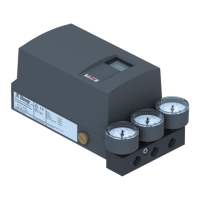
Series 6A Installation, Operation & Maintenance
Service and Maintenance
6A O & M : 29
SERVICE AND MAINTENANCE
The S6A is maintenance-free to a large extent. Screens are
installed in the pneumatic connections of the positioners to
protect them from debris. If there are dirt particles in the
pneumatic auxiliary power supply, they damage the screens
and hamper the function of the positioner.
Perform the following steps when needing to clean the
screens:
Cleaning the Screens
CAUTION
Danger Positioner in the plastic enclosure:
Risk of explosion due to electrostatic charge. Electrostatic
charges develop when cleaning the positioner in the plastic
enclosure with a dry cloth. It is imperative you avoid electro-
static charges in the hazardous environment.
1. Disconnect the pneumatic power supply.
2. Remove the lines.
3. Unscrew the cover.
4. Unscrew the three self-tapping screws on the pneumatic
terminal strip.
5. Remove the screens and O-rings behind the terminal
strip.
6. Clean the screens, e.g. using compressed air.
Installation of the Screens
CAUTION
Damage to the enclosure. The enclosure is damaged due
to screwing in the self-tapping screws improperly. Ensure
that the available thread pitches are used. Turn the screws
counterclockwise until they engage noticeably in the thread
pitch. Tighten the self-tapping screws only after they have
engaged.
1. Insert the screens into the recesses of the plastic
enclosure.
2. Place the O-rings on the screens.
3. Fit the pneumatic terminal strip on both studs so that it
fits flushly.
4. Screw-on the three self-tapping screws.
5. Place the cover and tighten it.
6. Reconnect the pipelines and feed the pneumatic power
supply
 Loading...