23
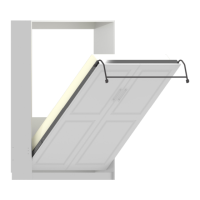
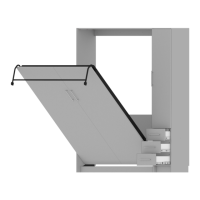
Chapter 4: Assembling the Bed Face Panel unit.
Lay the metal frame pieces on top of the bed doors with the
wider ange facing down towards the bed doors. Use the
hardware from hardware card #3 for the following:
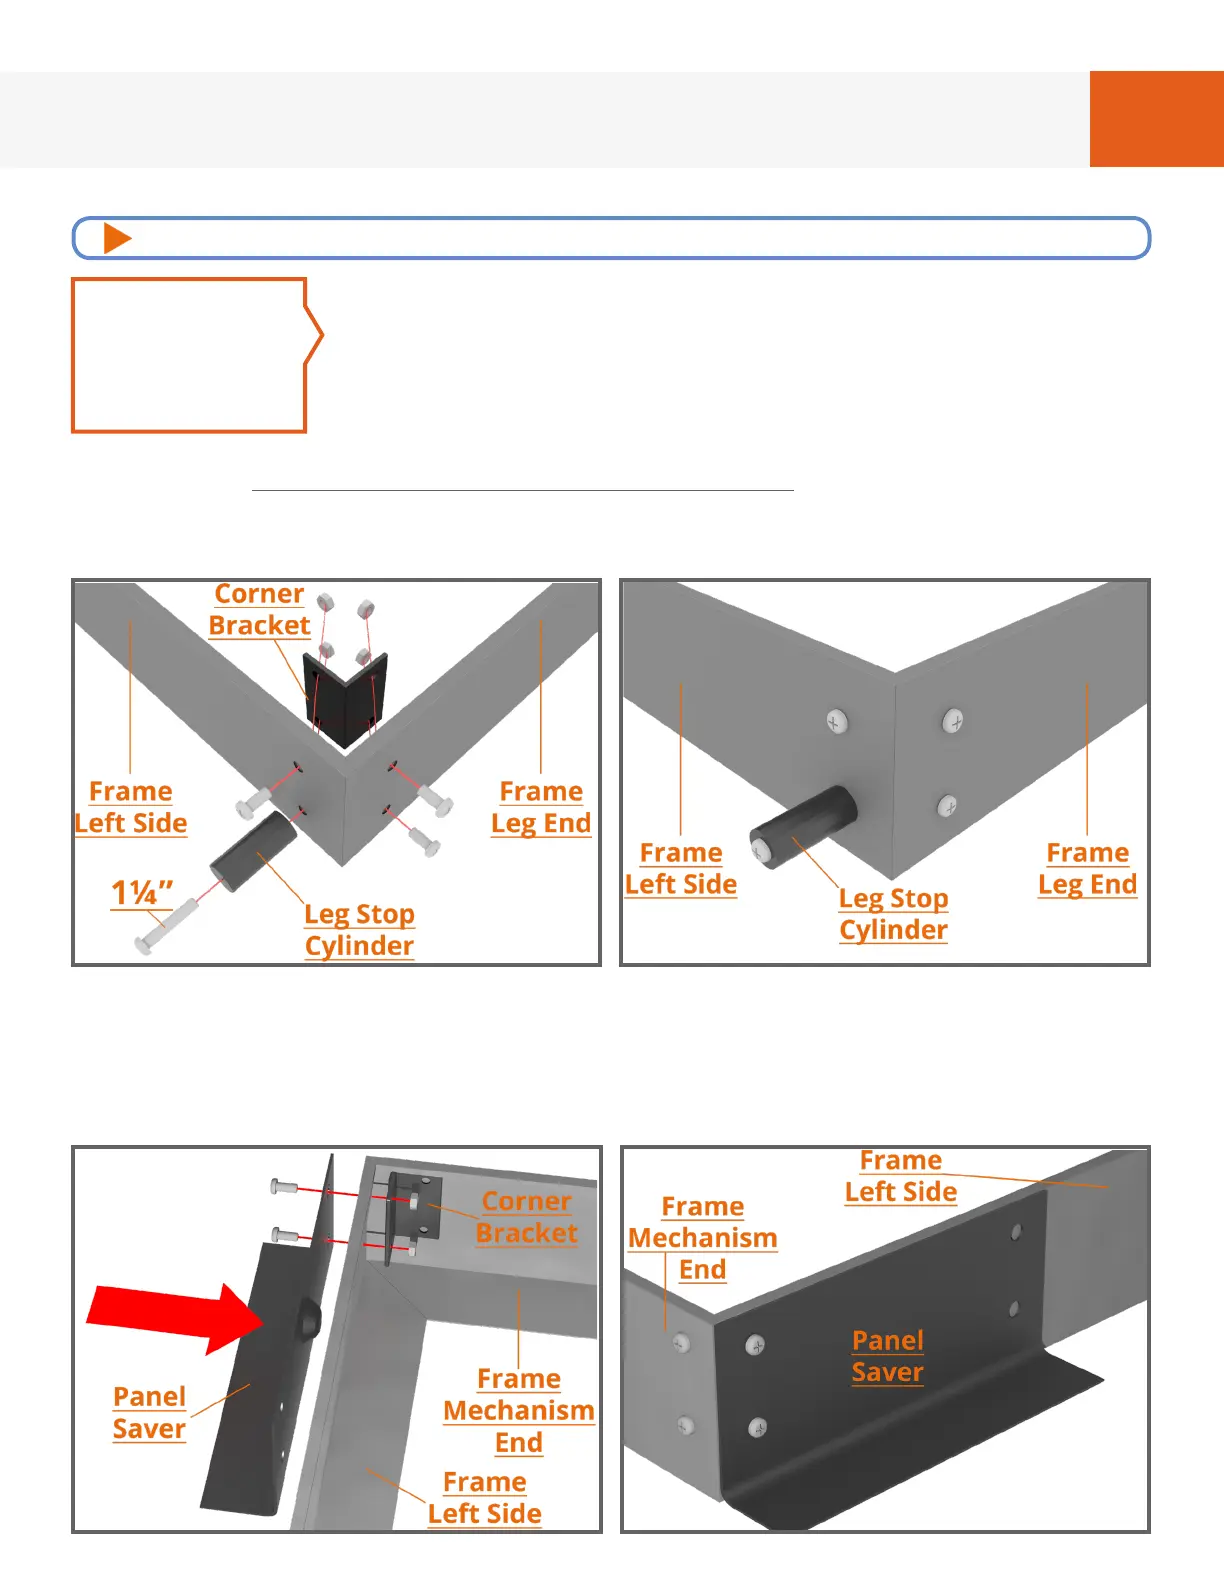
LEG END CORNERS: Referring to Fig. 4C (exploded view) & Fig. 4D
(assembled view), place a corner bracket on both inside corners
of the frame “Leg End”. Use the 1 1/4” long screw to attach the 1/2” x 3/4” round black
cylinder to the outside of the frame in the bottom, side hole and attach the other holes
with 3, #10 x 1/2” (short) screws and nuts. This cylinder will act as the leg stop once the
installation is complete. Attach the other holes with 3, #10 x 1/2” (short) screws and nuts.
STEP 2
FIG. 4D - LEG END, LEFT CORNER, OUTSIDE VIEWFIG. 4C - LEG END, LEFT CORNER, OUTSIDE VIEW
FIG. 4F - MECHANISM END, LEFT SIDE, OUTSIDE VIEWFIG. 4E - MECHANISM END, LEFT CORNER, INSIDE VIEW
MECHANISM END CORNERS: Your bed comes with “Panel Savers” which are metal “L”
shaped pieces that prevent damage to the doors if the user forgets to put the leg rod down
when opening the bed. Referring to Fig. 4E (exploded view) & Fig. 4F (assembled view), place
a corner bracket on both inside corners of the frame “Mechanism End” and a Panel Saver on
the outside of the left and right frame sides. Attach with 4, #10 x 1/2” (short) screws and nuts.
For video instructions of this specic chapter, visit: breda.us/frame