26
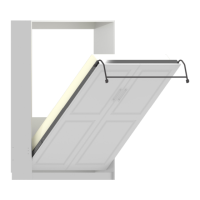
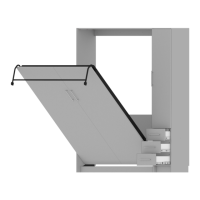
Chapter 5: Attaching the Bed Face Panel to the Bed Cabinet.
Chapter 5: Attaching the Bed Face
Panel to the Bed Cabinet.
REQUIRED TOOLS
• Cordless Drill w/ bit holder
• 1/2” Socket
• 1/2” Wrench
• Phillips Screwdriver
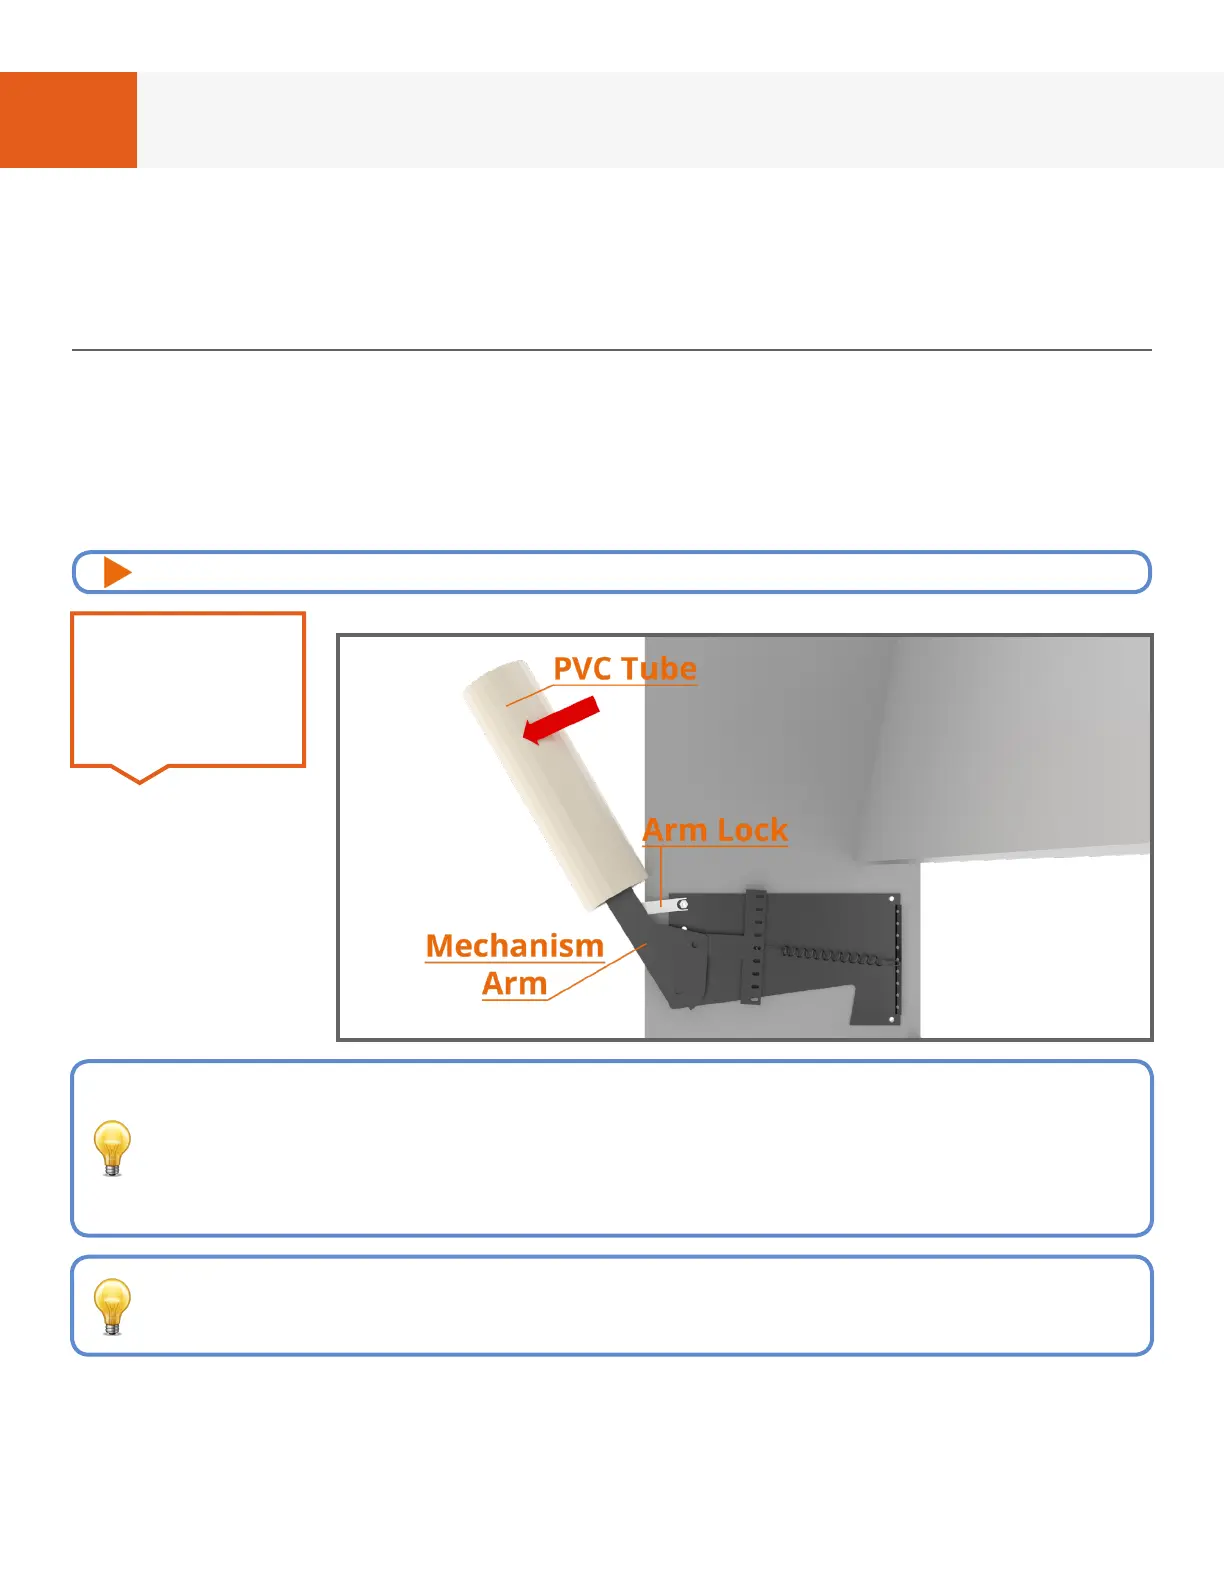
Slide the PVC
tube over the
mechanism arm
and pull outward
to engage the arm
lock on the T-Nut
as shown in Fig.
5A. Repeat steps
for opposite side.
FIG. 5A - LEFT SIDE SHOWN
STEP 1
The mechanism arm will have a considerable amount of tension, this is normal
and why we include the PVC tube. You should place your foot against the
bottom on the bed to prevent the Bed Cabinet from pulling away from the
wall and doing this will also help get leverage to pull the arm down. It may
also appear to be slightly bent, which is normal.
REQUIRED HARDWARE
• Hardware Card #2
If you don’t have an integrated or supplementary T-Nuts and you have
trouble with the Arm Lock slipping o the Hex Nut, you can loosen the Hex
Nut and engage the Arm Lock between the nut and mechanism.
For video instructions of this specic chapter, visit: breda.us/face