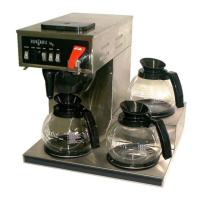
Maintenance And Cleaning
Caution: Only those persons trained and qualified in equipment repair should
attempt to open and clean the inside of this coffee brewer.
Caution: Turn the power switch off, unplug the power supply cord and allow
the coffee brewer to cool before cleaning.
Note: Do not use abrasive or harsh cleaners as they may damage the finish of
this coffee brewer.
Note: Failure to follow these cleaning instructions may damage this coffee
brewer and may void the warranty.
As needed, clean stainless steel surfaces with a mild, non-abrasive stainless steel
cleaner.
Other surfaces can be cleaned with a soft damp
cloth or mild liquid detergent.
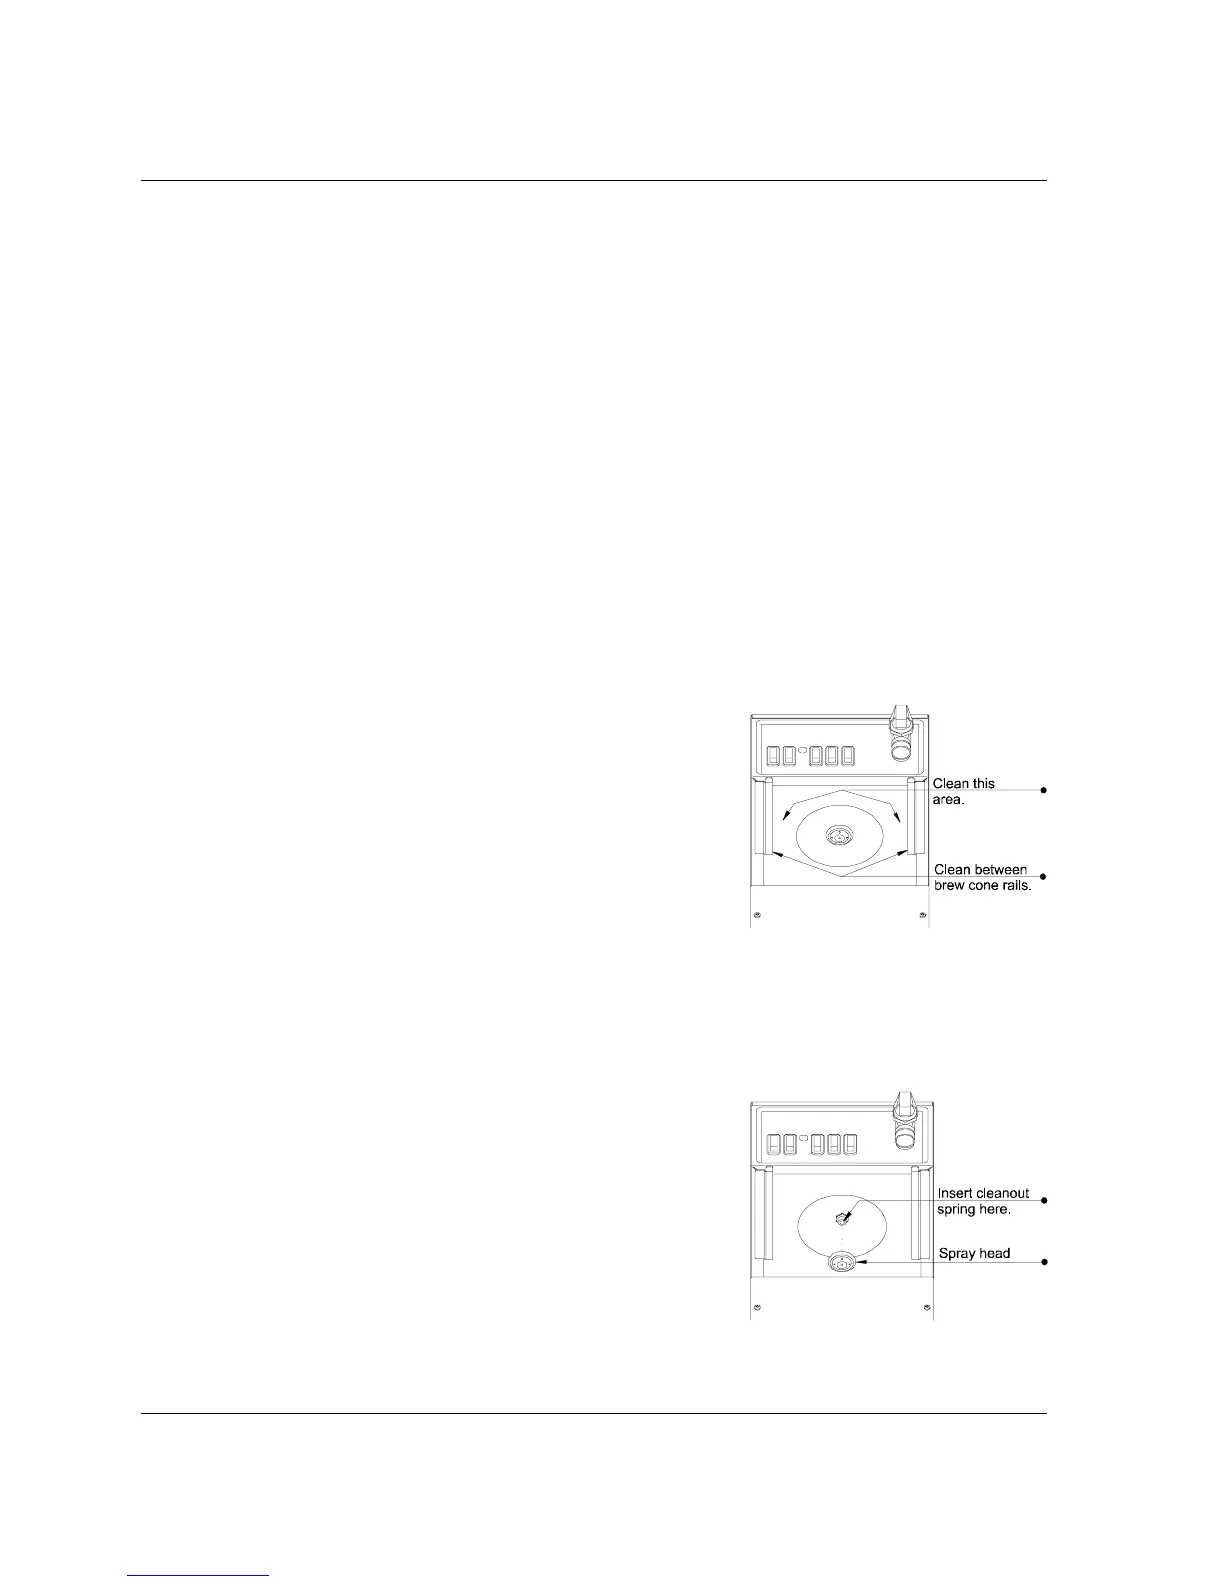
Fig. 24.
The brew cone should be rinsed with water after
each brew cycle. At least once a week the brew
cone should be washed by hand with a mild
detergent. Rinse well after washing.
As necessary, the area between the brew cone
rails and above the brew cone (Fig. 24) should
be wiped clean with a damp cloth as coffee oils
will gradually collect on these surfaces.
Once a week, more often in hard water areas,
the spray head, located above the brew cone,
should be removed and cleaned. Spray head
holes should always remain open.
With the spray head removed, insert the clean
out spring (included in the packaging) into the
siphon tube opening until approximately six
inches remain visible (Fig. 25). Move the
spring in and out several times. This will help
prevent alkali buildup and help to keep hoses
and fittings clear.
Fig. 25.
Page 12
COMK211