30
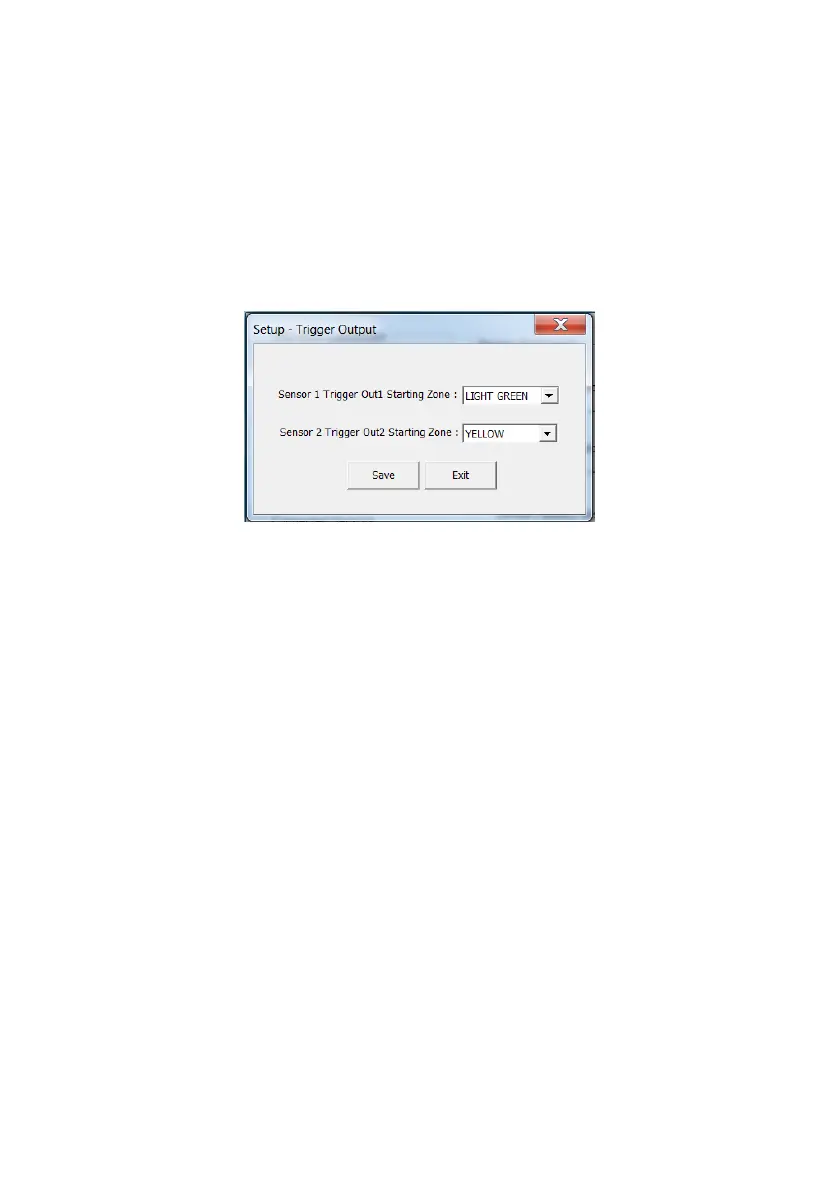
5.3.11 Trigger Output Configuration (Trigger Output)
The Trigger Output window enables the user to select (via drop-down boxes), the starting
zones at which object detected by Sensor 1 and Sensor 2 would activate Trigger Out 1 and
Trigger Out 2.
The example below shows Sensor 1 Trigger Out 1 Starting Zone set to Light Green and
Sensor 2 Trigger Out 2 Starting Zone set to Yellow. In this example, whilst the On-Screen
Indicators would alert the machine operator to detections in all 5 zones for each sensor (and
audible alert will perform as configured), Trigger Out 1 will only activate when an object is
detected in either the Light Green, Yellow, Orange or Red zones of Sensor 1. Trigger Out 2
will only activate when an object is detected in either the Yellow, Orange or Red zones of
Sensor 2.
After Trigger Out Starting Zone selections are completed the user must press the Save button.
If the Exit button is pressed, the configuration will not be saved!
5.3.12 Reading a previously configured BS-OSD-022 ECU
Configuration settings previously written to an BS-OSD-022 ECU may be read back by
pressing the Read Configuration button. This is useful if a configuration needs to be modified,
copied from one system to another or stored in a file for any future use. Once configuration
has been read back from an ECU, the values will appear in each of the separate configuration
windows, (Trigger Input, Detection & Blind Zones, Buzzer & Audio, Trigger Output)
5.3.13 Writing configuration parameters to a BS-OSD-022
Once all the required configurations are complete all settings can be programmed into the
Brigade Backsense
®
System by pressing the Write Configuration button. This will upload the
configuration to the Brigade Backsense
®
System.
5.3.14 Device Factory Reset
The BS-OSD-022 may be reset to the original, default configuration by pressing the Device
Factory Reset button.
 Loading...