30 BRIGGSandSTRATTON.COM
Inspection
1. Clean gummy or dirty fuel tanks with Briggs & Stratton
Carburetor Cleaner #100041 or #100042, or equivalent.
2. Inspect fuel tank for:
• Corrosion
• Leaks
• Broken mounting brackets
3. Check fuel cap and filler neck for:
• Proper seals
• Vents
• Functional quantity gauge (if equipped)
4. Check fuel filter for blockage of any kind.
5. Check fuel shut off valve for proper operation.
Clean or replace parts as required. Fuel filter replacement
is recommended annually or any time the fuel system is
serviced.
Installation
1. Install tank support to tank. Slip fuel hose under
governor link and spark plug wire through hole in
support as tank is installed. Torque screws to values
listed in Engine Specifications.
2. Assemble shut-off valve and fuel filter, if equipped, to
fuel hose.
3. Install hose assembly to tank fitting and carburetor
fitting with new clamps.
4. Install control panel/trim plate. Torque screws to
values listed in Engine Specifications.
5. Add small amount of fuel to tank, open shut off valve,
and check for leaks. Repair as necessary.
6. Install air cleaner assembly.
7. Start engine and check for leaks. Repair as necessary.
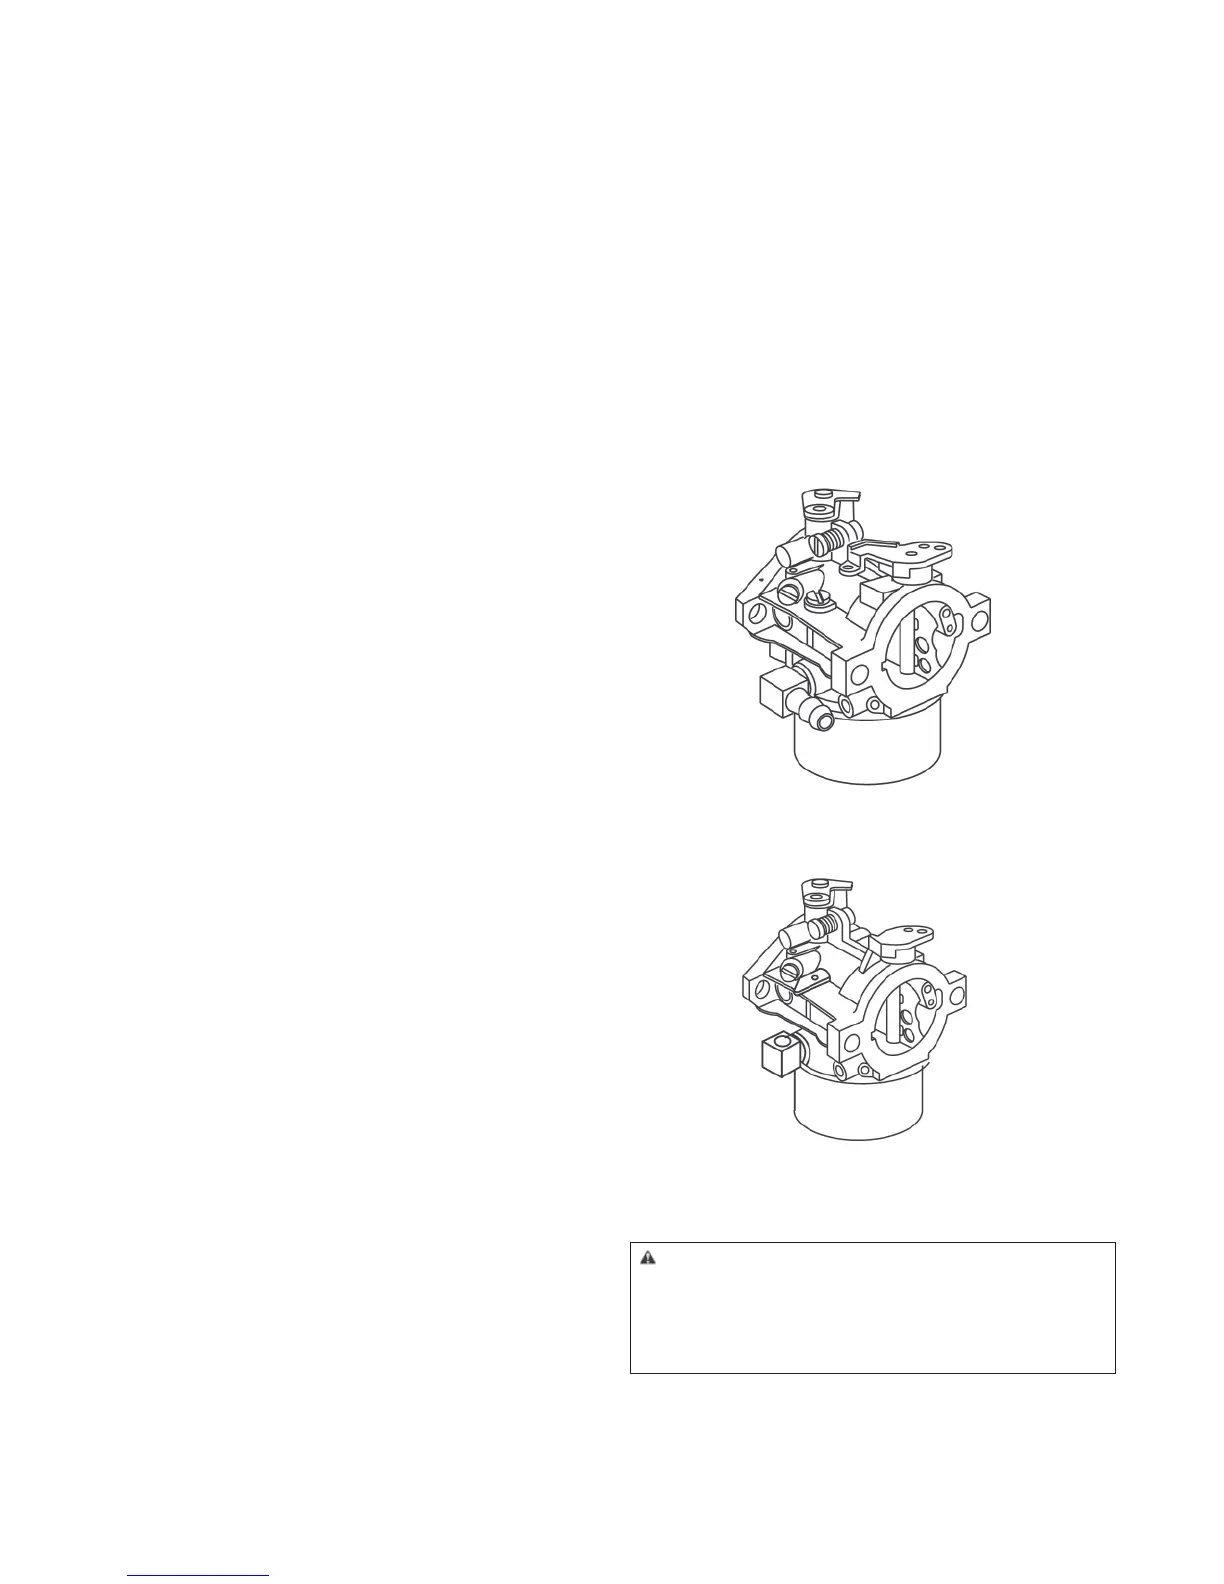
Carburetor Service
LMT Carburetor
Two versions of this carburetor have been used (Figures 25
and 26).
These carburetors have a fi xed high speed main jet with a
screw for idle mixture and idle speed adjustment. The letters
LMT are cast into the body of the carburetor while the iden-
tifi cation numbers are stamped into the carburetor mounting
fl ange next to the idle mixture screw or above the fuel inlet.
Figure 25
Figure 26
WARNING Before servicing the carburetor or other fuel
system components, drain all fuel from the tank and turn
OFF the fuel valve (if equipped).
DO NOT attempt to stop the fuel flow by plugging the fuel
hose.
 Loading...