3 Insert the antenna wire through inside cabinet hole
and around the backside as shown.
4 Fasten the four screws attaching the control panel
5 Assemble antenna piece to base.
6 Loosen inside roof bolt in corner.
7 Mount the antenna to the top of the roof. While
lifting roof in corner, lay antenna wire in space
between rubber gaskets.
8 Insert antenna wire to the ON BOARD RADIO wire
until it clicks. Route wire away from sharp objects
and wire tie.
9 Tighten roof bolt (6) securely.
3
4
After installation has been completed, replace fuses in
transfer switch, replace 15 Amp fuse in control panel,
and set generator circuit breaker to its ON position.
Go to: LINK MONITOR WITH GENERATOR.
8
Option 2
OFF BOARD RADIO to be installed.
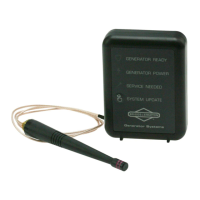
GENERATOR READY
GENERATOR POWER
SERVICE NEEDED
SYSTEM UPDATE
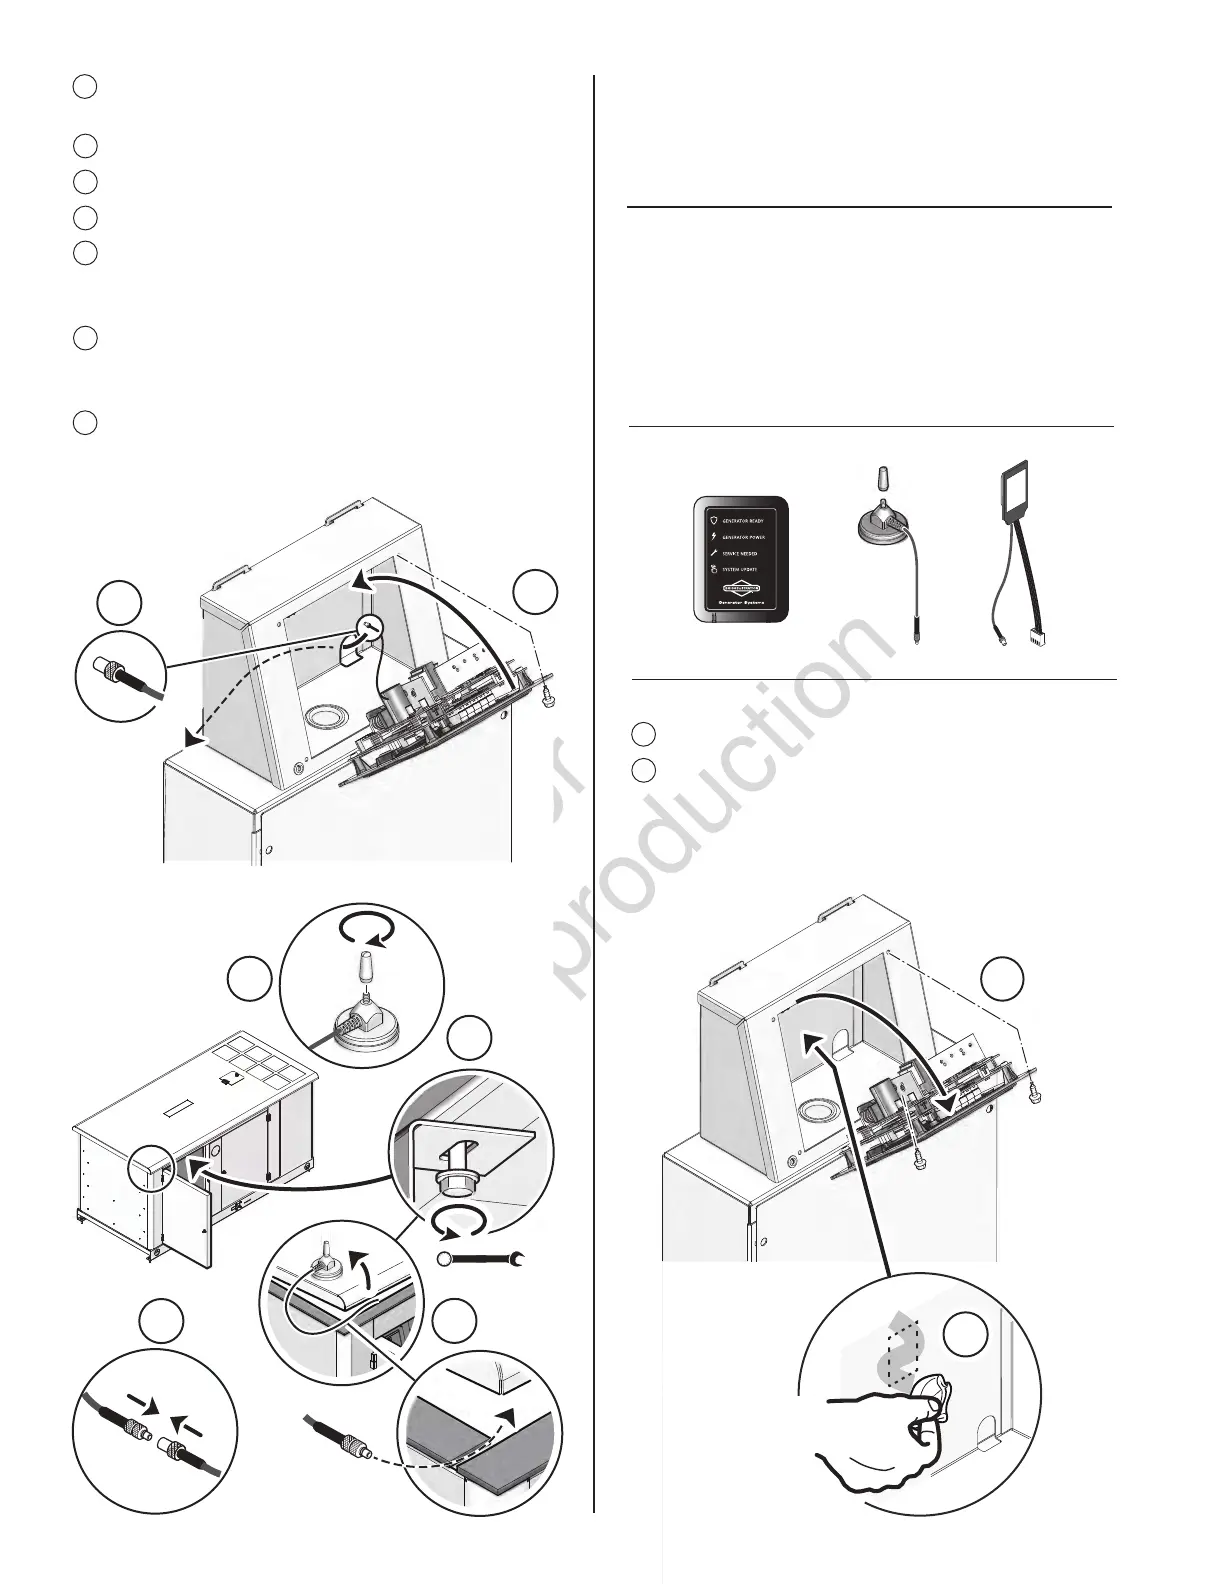
1
Remove the four screws attaching the control panel.
2 Prepare the mounting surface by cleaning with an
alcohol wipe or other cleaning solution. Make sure
surface is dry before proceeding to Step 3.
1
2
8
5
7
6
7/16
Kit parts required:
 Loading...