STEP 1:
Gourmet Handle Assembly and Installation
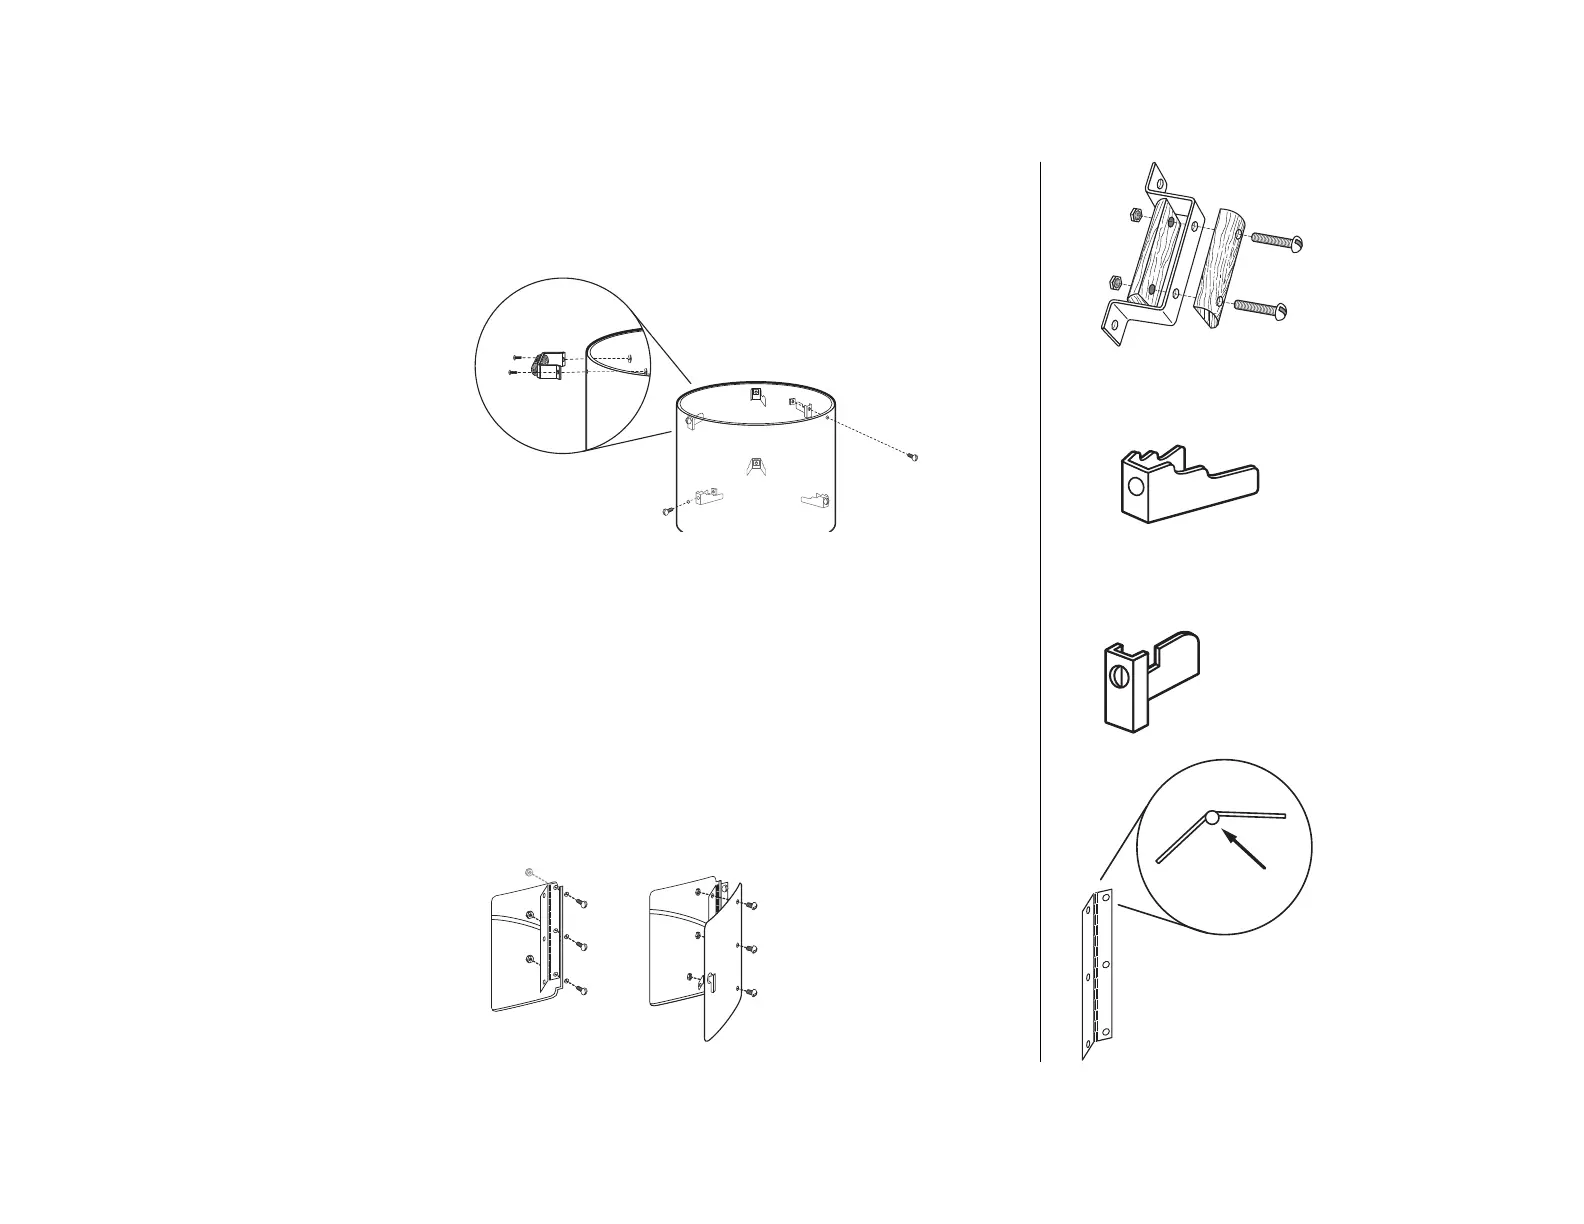
a. Attach wooden handle halves to metal brackets using 8-32 x 19 mm (w”) screws and nuts as illustrated. Attach two
handle assemblies to side of smoker body using 10-24 x 9.5 mm (s”) screws and square nuts as illustrated.
b. Attach the three lower support brackets (V-clips) to inside of smoker body through the three 6.4 mm (4”) holes that are
located about halfway down the smoker body (lower level). Mount each bracket with notched side facing up using
10-24 x 9.5 mm (s”) screws and square nuts. Tighten screws securely.
c. Attach the three upper support brackets (single clips) to inside of smoker body through the three 6.4 mm (4”) holes
located near the top edge. Mount each bracket with notched side facing up using 10-24 x 9.5 mm (s”) screws and
square nuts. Tighten screws securely.
STEP 2:
a. Attach hinge to inside of smoker body as il lus trat ed. Use 6-32 x 6.3 mm (4”) screws and nuts to attach hinge
to smoker body.
NOTE: Attach the hinge so pin is facing out of smoker as il lus trat ed.
b. Attach door to hinge using the re main ing 6-32 x 6.3 mm (4”) screws and nuts.
Pin Facing Out
Upper support bracket (Single
clip) with notched side facing
up.
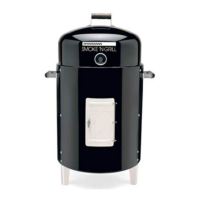
Smoke’N Grill Side
Handle Installation
Lower support bracket
(V-clip) with notched side
facing up.
4